
How to enable the Rent Manager API Integration?
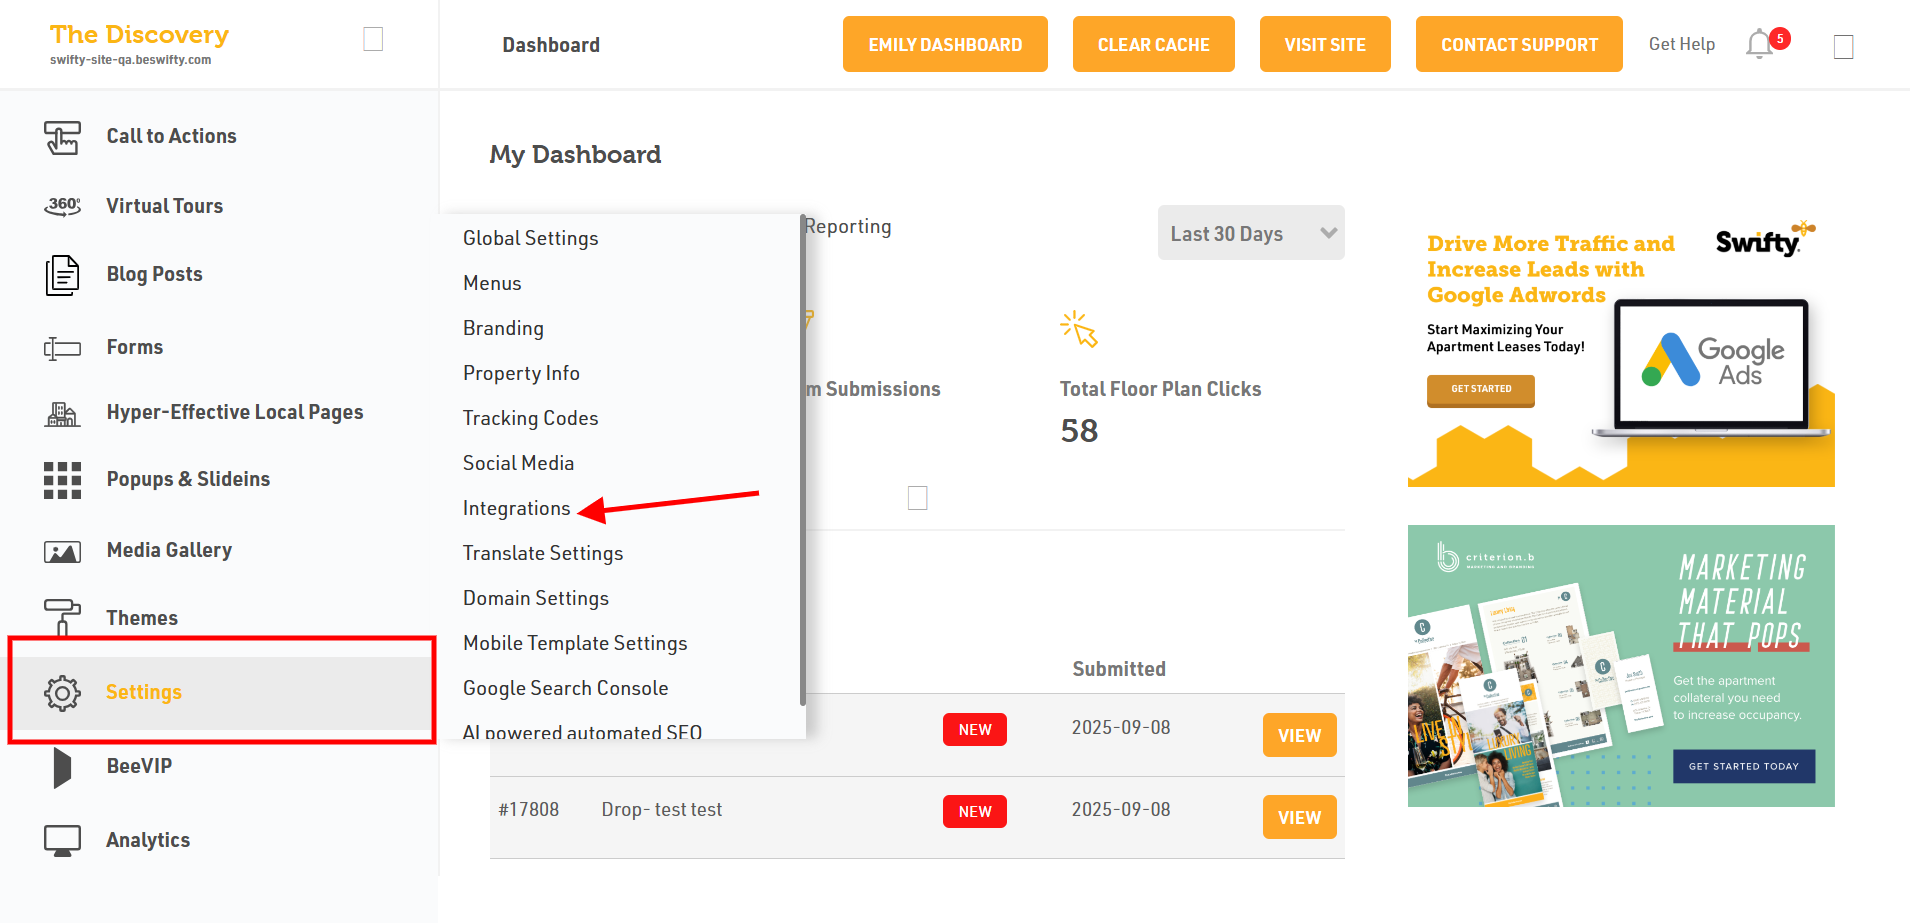
- Log in to the dashboard of your property website at manage.beswifty.com.
- On the left sidebar, navigate to Settings > Integrations.
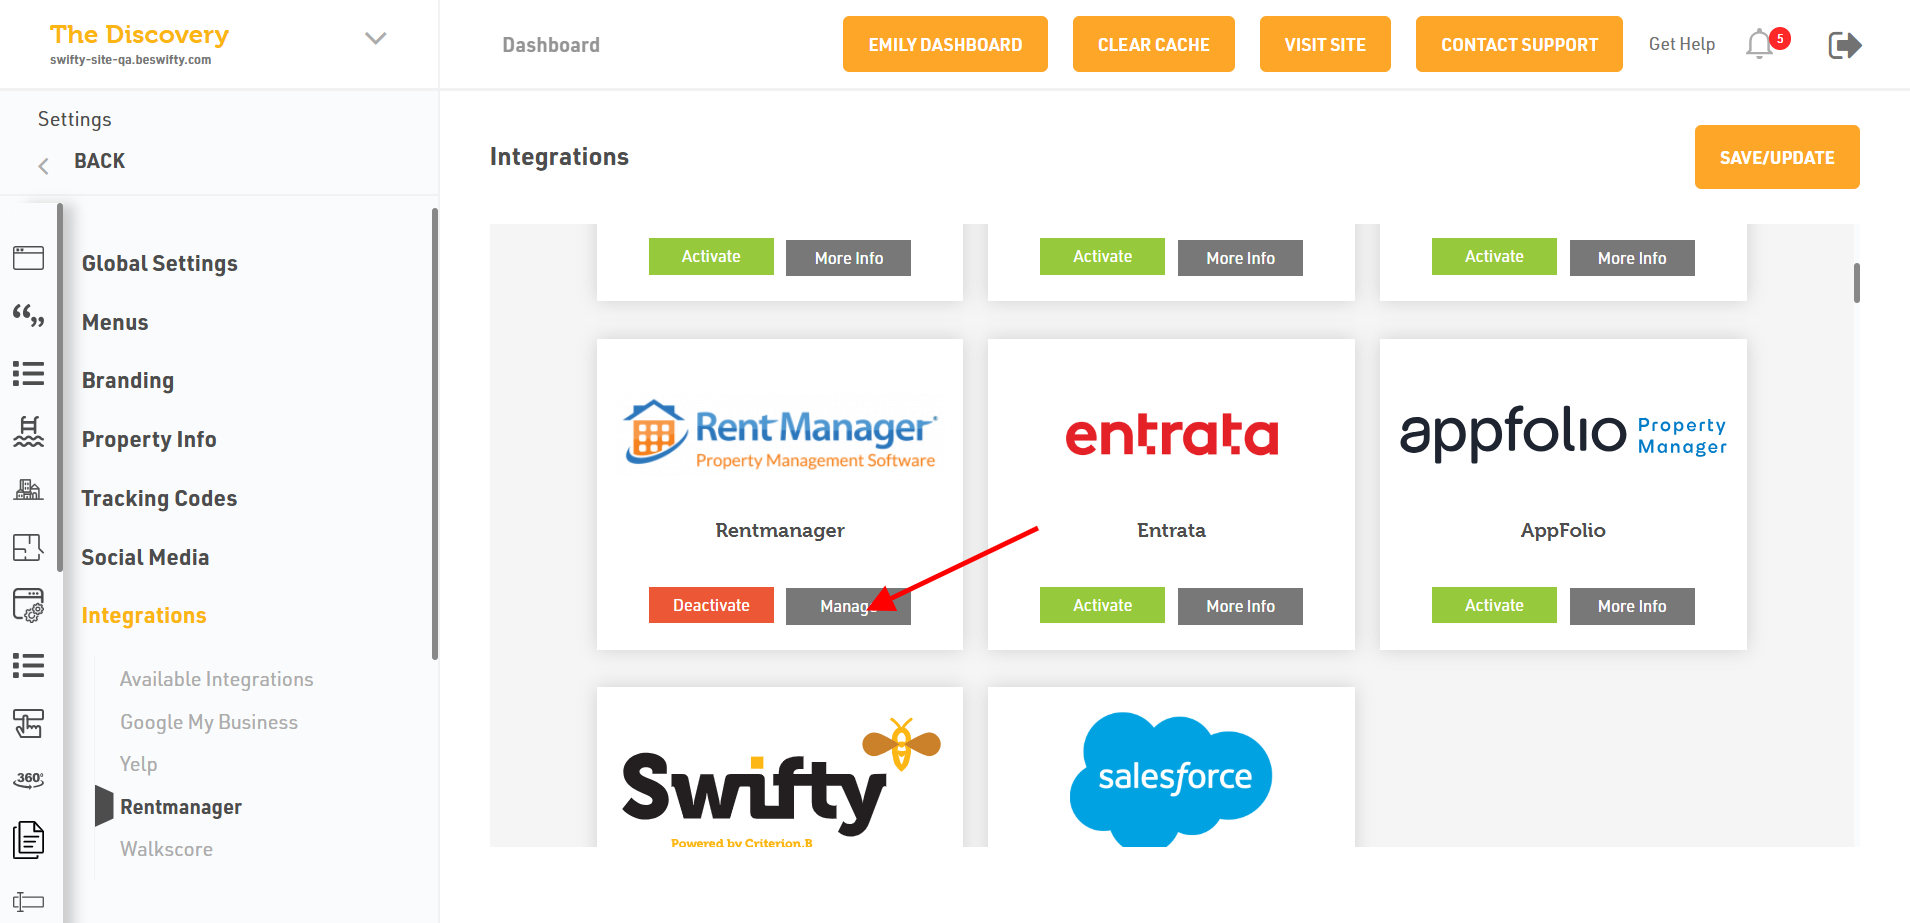
- In Online Property Management Solutions > Activate Rent Manager , click on the Manage tab.
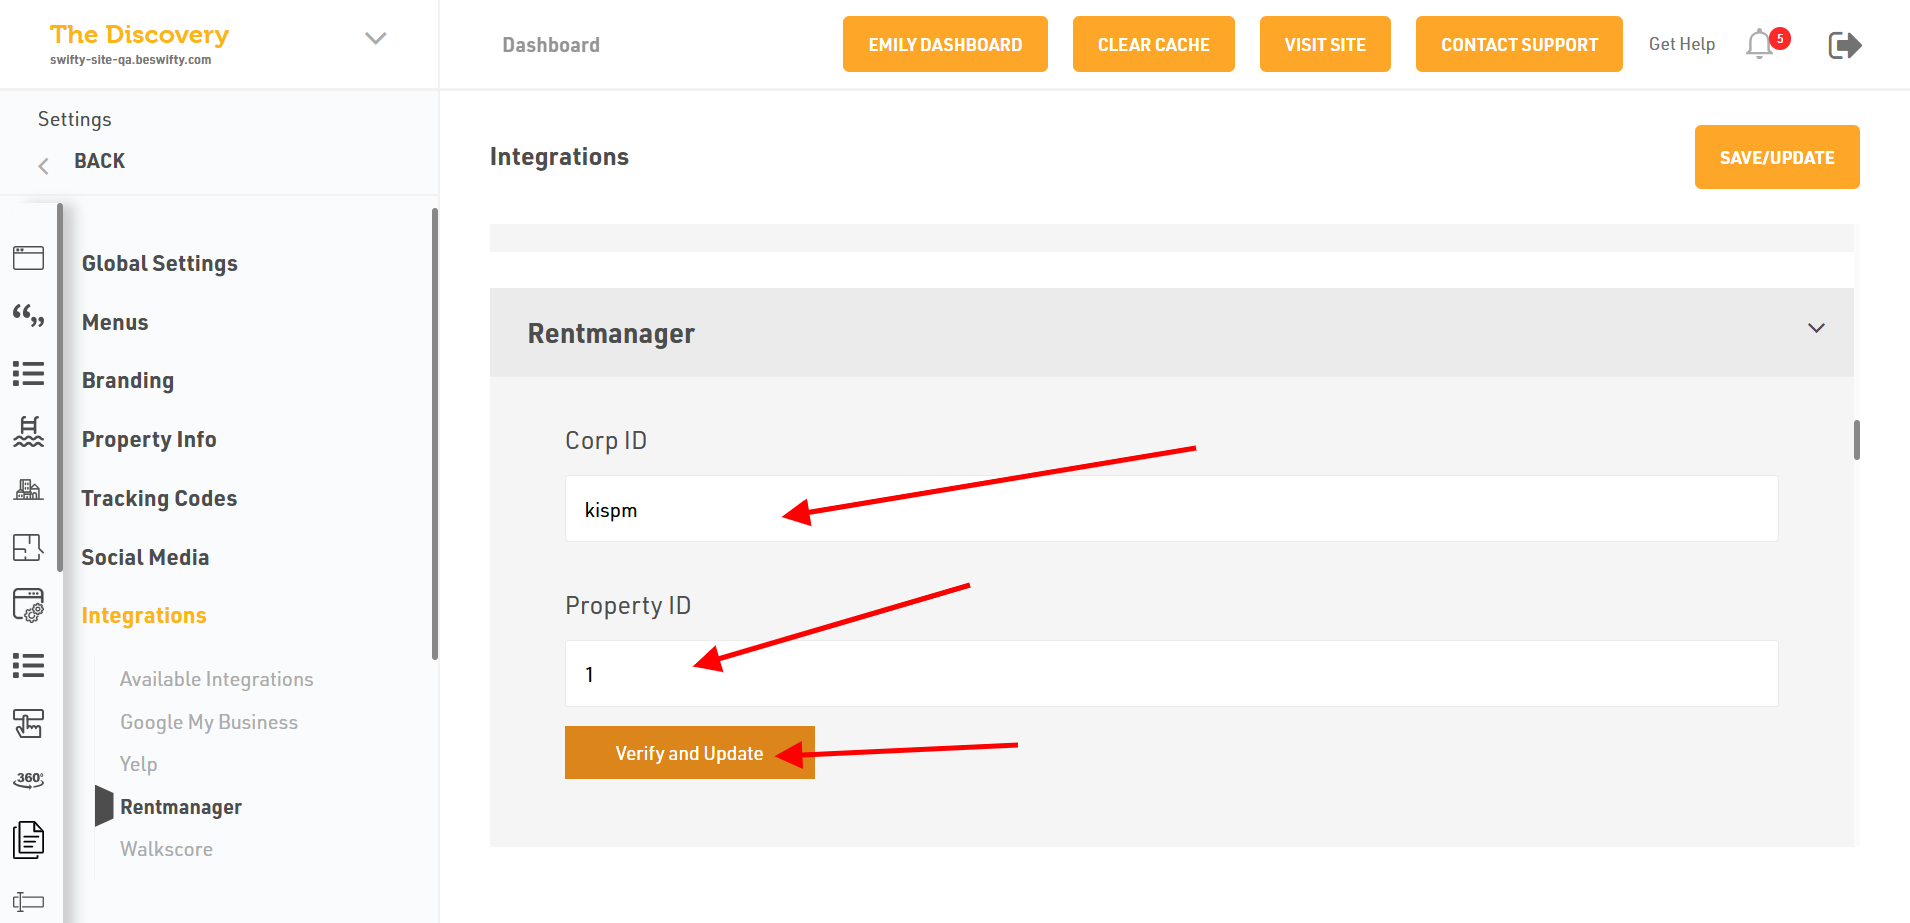
- Type the corporate ID and property ID.
- Click on Verify and Update.
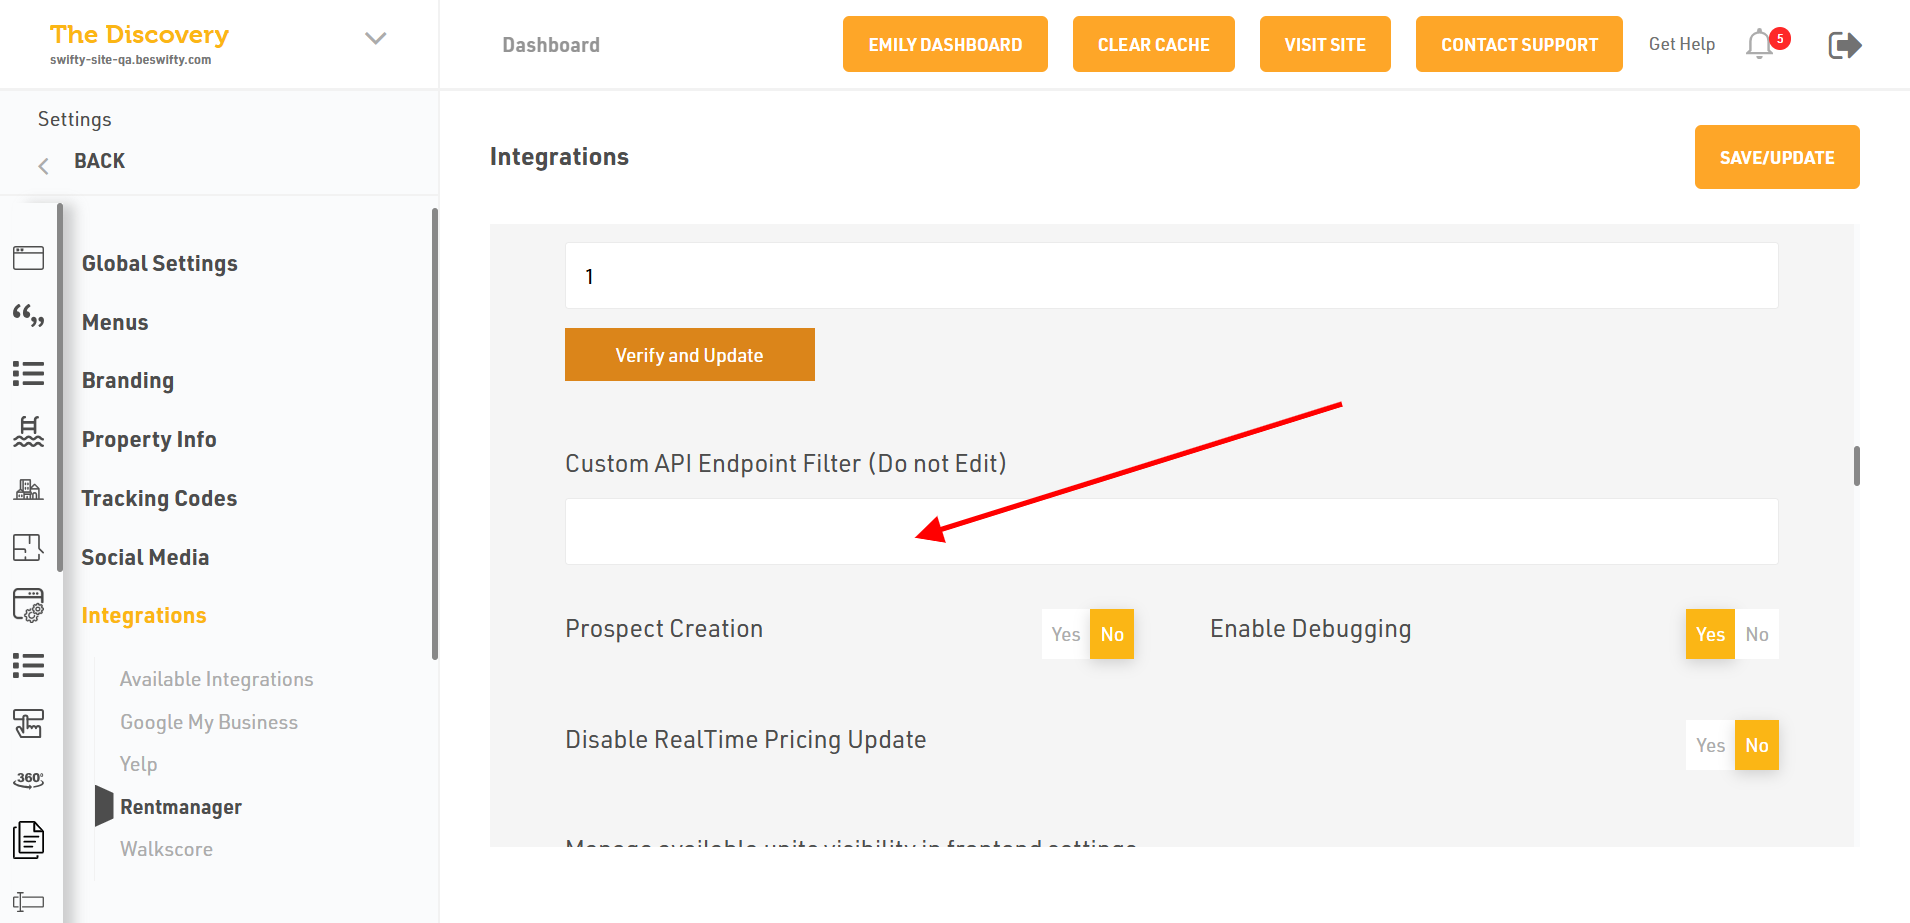
- Type the Custom API Endpoint Filter.
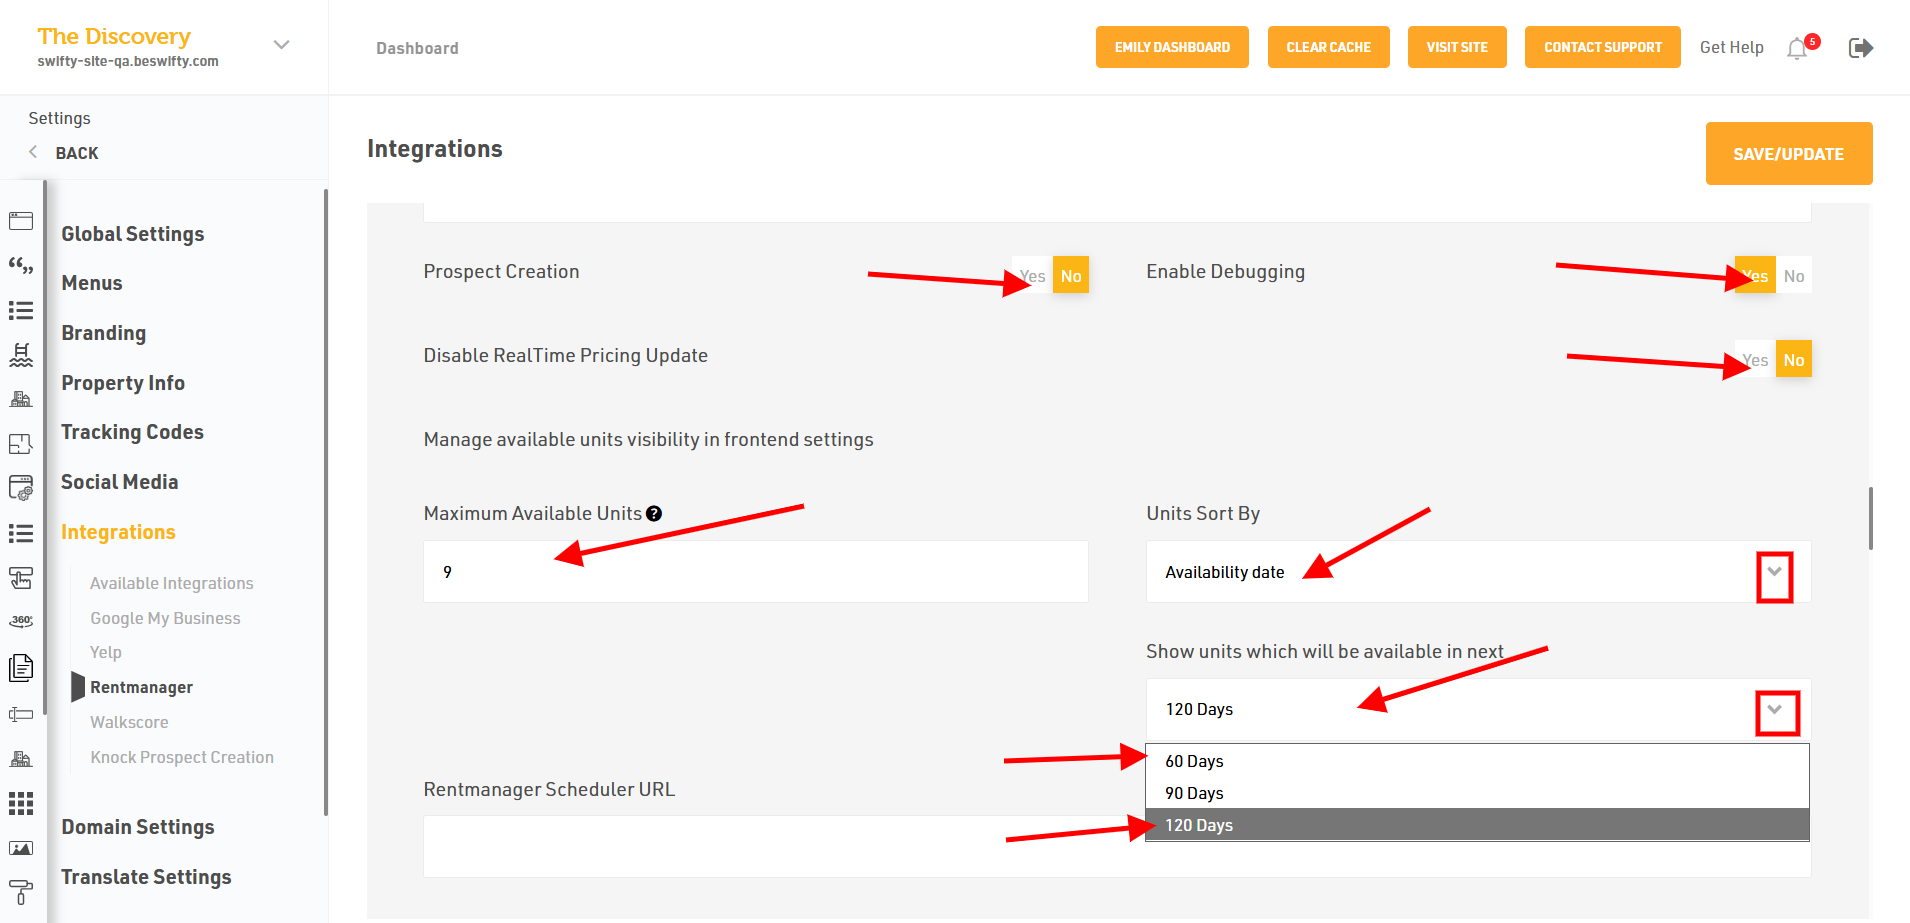
- Select Yes or No if you want to add the Prospect Creation.
- If you want to disable the real-time pricing update, then select Yes; otherwise, select No.
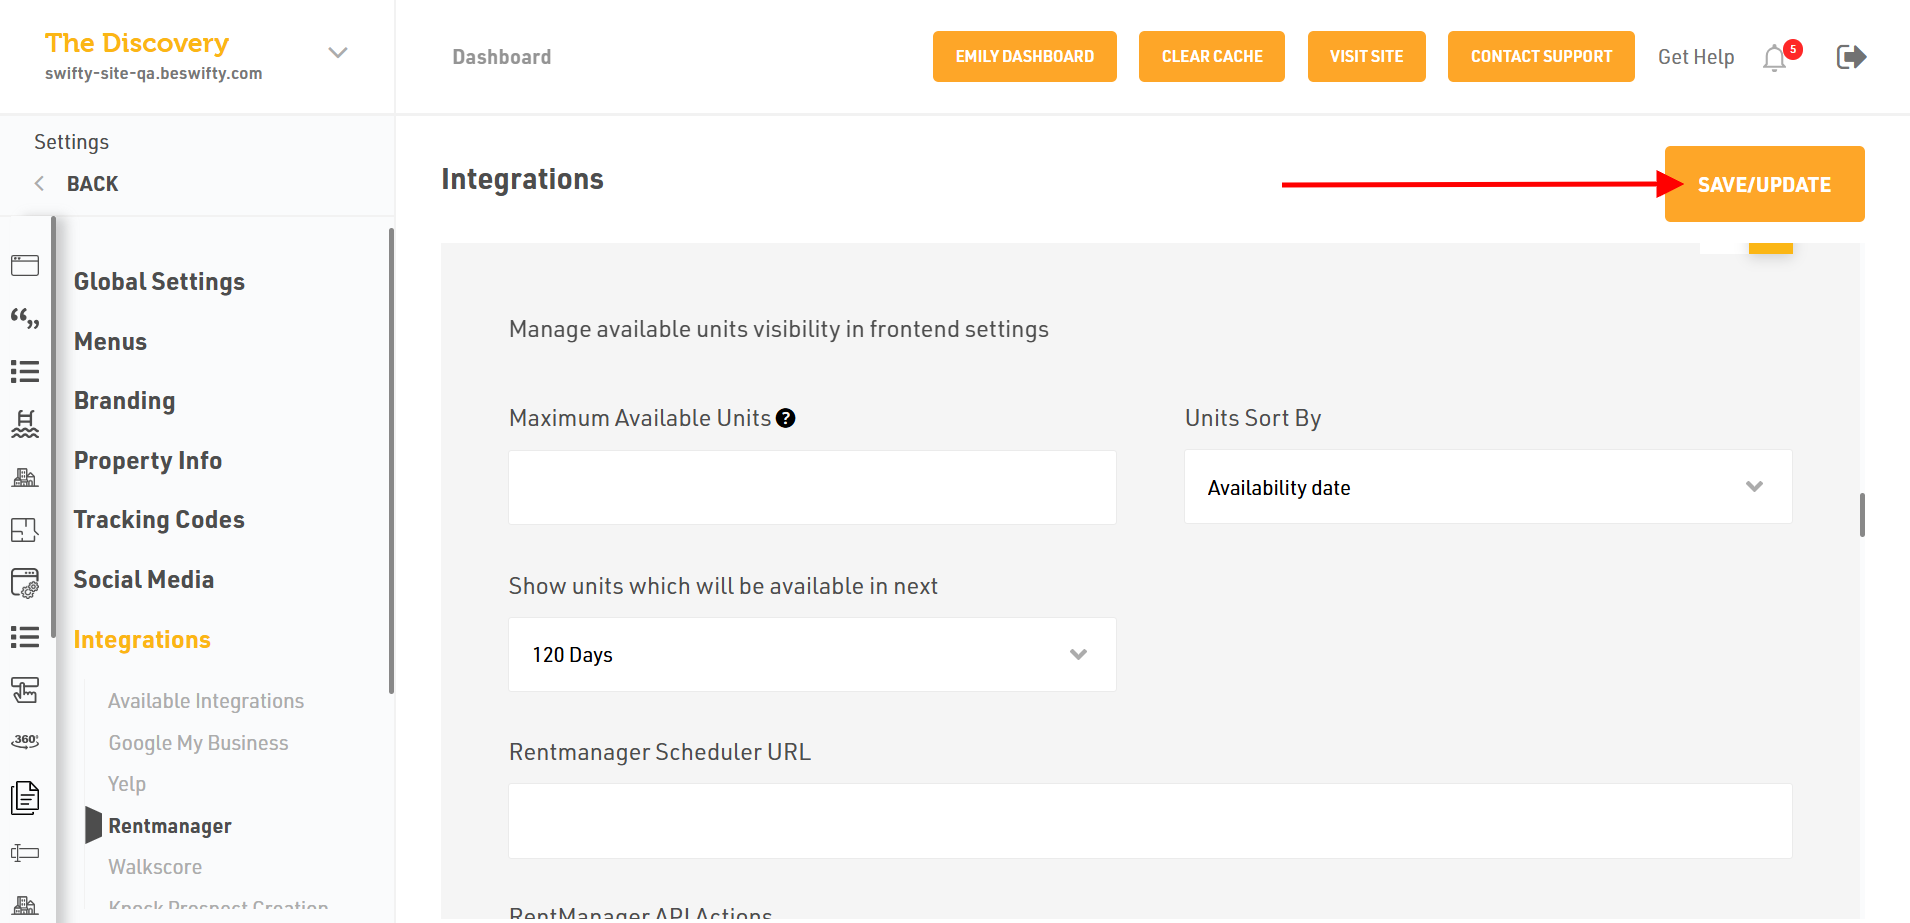
- Then, in Manage available units visibility in frontend settings, add the Maximum Available Units.
- Select the "Units" sort by from the drop-down menu.
- Then select the days for the units. The minimum is 60 days, and the maximum is 120 days.
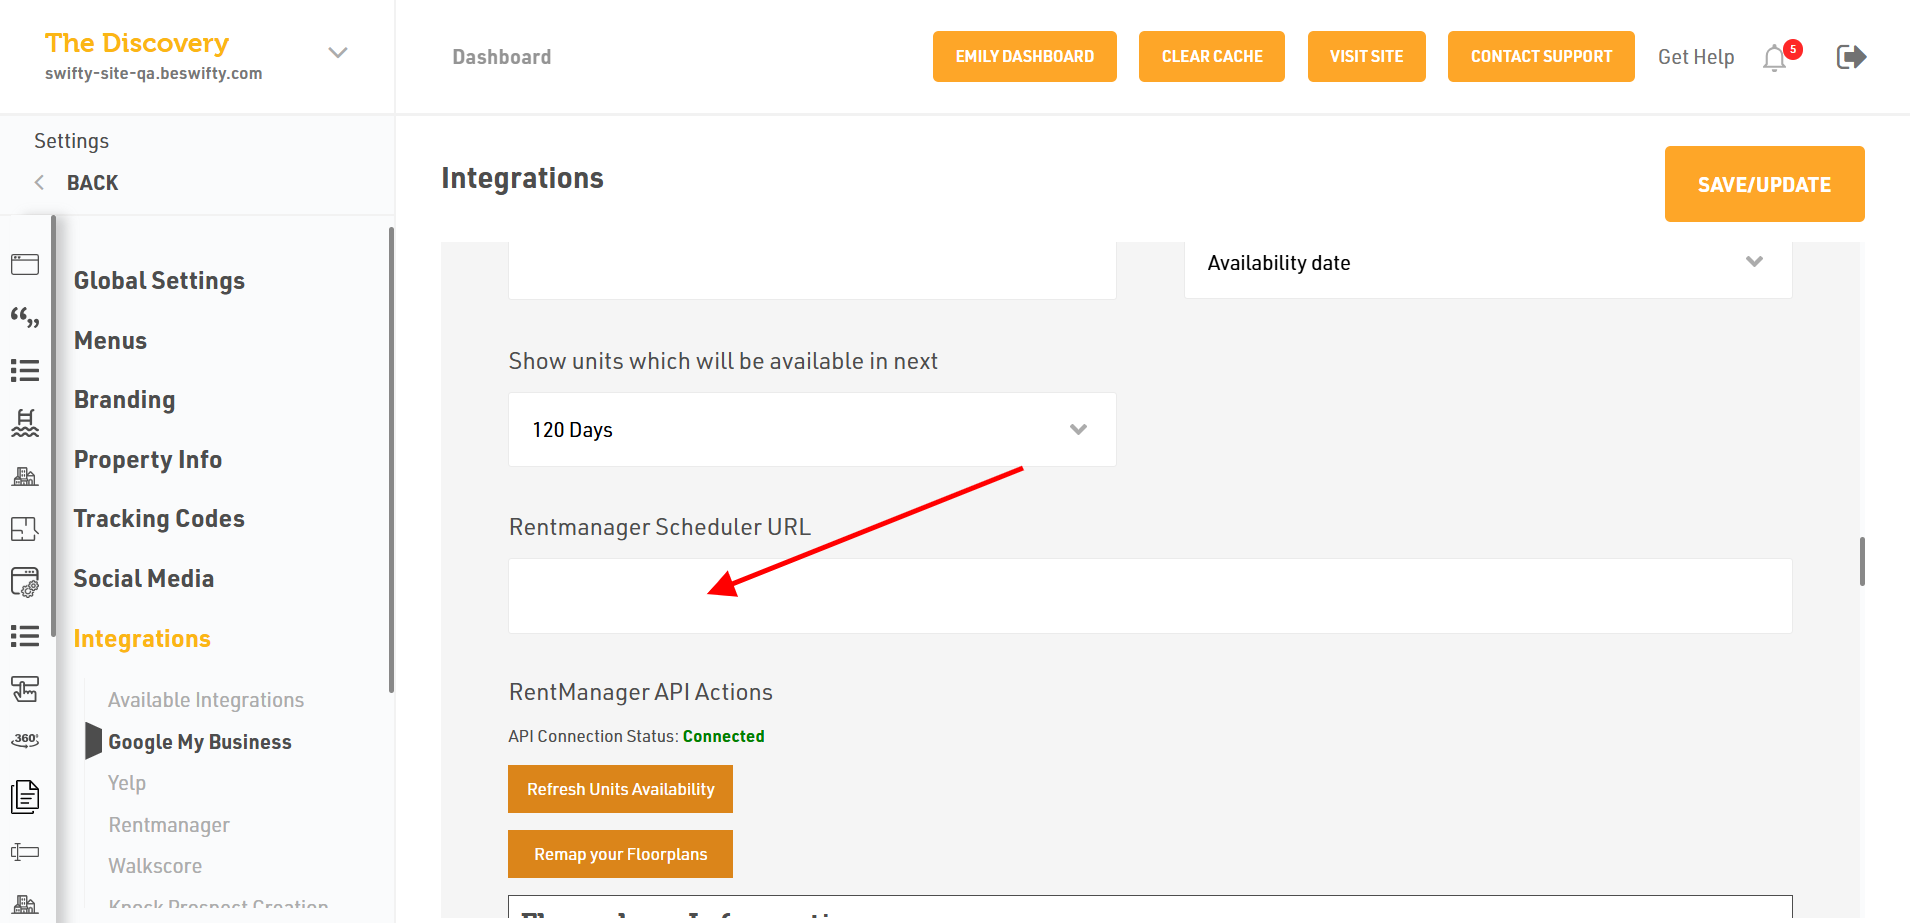
- Then add the Rent Manager Scheduler URL if available.
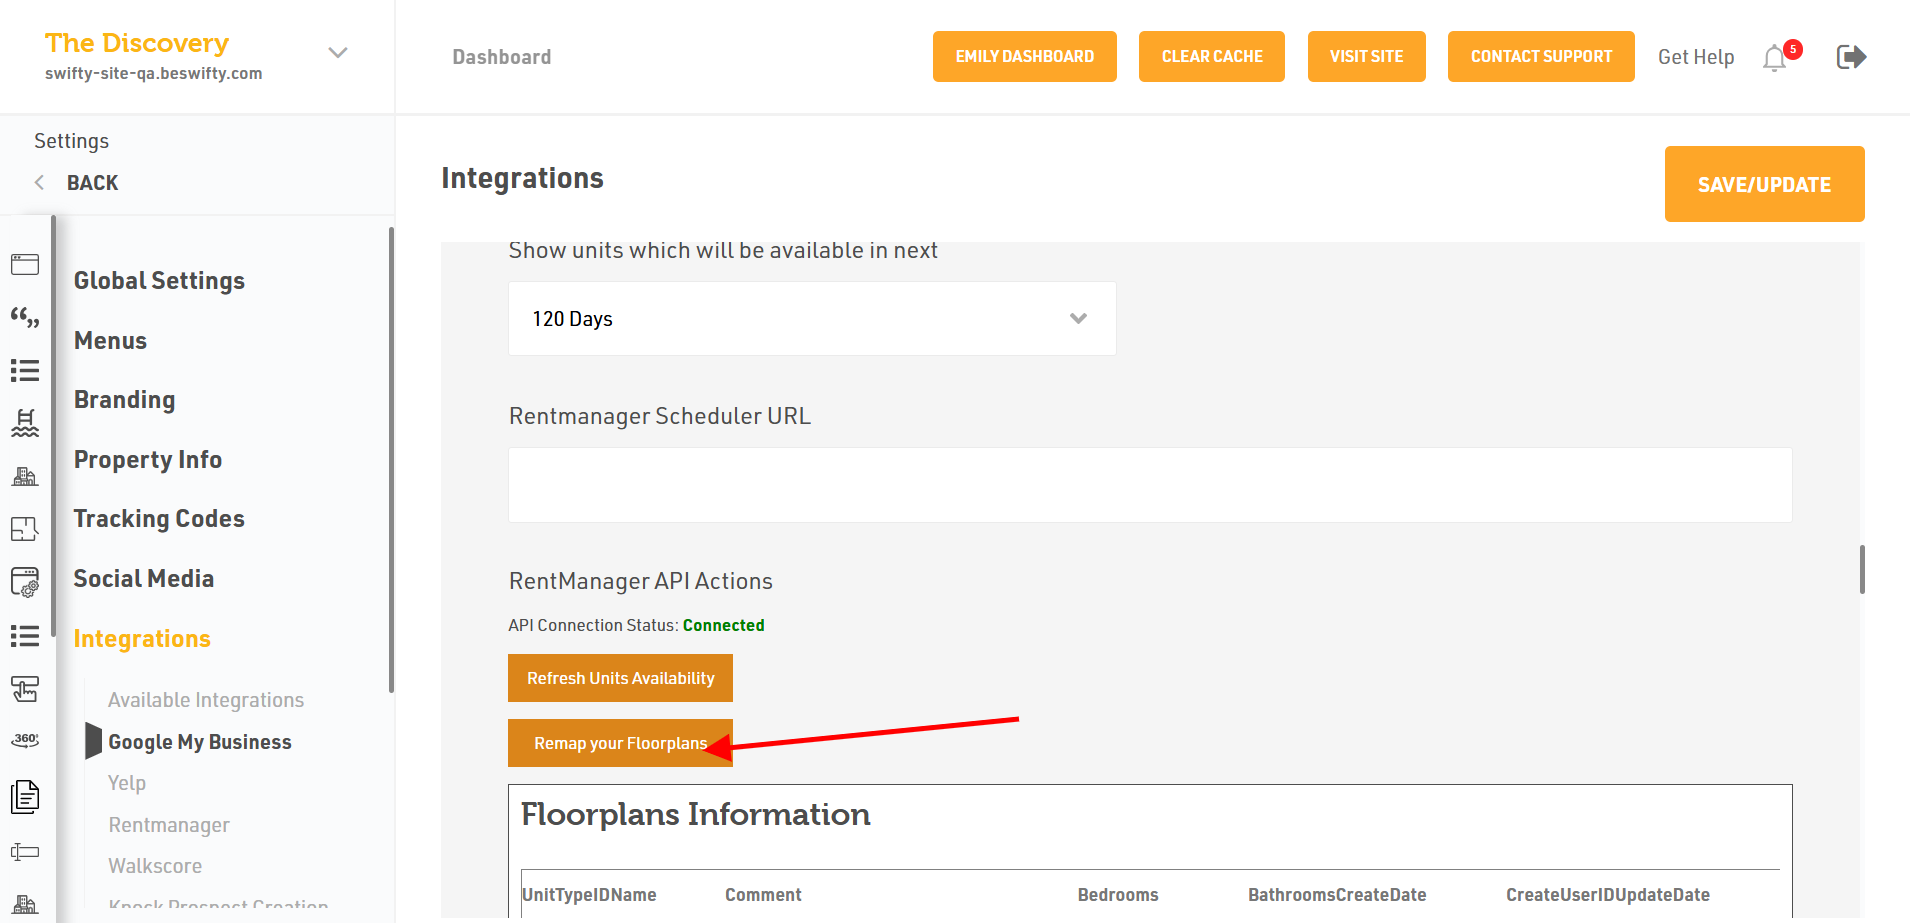
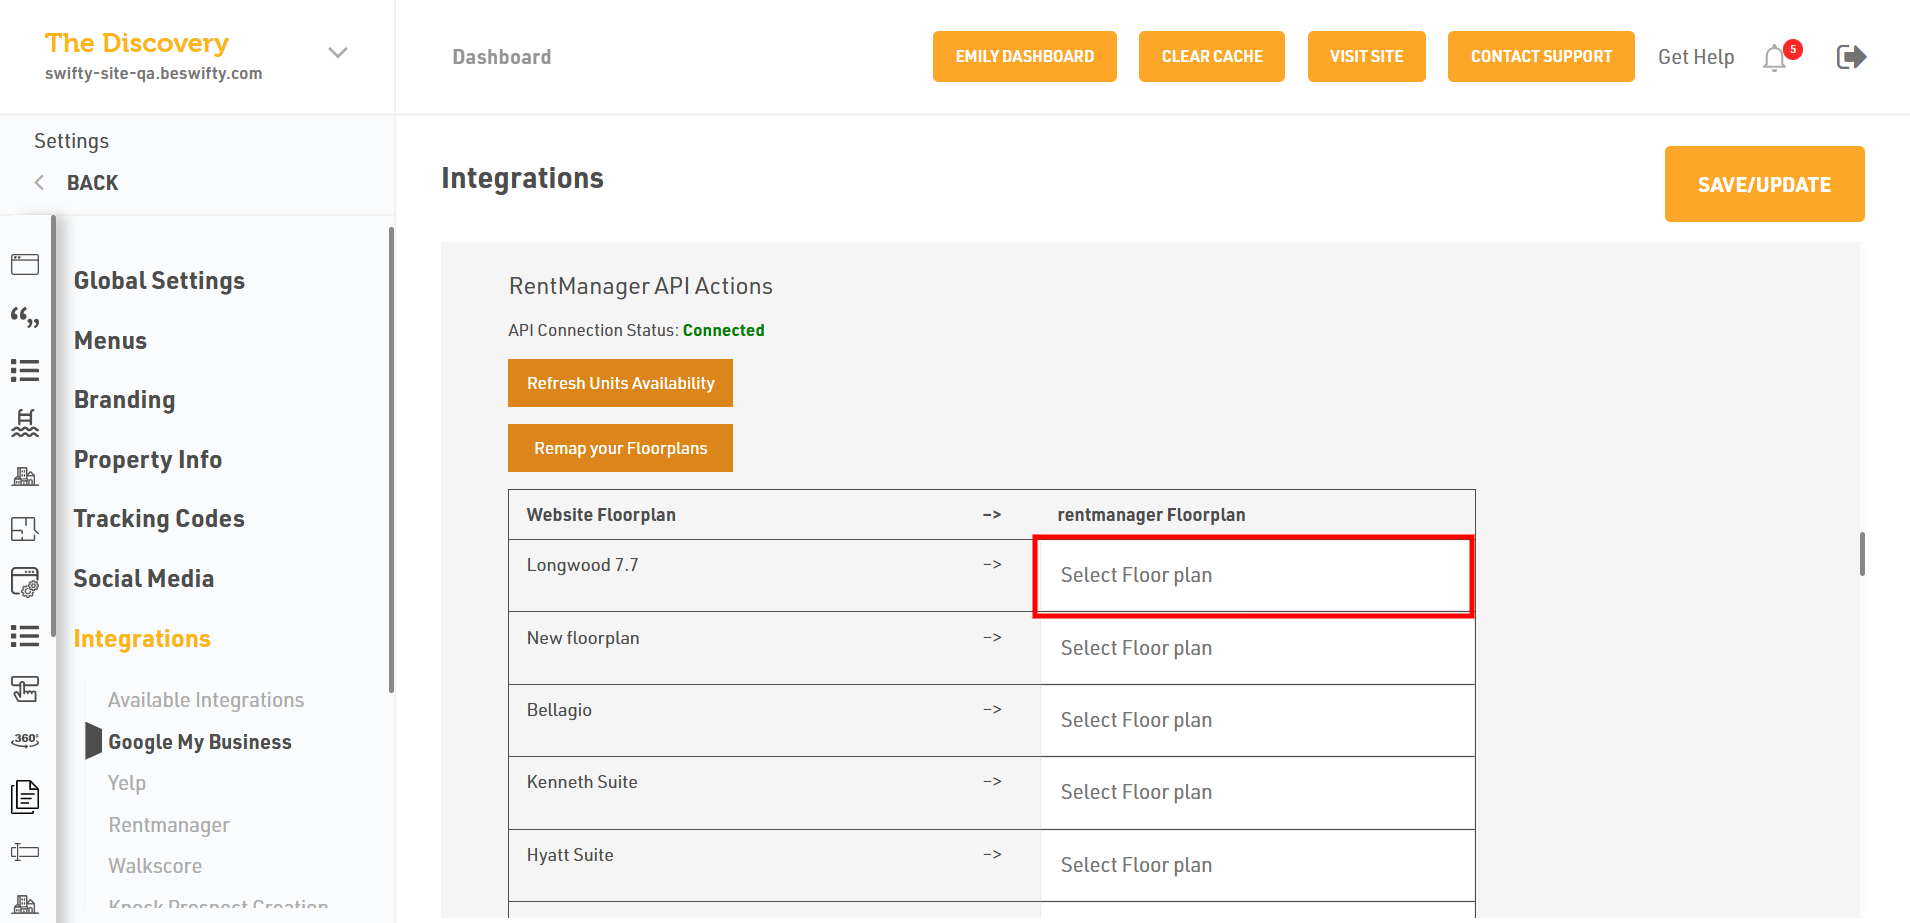
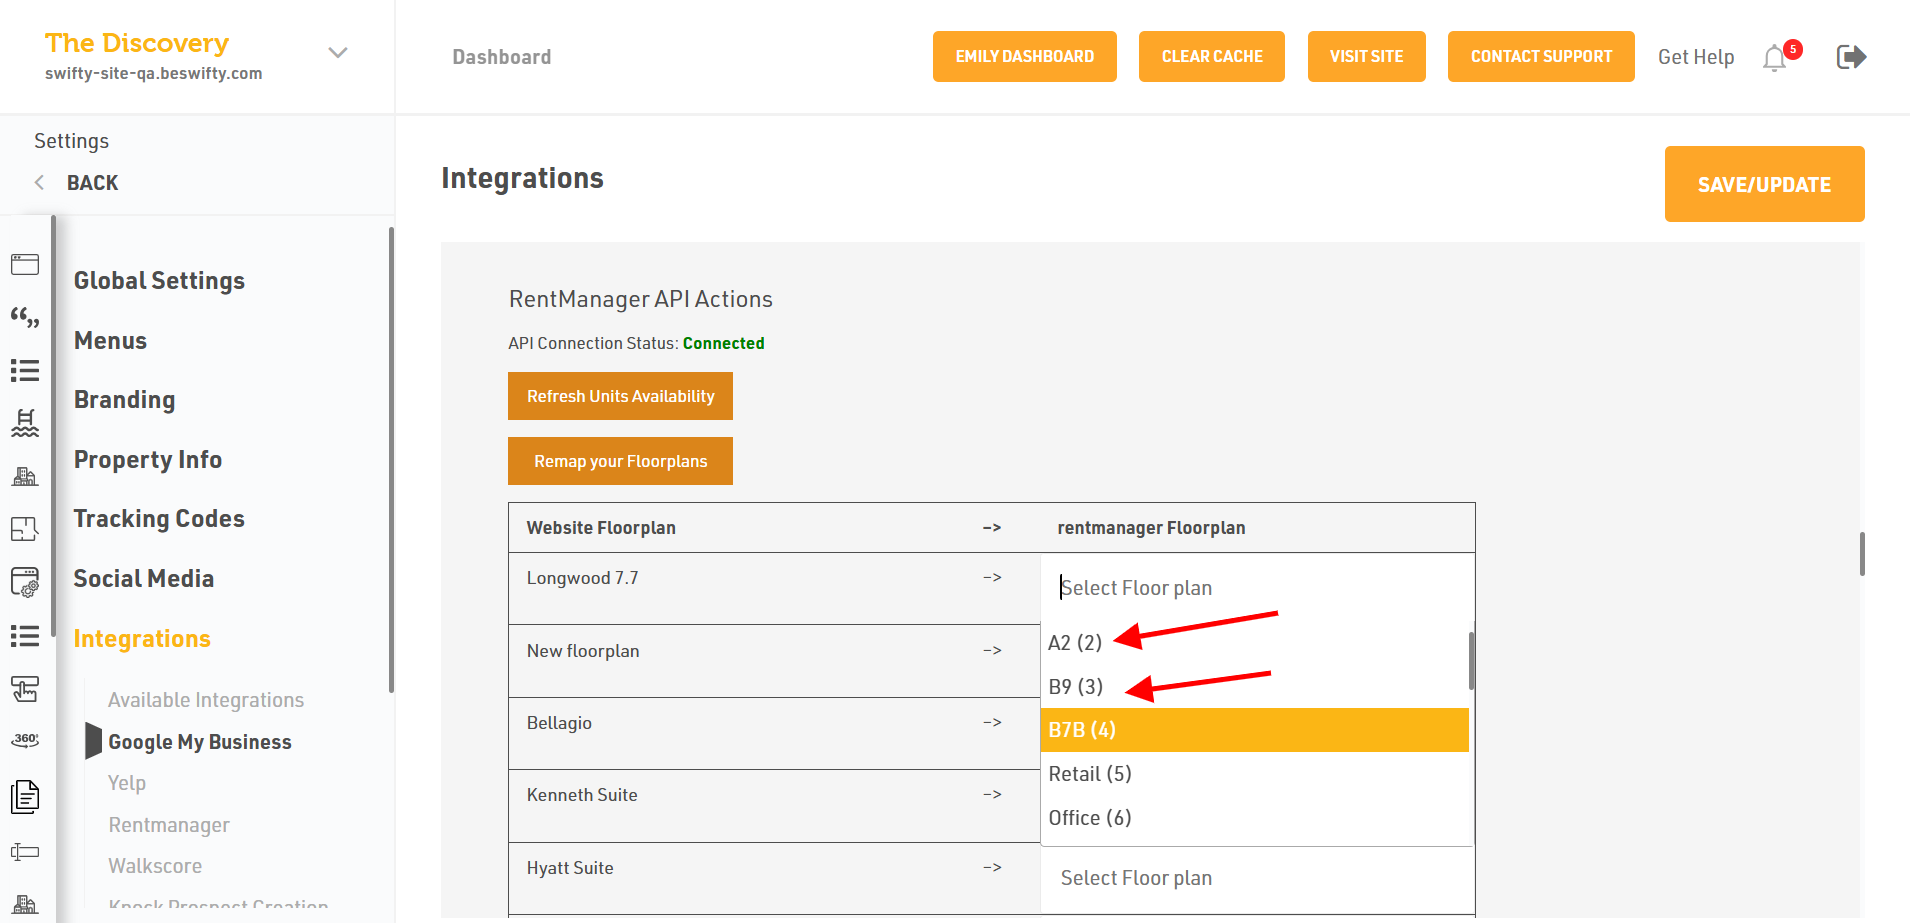
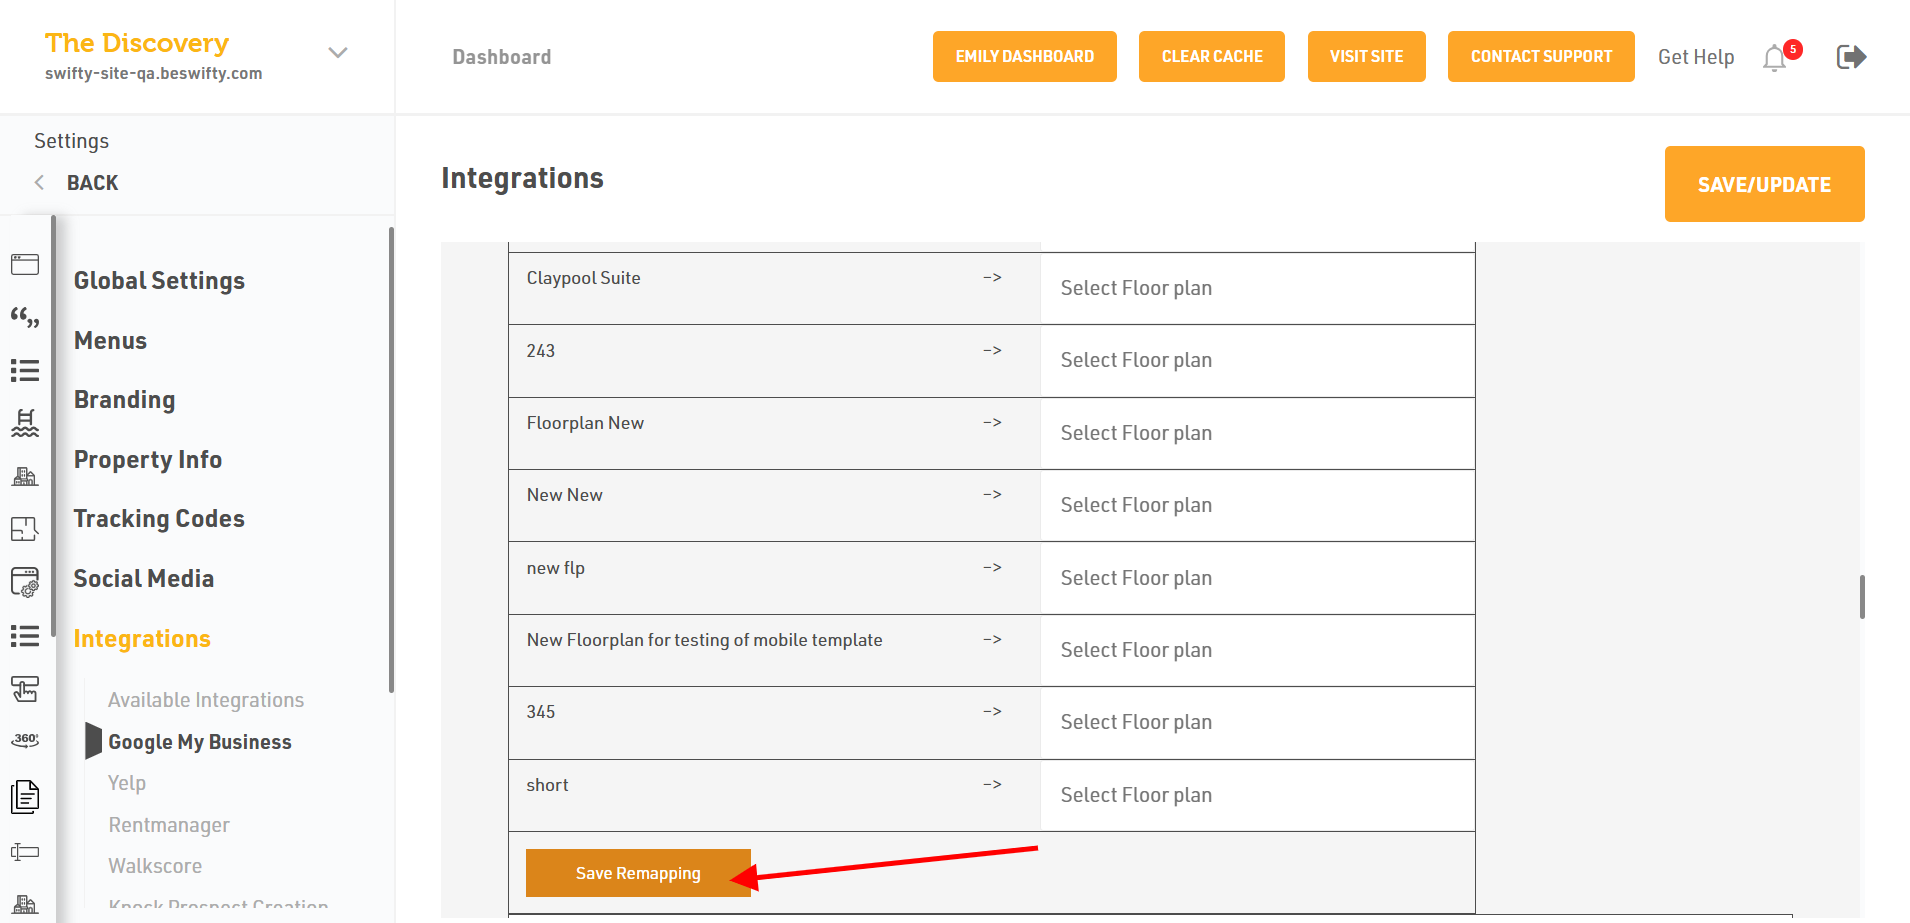
- Click on Save Remapping.
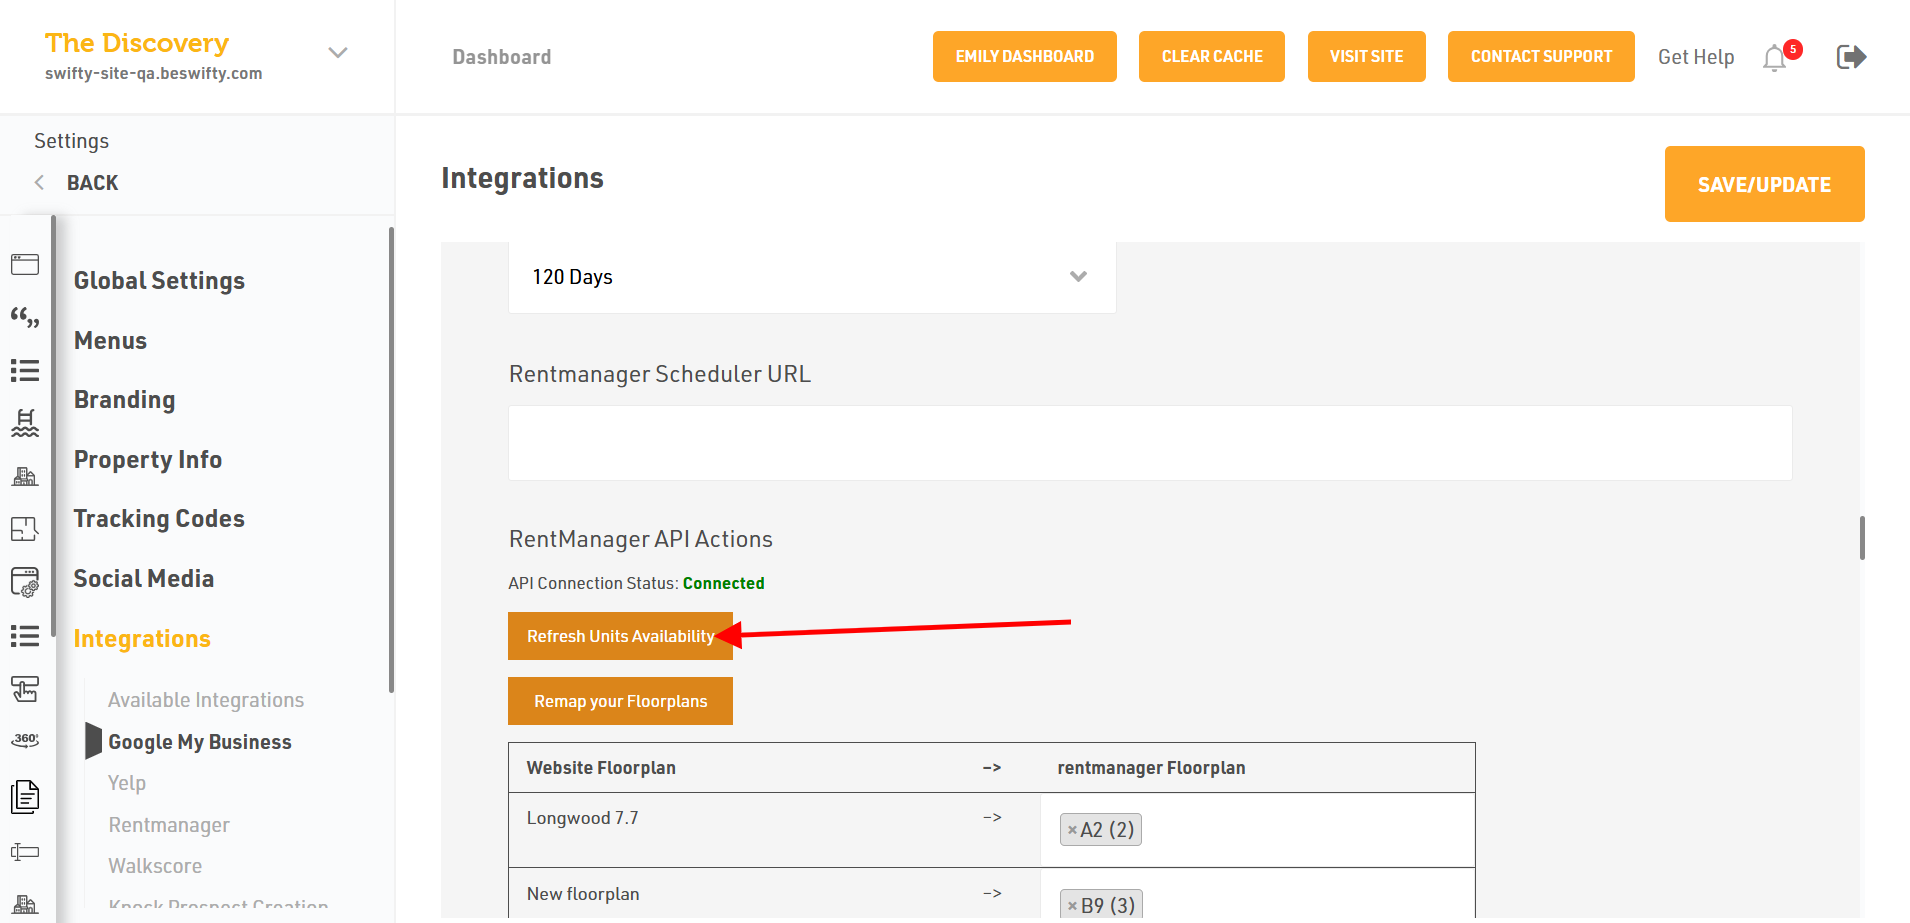
- Lastly click on Refresh units Availability.
Don't forget to Save/UpdateOnce you finish everything, click the Save/Update button on top right corner.
Was this article helpful?
Thanks for the feedback.