
How to add or remove Footer Property Icons?
How to add or remove footer property icons?
We recommend adding simple, universally accepted icons to your Swifty multi-family website. Footer icons display important information about the property to your visitors at a single glance.
- Login to the dashboard of your property website at manage.beswifty.com.
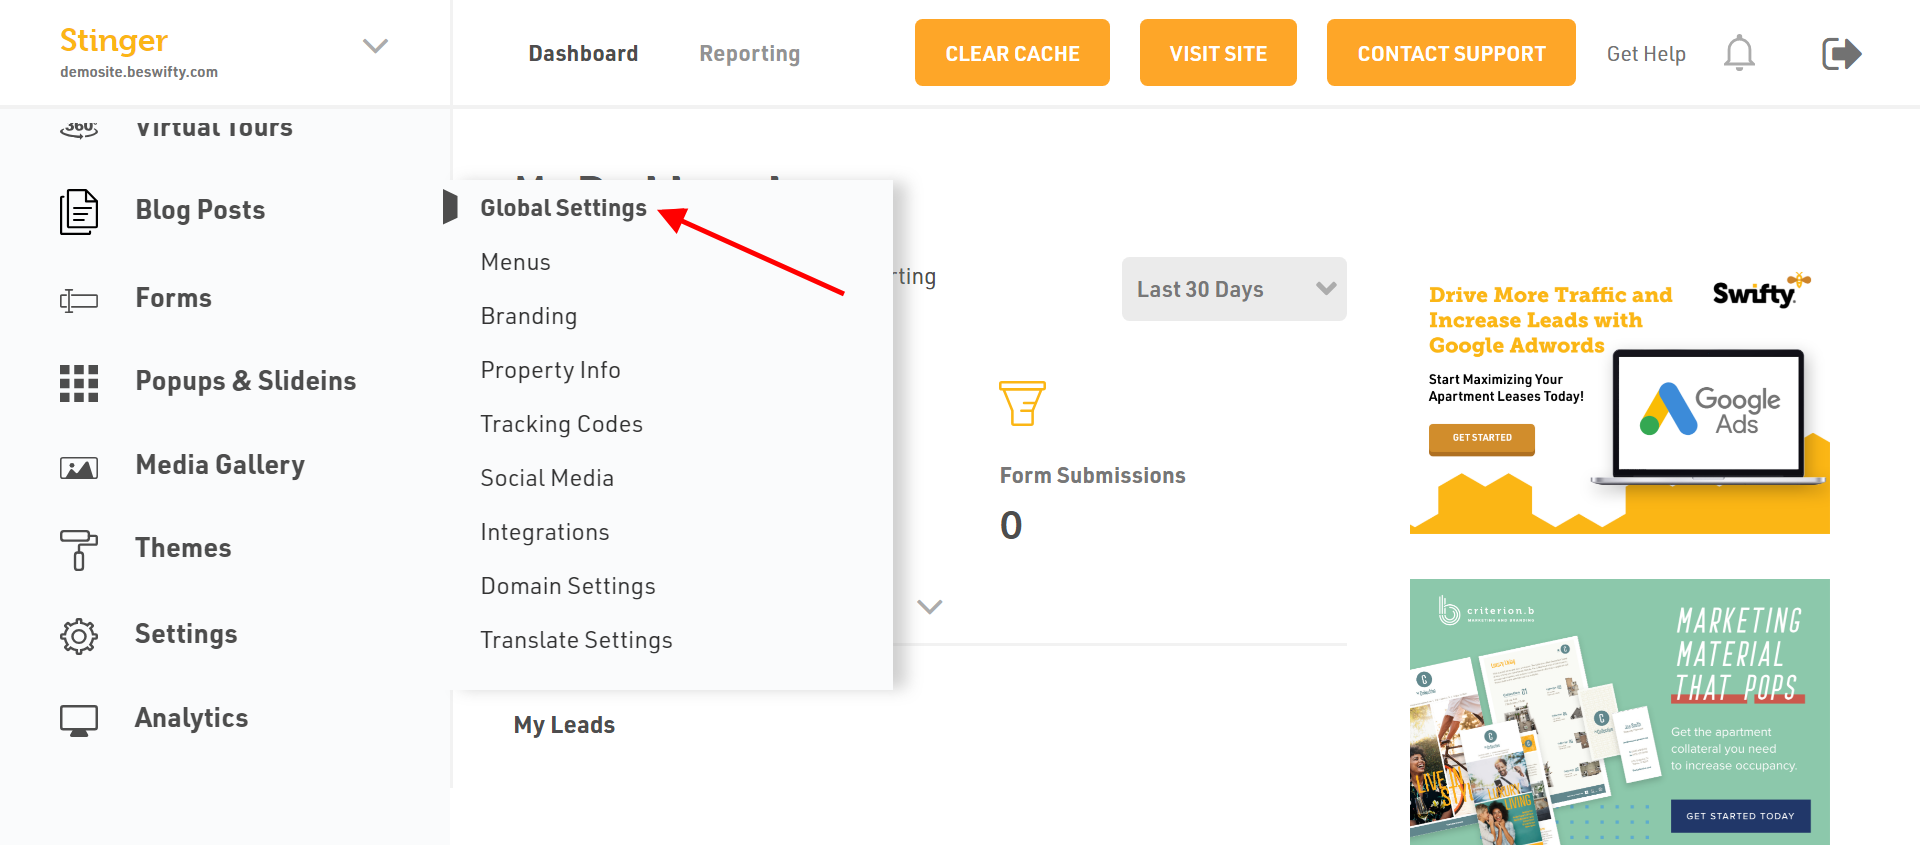
- In the left sidebar navigate to Settings > Global Settings
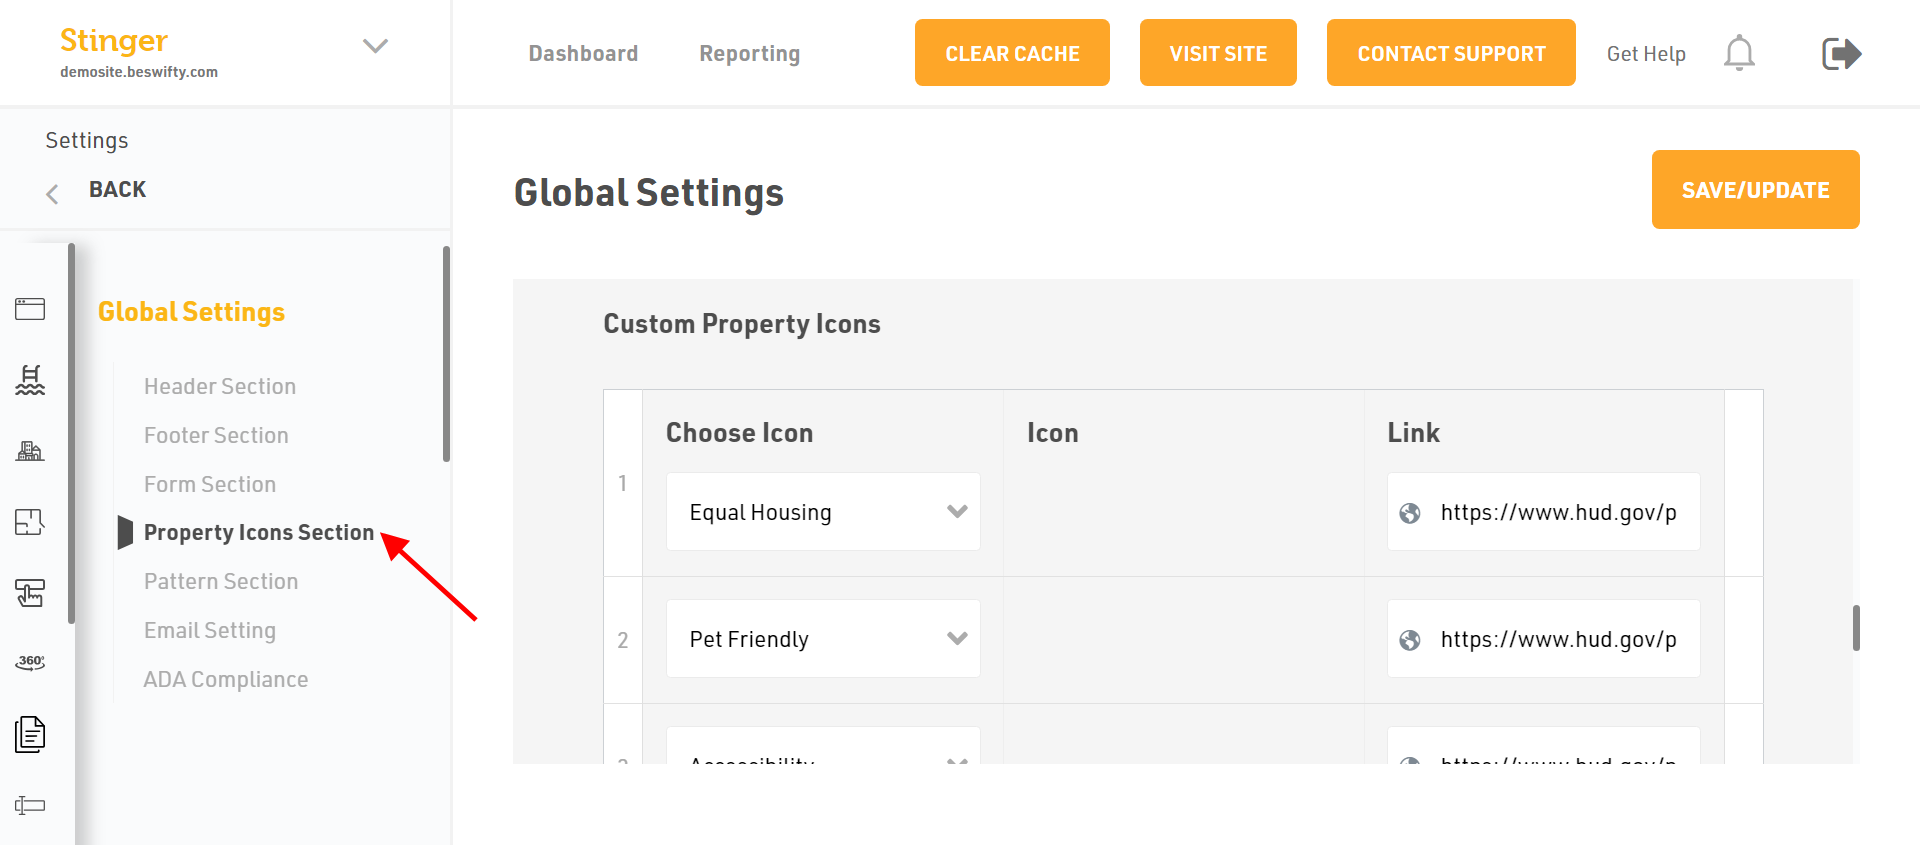
- Click on Property Icons Section in the left side of the Global Settings.
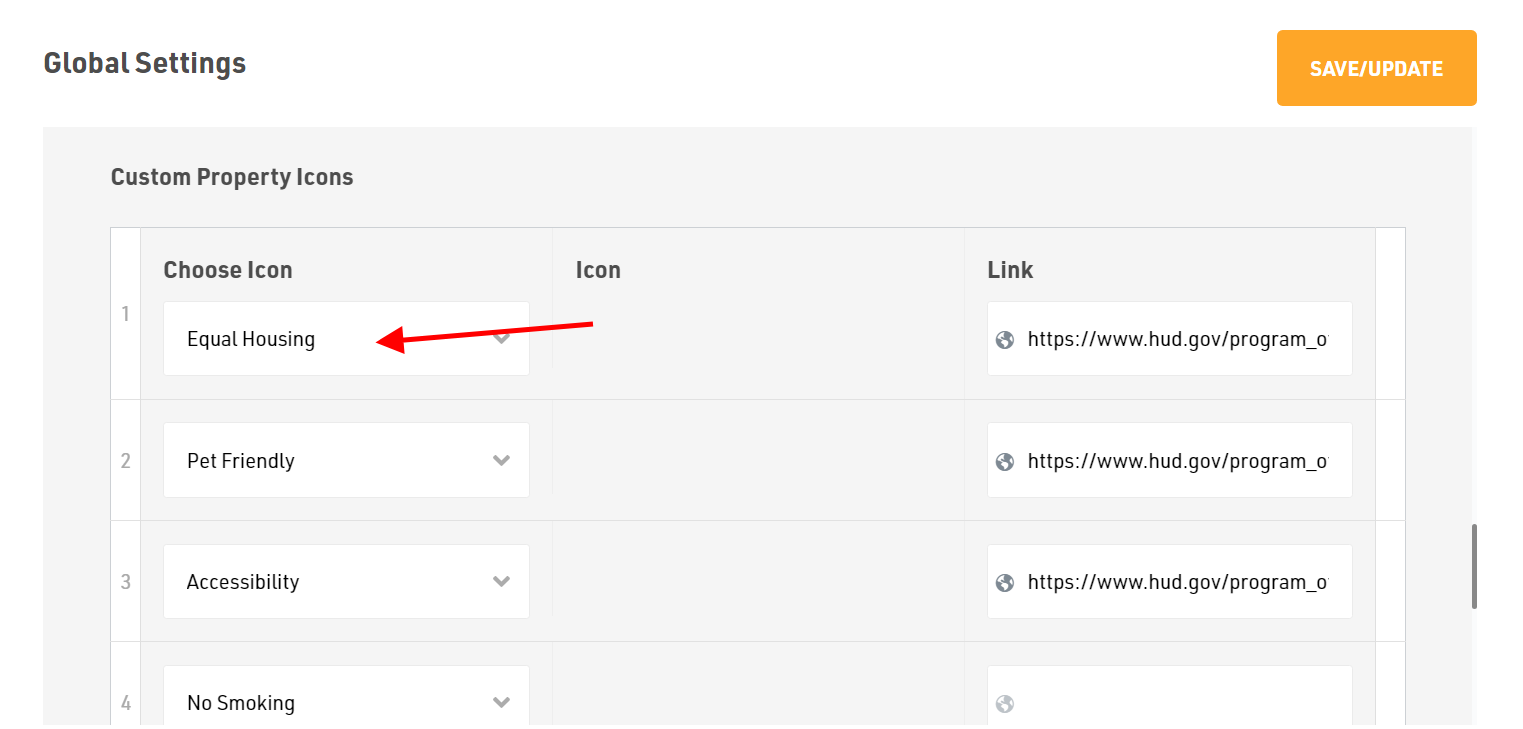
- Under the Property Icon Section, firstly Choose the Icon from the drop down menu you want to display in front-end of your website.
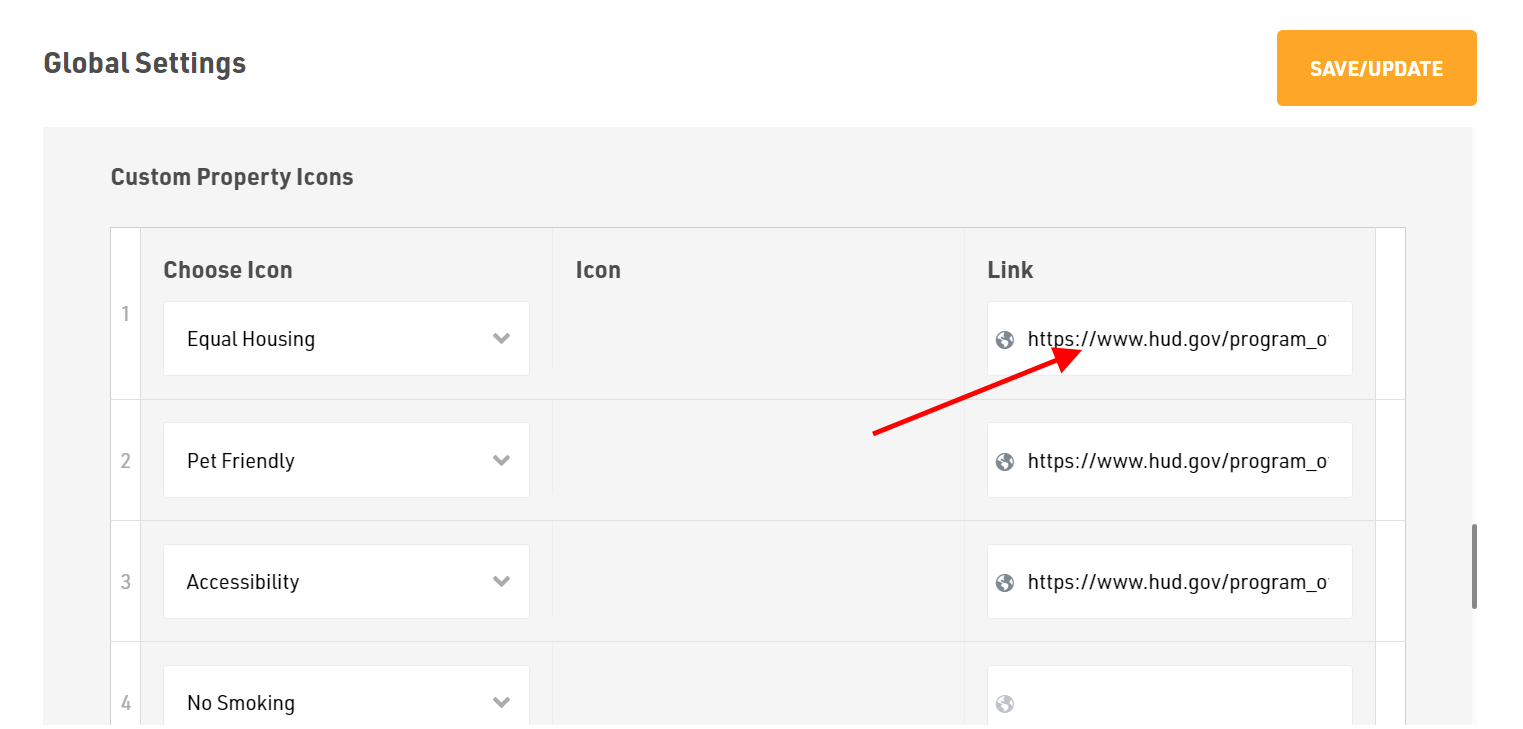
- Then paste the Link of the particular icon.
- If you wish to add a new icon you can add it by clicking on Add Icon and paste the relevant link.
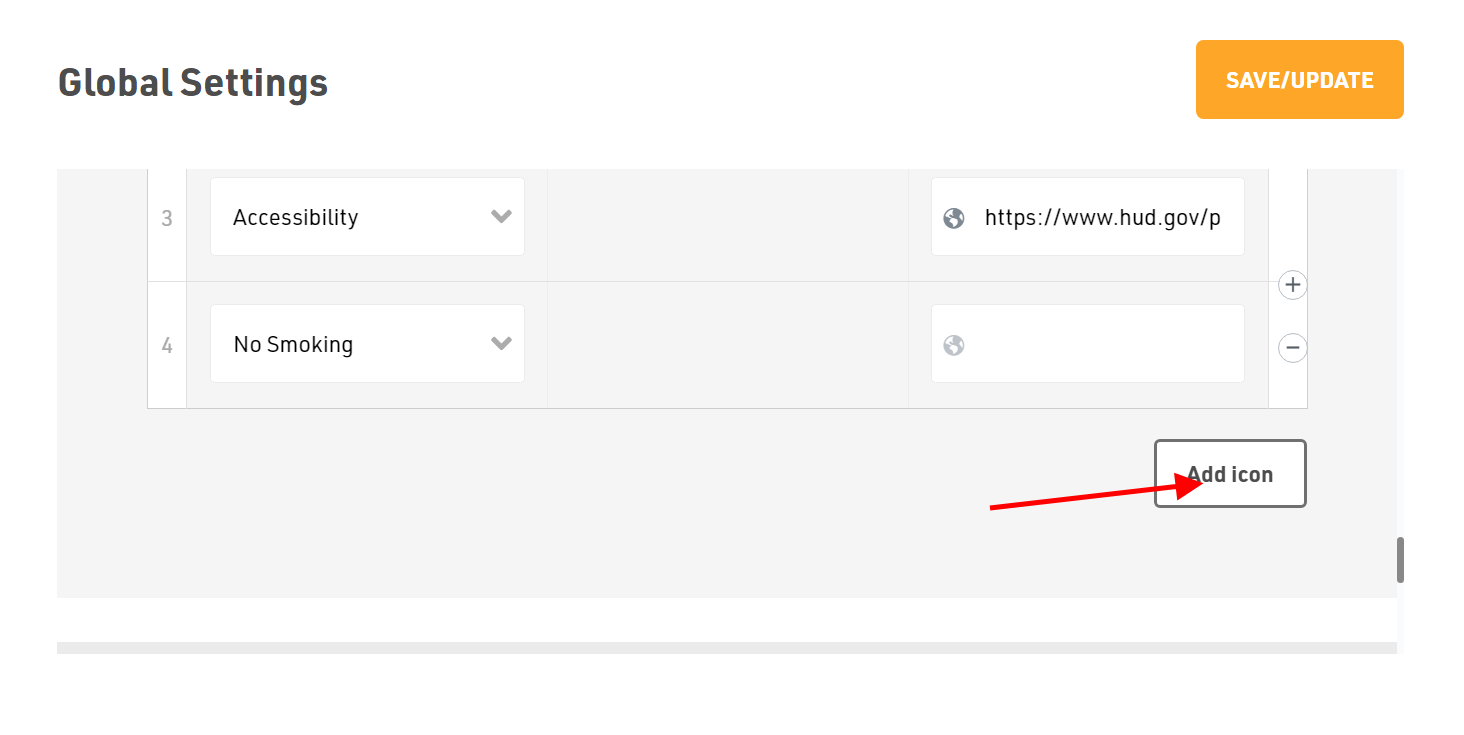
- You can re-arrange the order by choosing icon from the drop down menu.
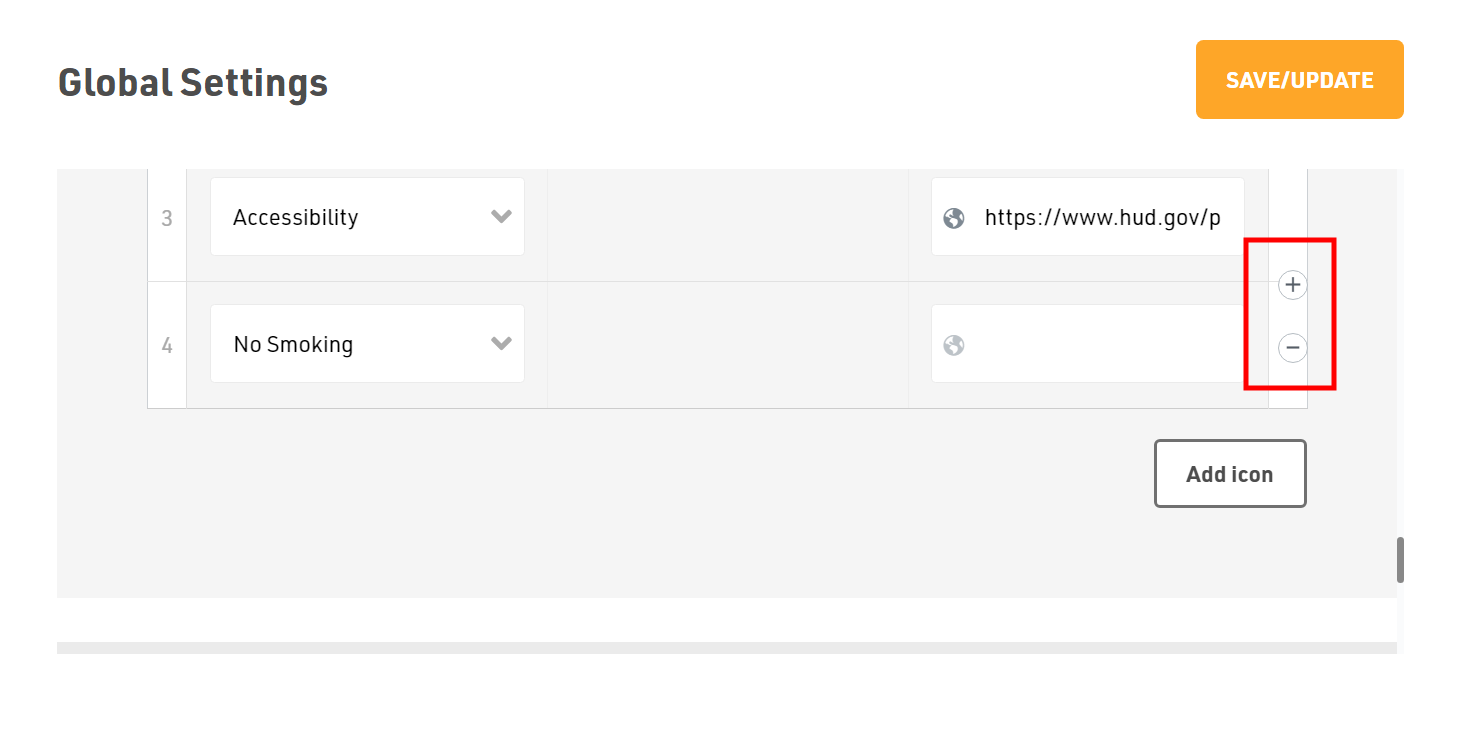
- If you want to add more icons to the footer apart from these, then you can customize it by adding more rows, simply click on the (+) sign to do so. While if you want to remove the icons from your footer which are already seen on the front-end of the website, then just click on (-) sign to select and remove the row.
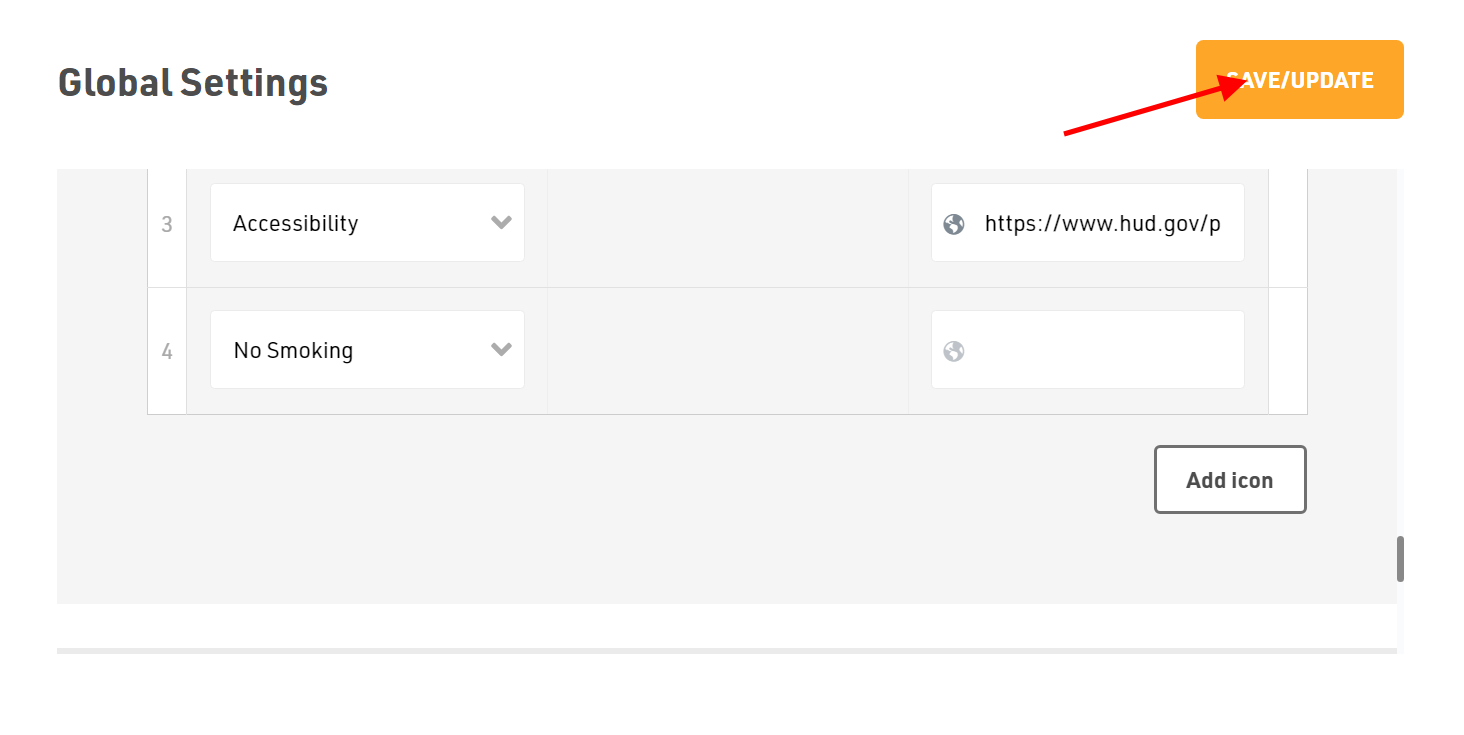
Dont forget to Save/Update
Make sure to click the Save/Update button on top right corner once you are done with the changes.
Was this article helpful?
Thanks for the feedback.