
How to add or change Header section?
We recommend adding a maximum of two buttons to keep the look and feel of your website intact. Adding more than two buttons may make your website look messed up.
Steps:
- Login to the dashboard of your property website at manage.beswifty.com.
- In the left sidebar navigate to Settings > Global Settings.
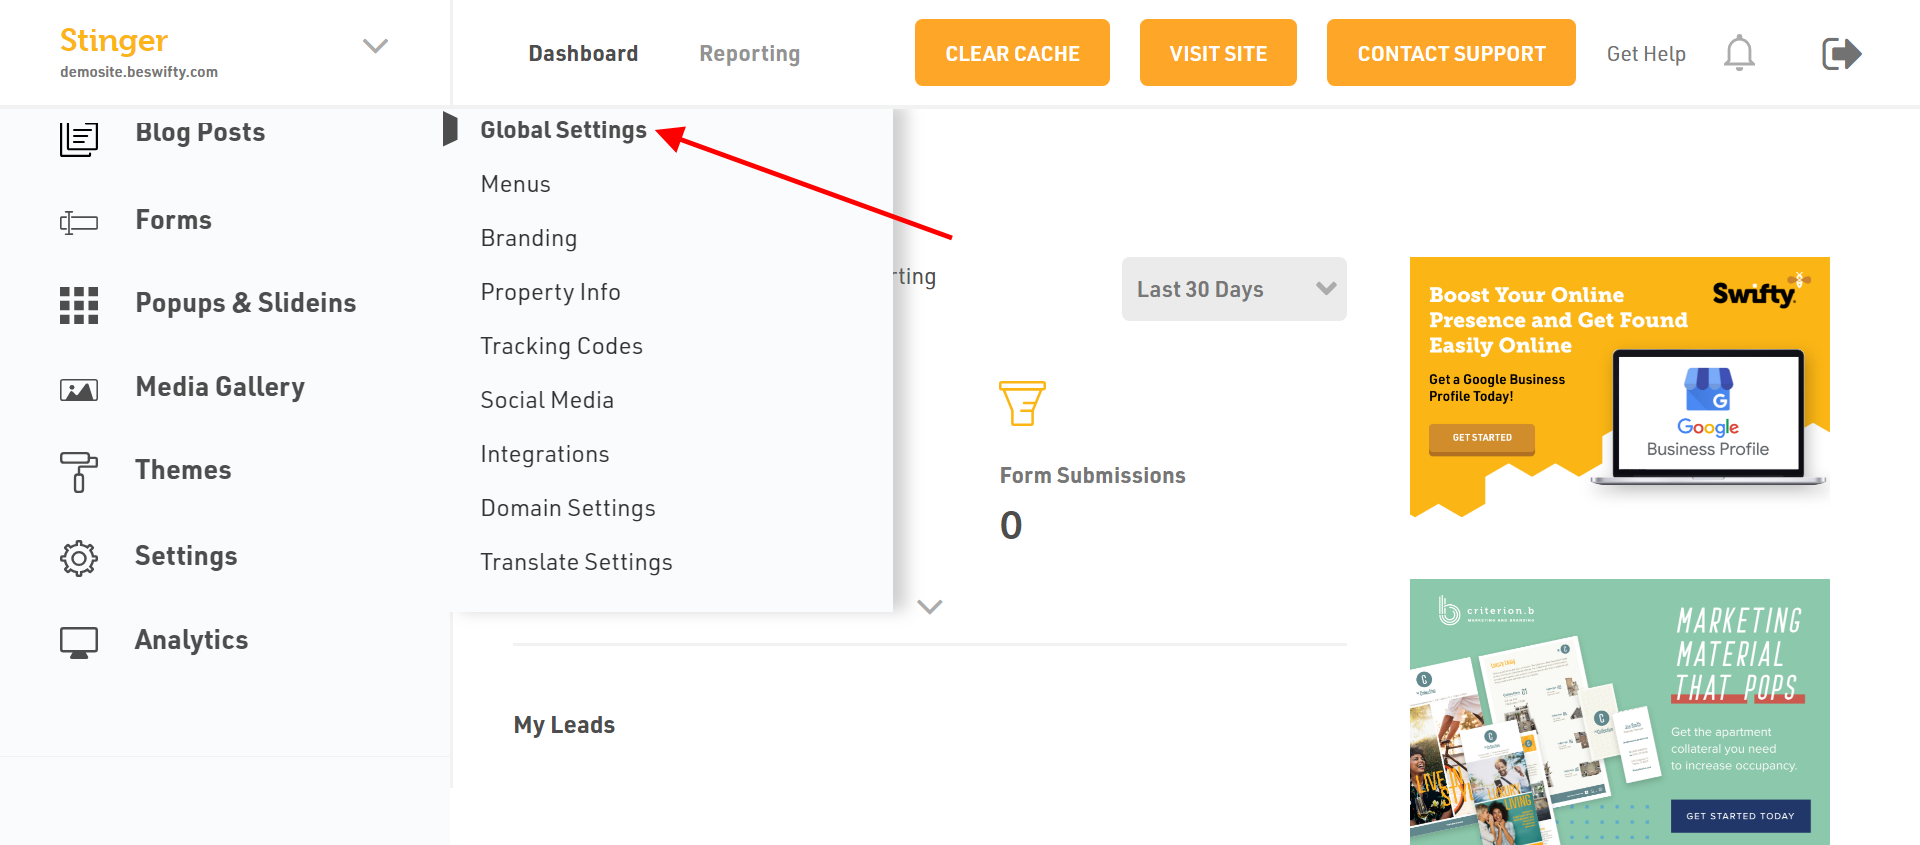
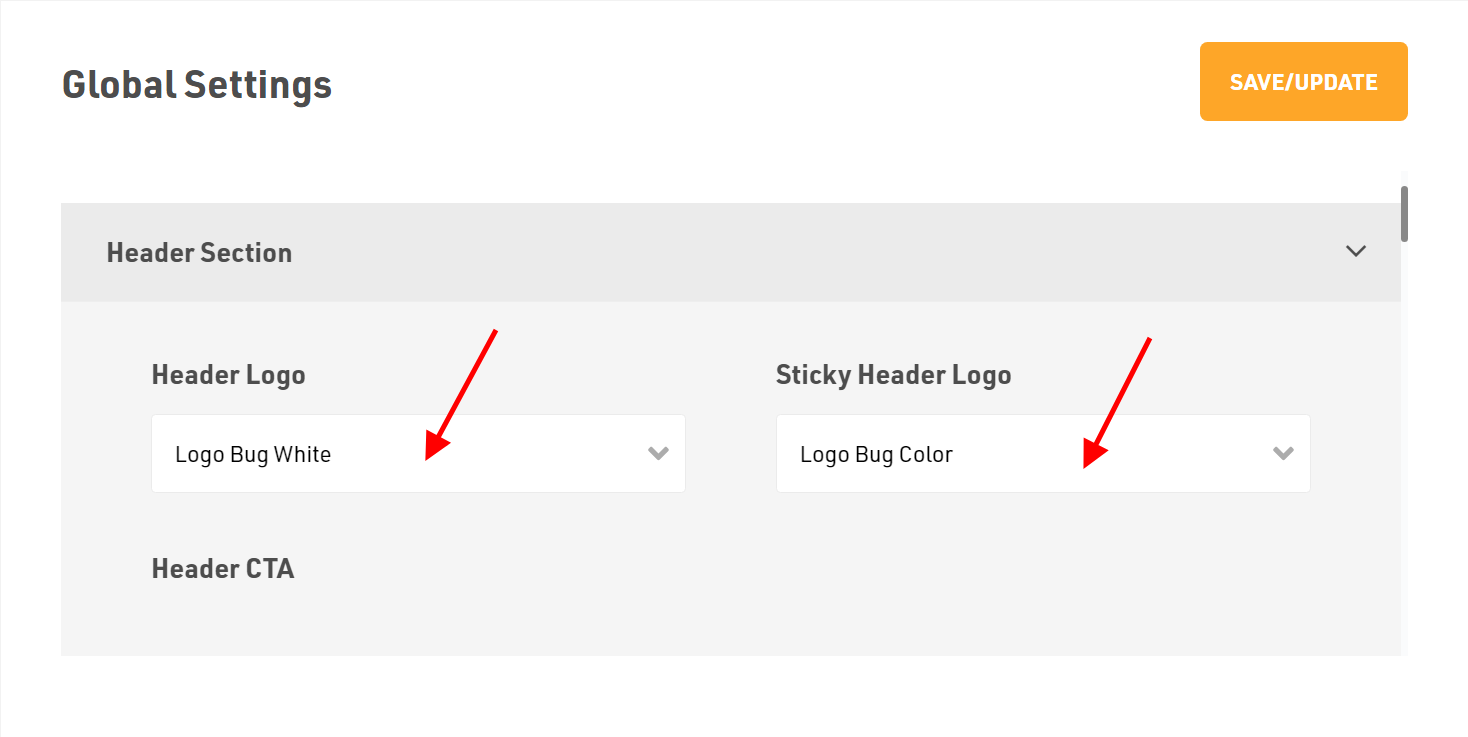
- In the Global Settings screen by default Header Section will open.
- You can choose the type of Header Logo and Sticky Header Logo from the drop down menu.
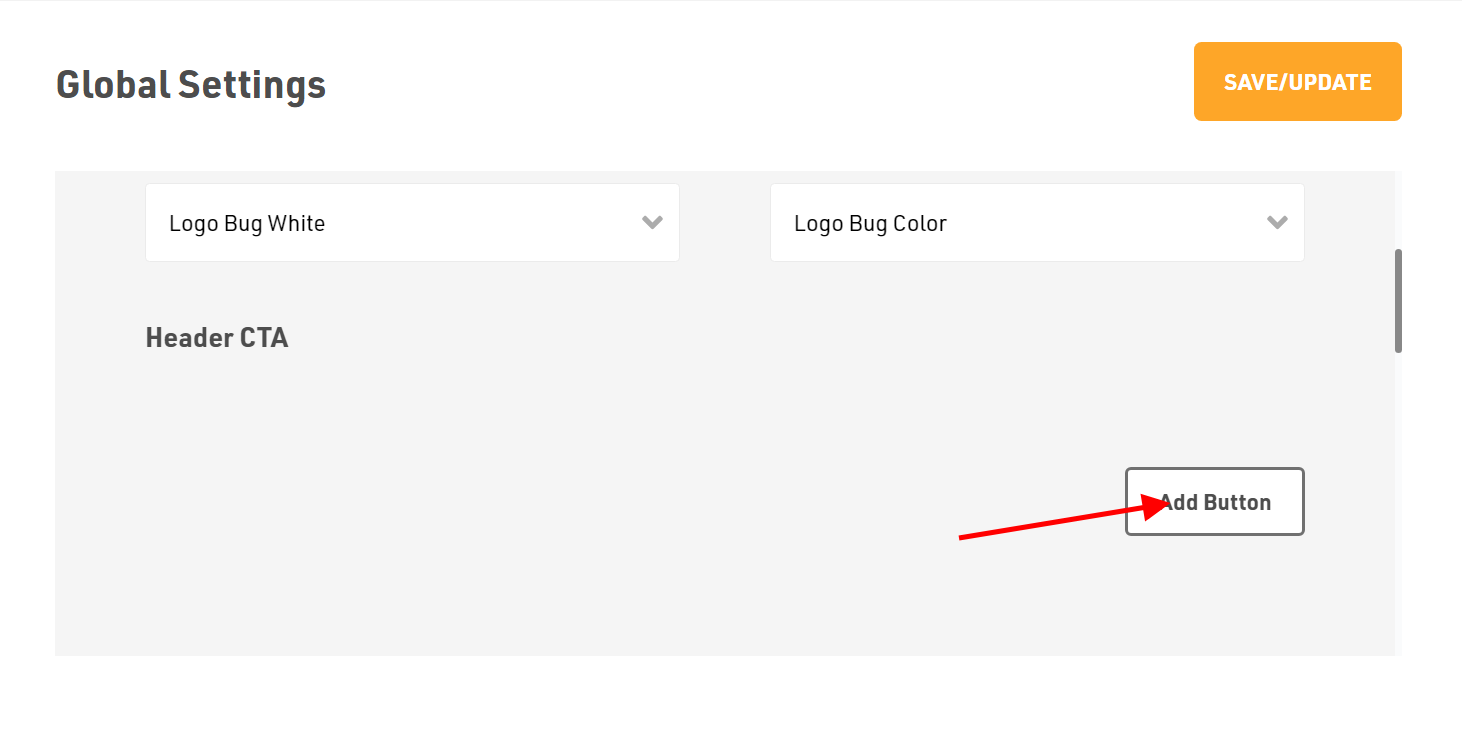
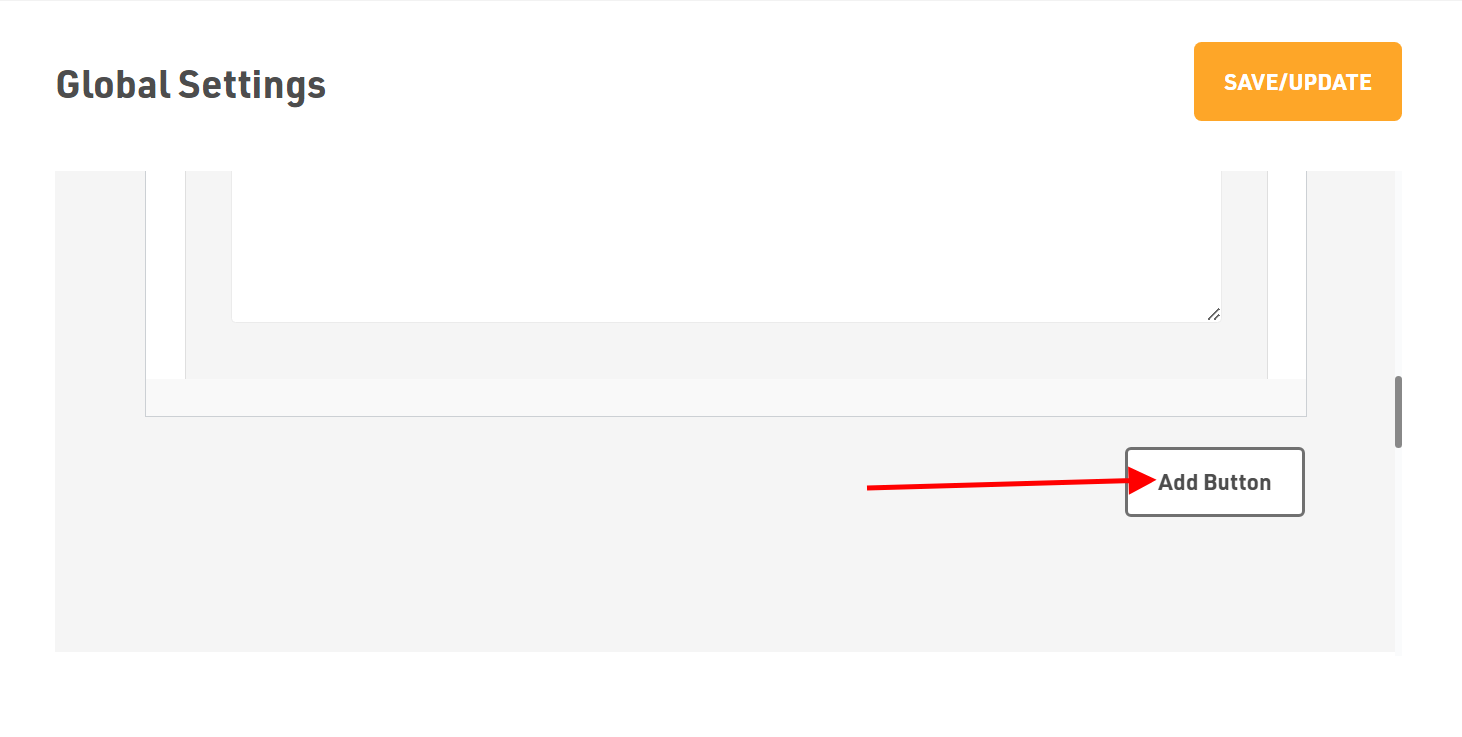
- Next is Header CTA which you can add by clicking on Add Button.
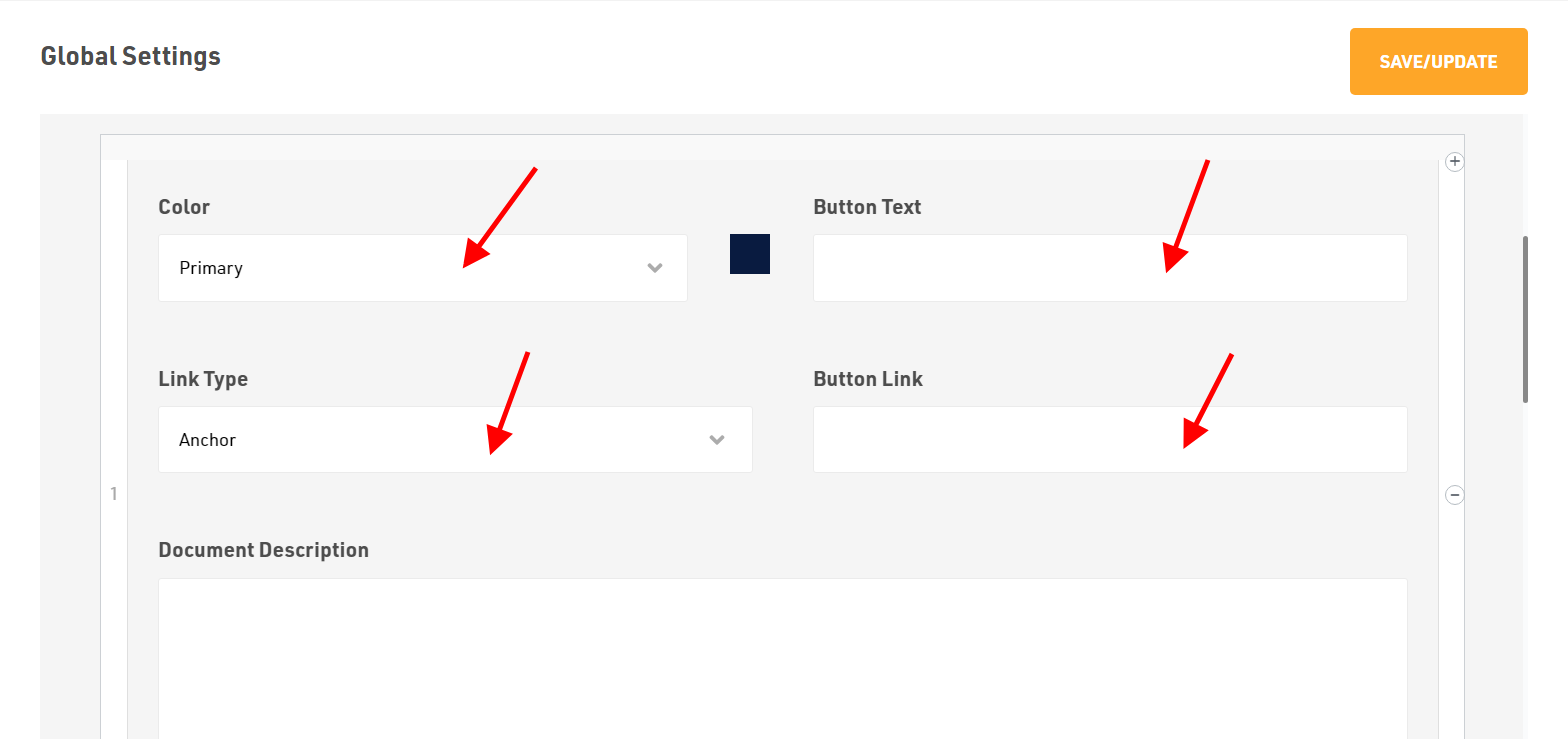
- Once you hit the Add Button, you will see options to define Button color, Button text, Button link type, and Button link.
- Lets dig in at how each option works:
- Color - You will be able to choose the type of color for your Button from the list. This list is pulled from your Settings > Branding > Color Scheme.
- Button Text - This is where you define what your button would be called. For example, Take a tour, Contact us, Apply now, etc.
- Button Link - There are 5 types of Links available:
- Internal: Choosing this link type will enable the button to be linked to the internal pages of the website. After choosing the internal link option you need to choose the name of the page you want this button to be linked with from the drop down menu.
- External: Enables you to link the button to a third party website. Simply copy and paste the third-party website link in the Button Link box.
- Anchor: This link enables you to link the button to the content on the same page that has an anchor attached.
- Pop-up Trigger: This type of link enables linking the button to any marketing pop-ups. You need to create marketing popups first in order to see them in the Choose Popup drop-down list. To create a pop-up, navigate to Popups and Slide-ins > Popups.
- Virtual Tour URL: This is similar to External Link. Simply copy and paste your apartments virtual tour URL in the Button Link box.
- In order to add another CTA button, simply click on Add Button and follow the same steps as mentioned above.
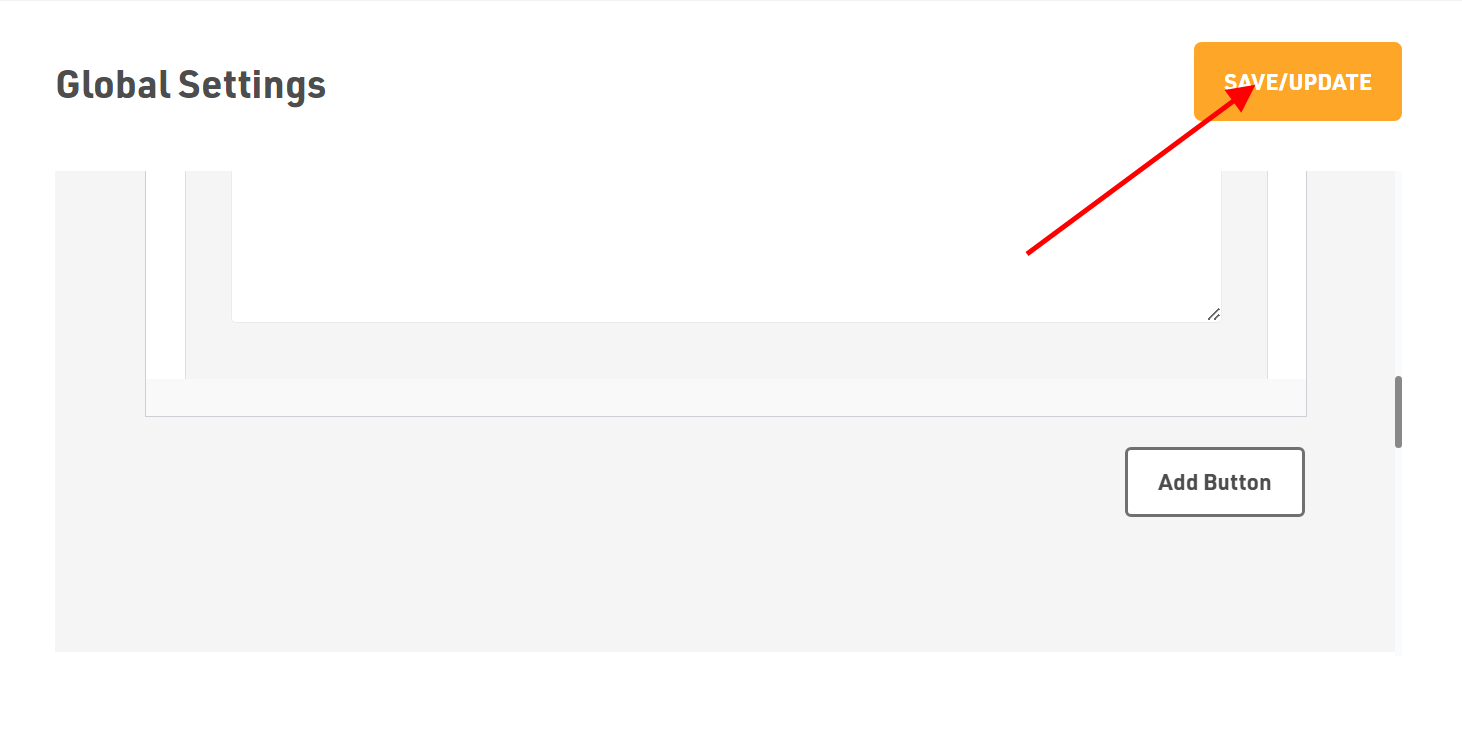
Dont forget to Save/Update
Make sure to click the Save/Update button on top right corner once you finish everything.
Was this article helpful?
Thanks for the feedback.