
How to Add New Blog Post?
Steps:
- Login to the dashboard of your property website at manage.beswifty.com.
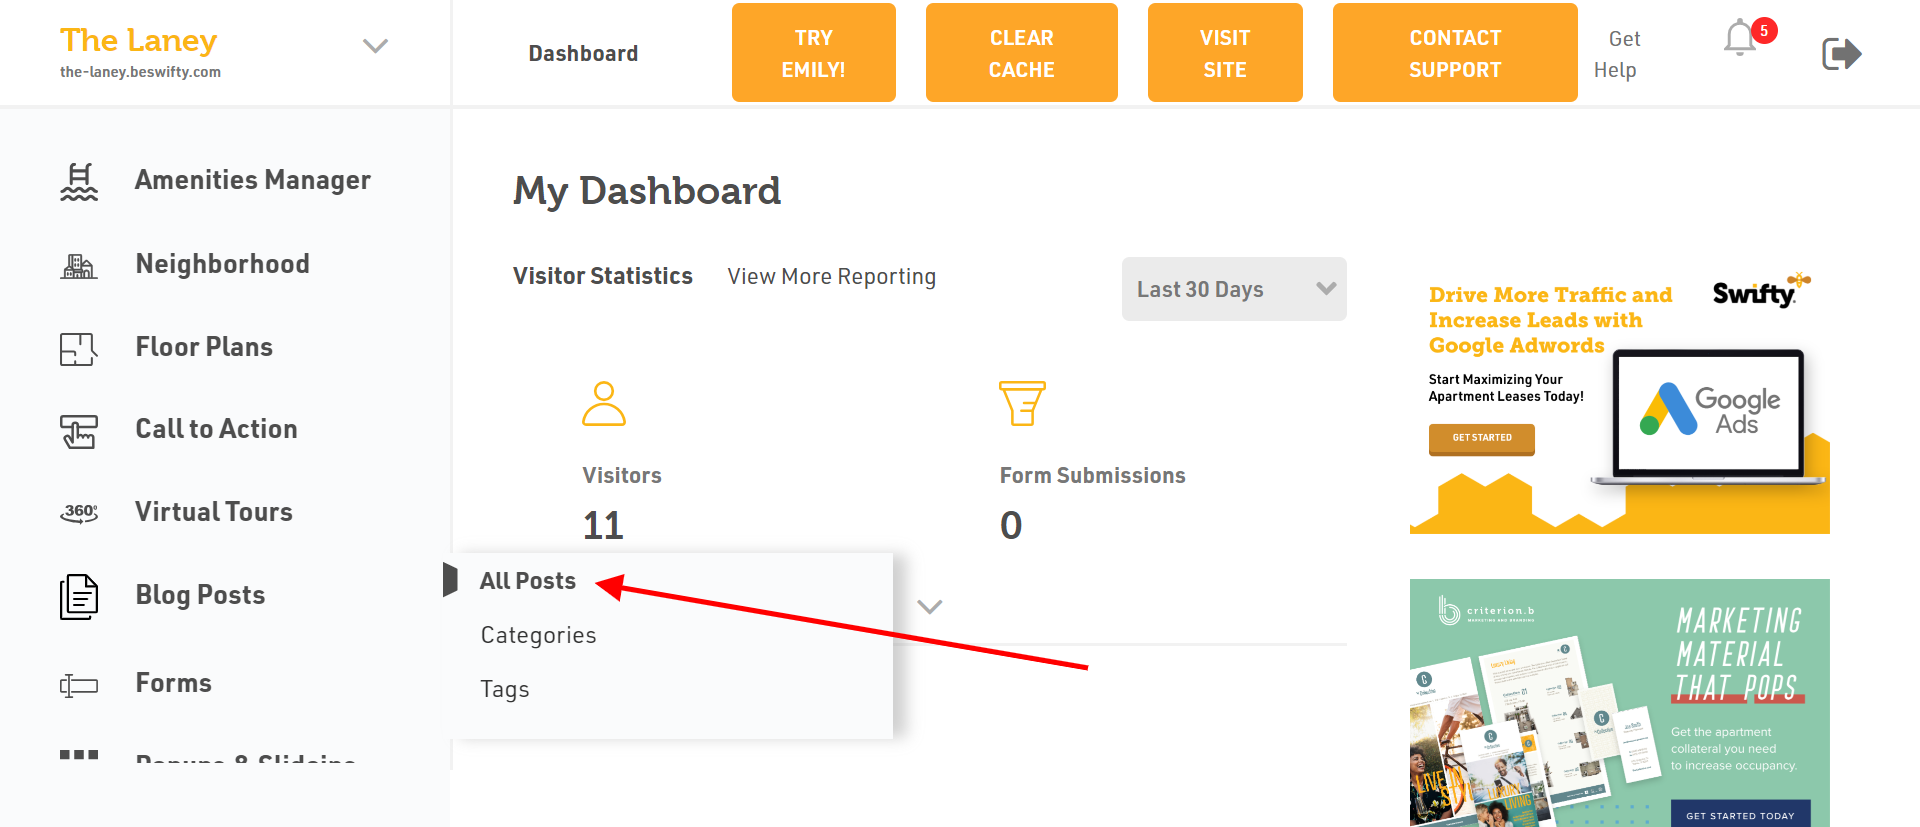
- Navigate to Blog Posts > All Posts.
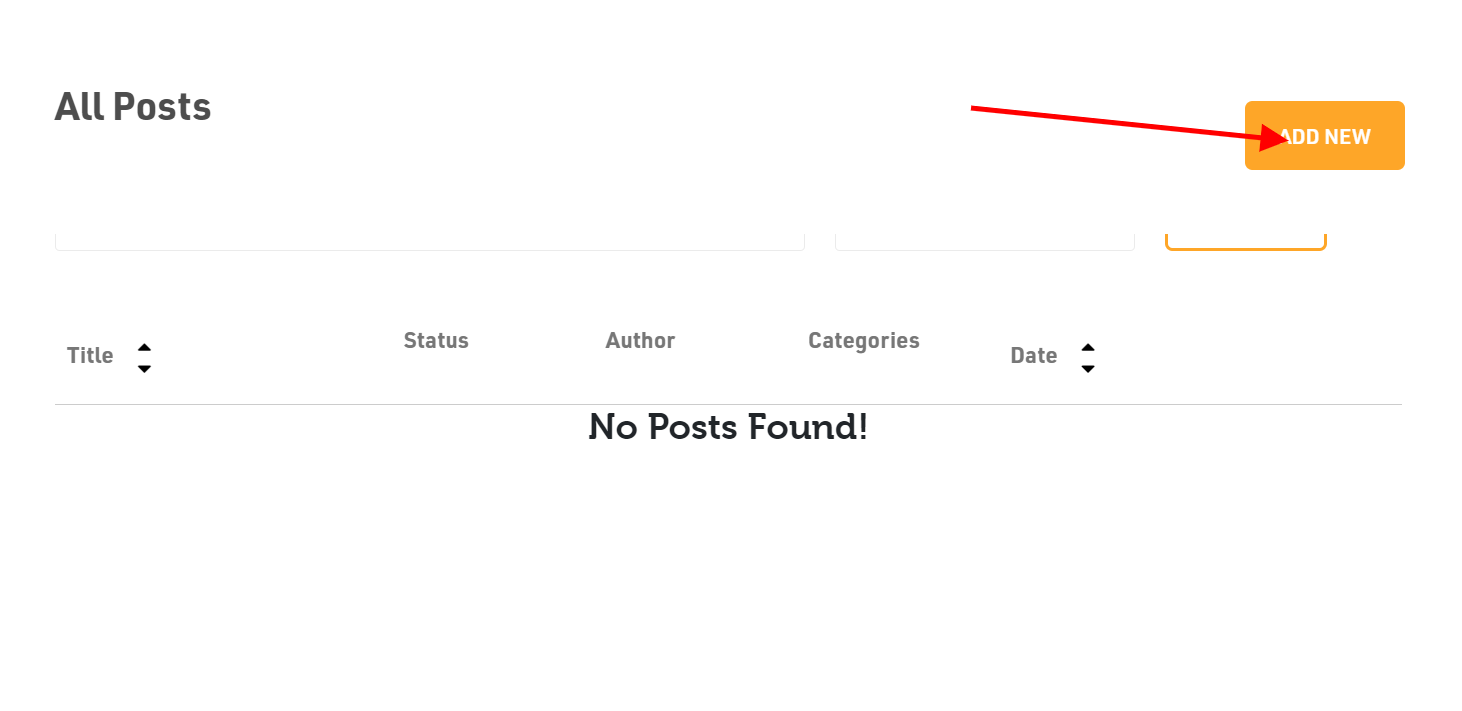
- Click on the Add New button in the top right corner to start writing blog post.
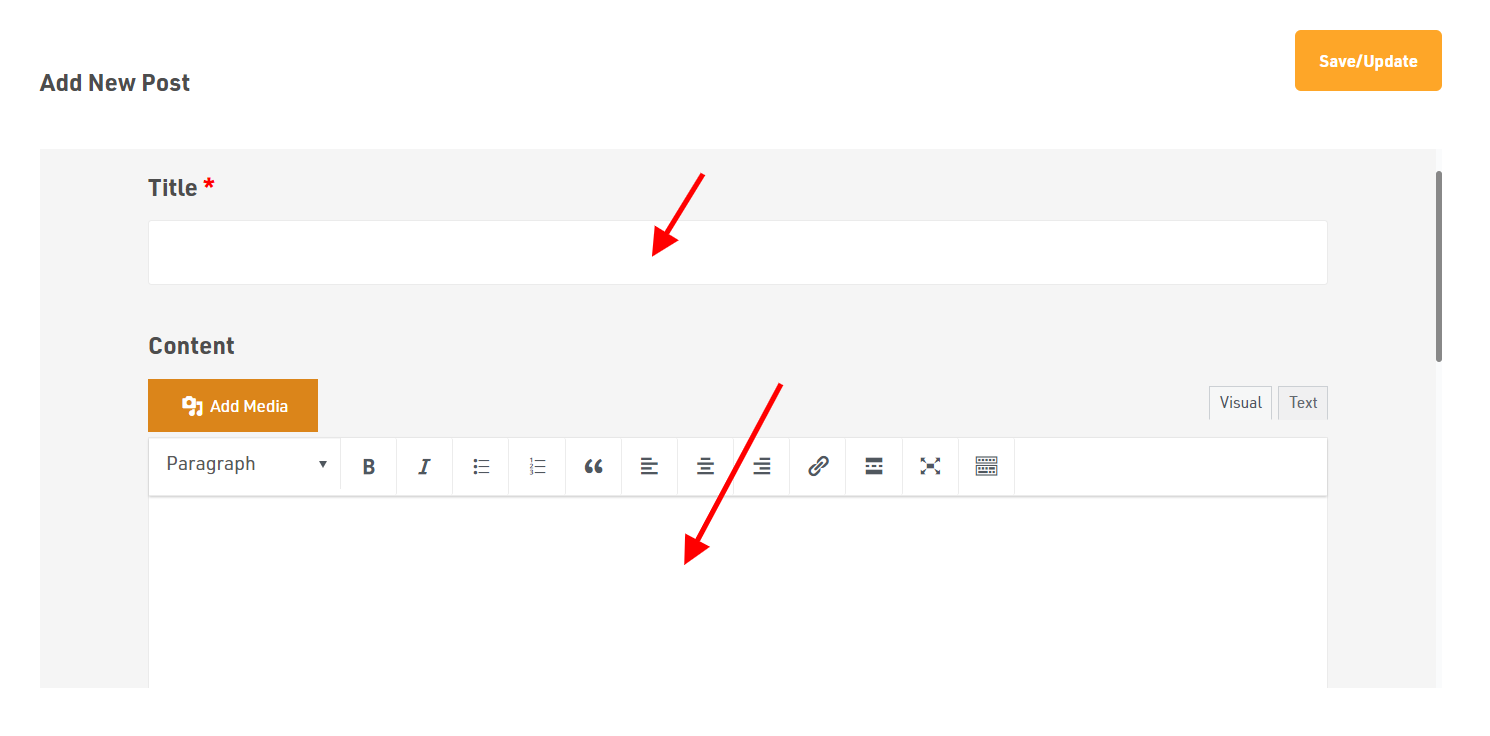
- Input text in Title and Content. You can edit the content as needed
- Add the Featured Image by clicking on Add Image and upload the file from your device.
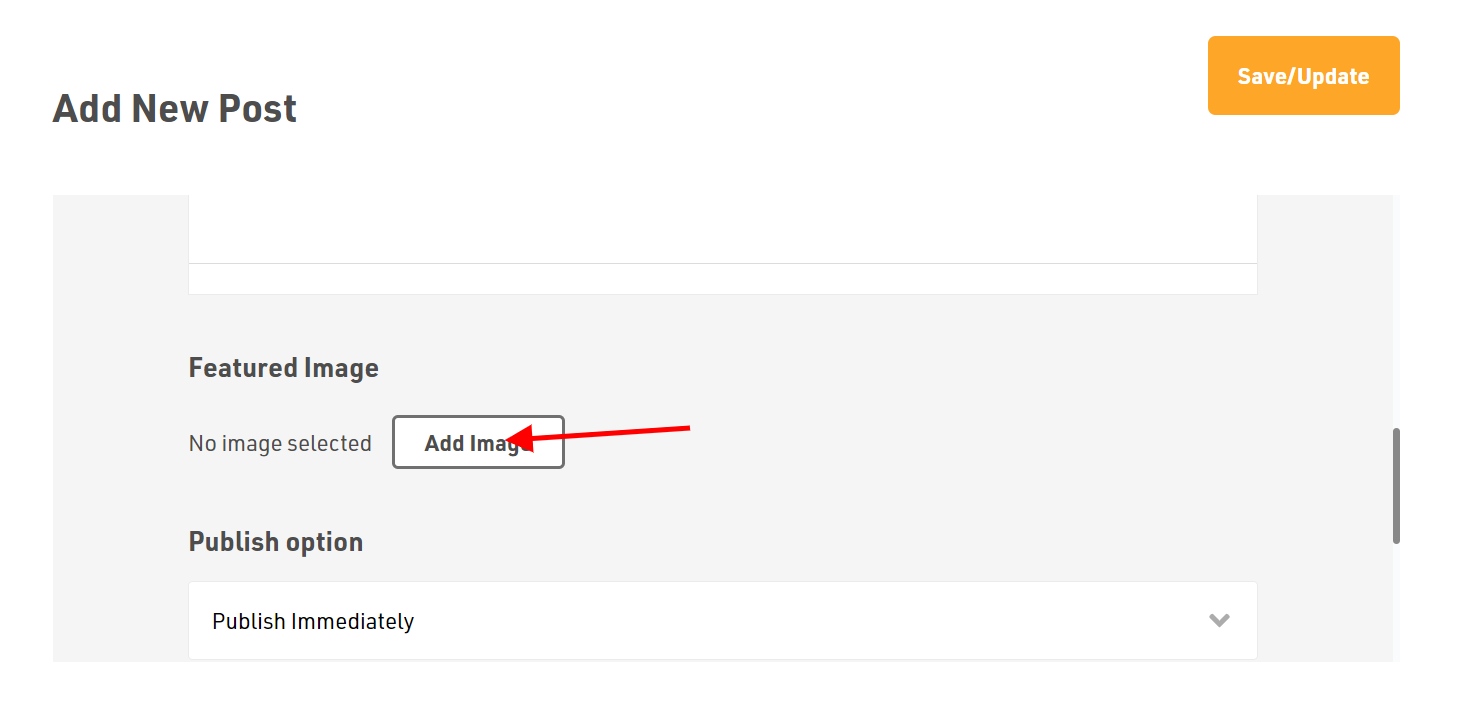
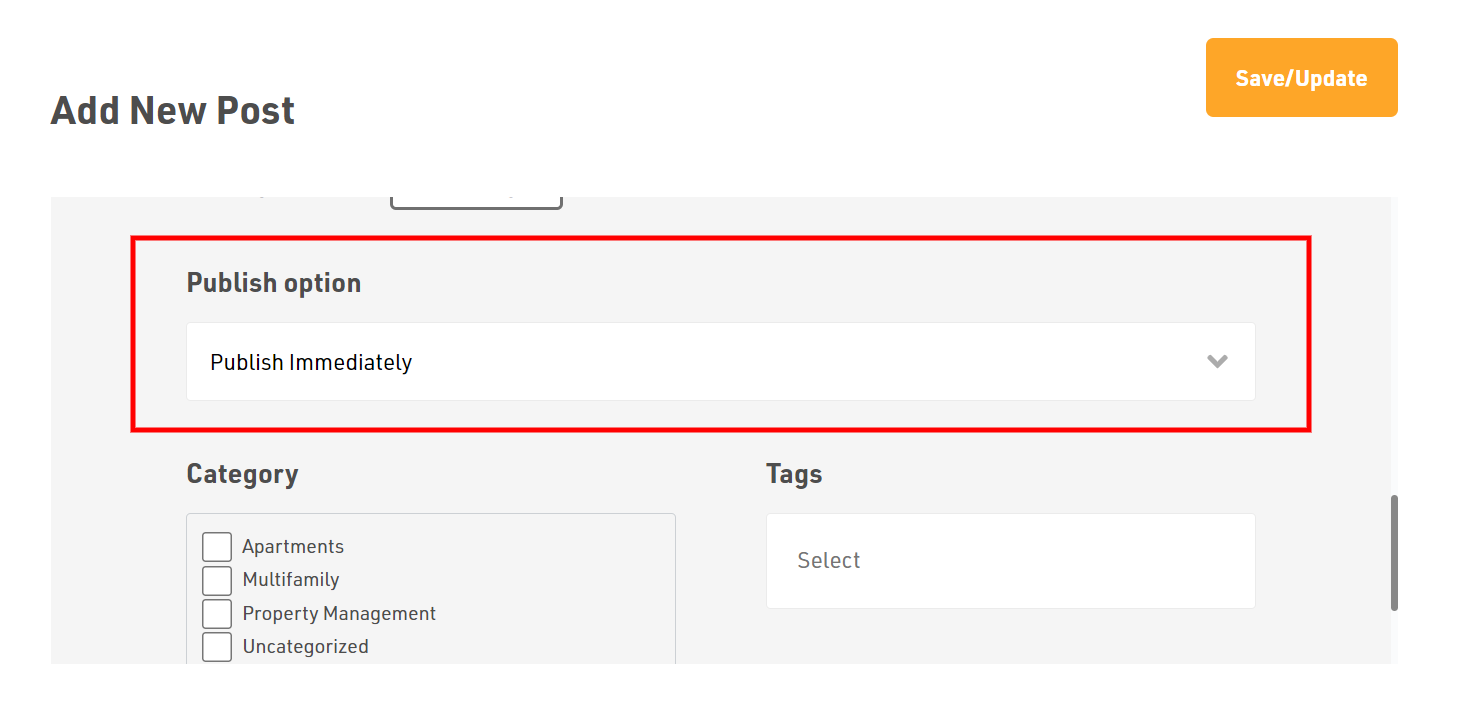
- Next, select one the Publish options from the drop-down menu. (i.e., Publish Immediately or Schedule.)
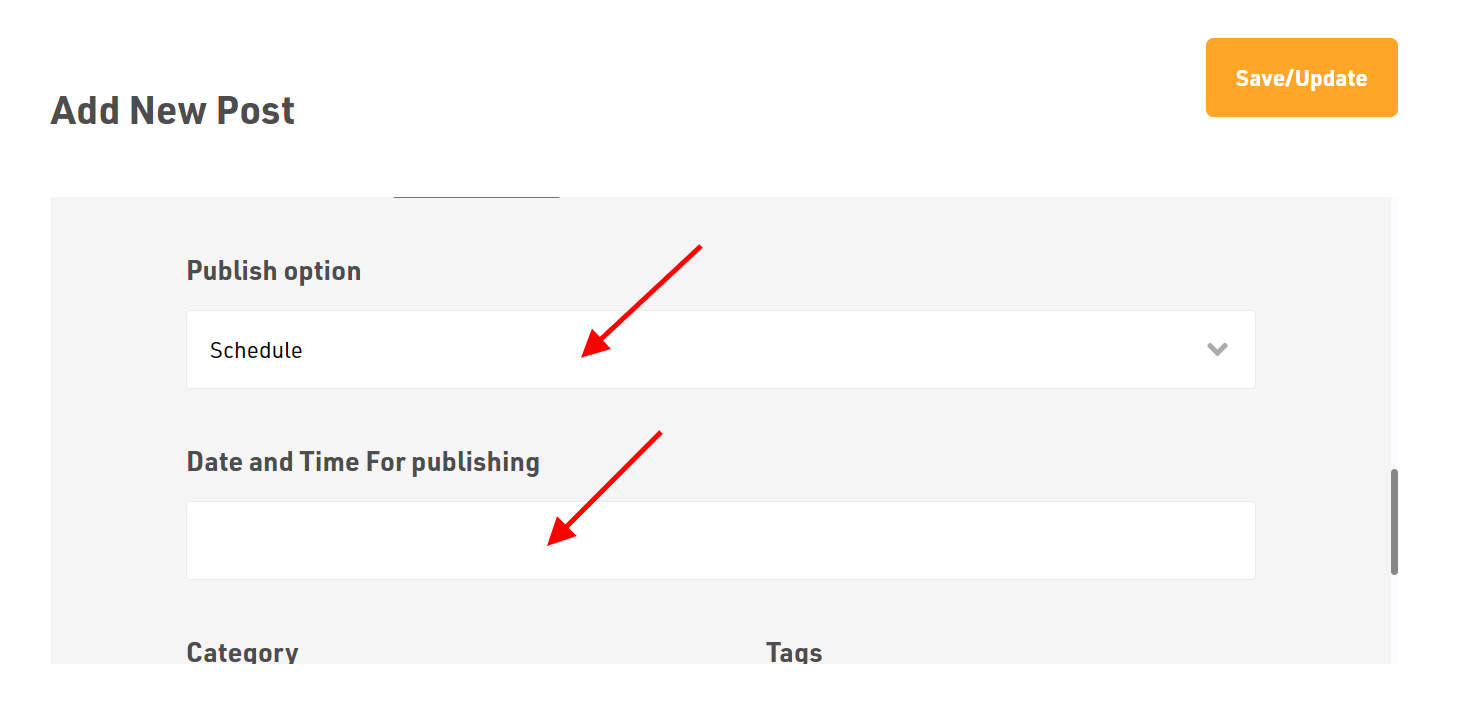
- After selecting the Schedule option, add the Date and Time for publishing.
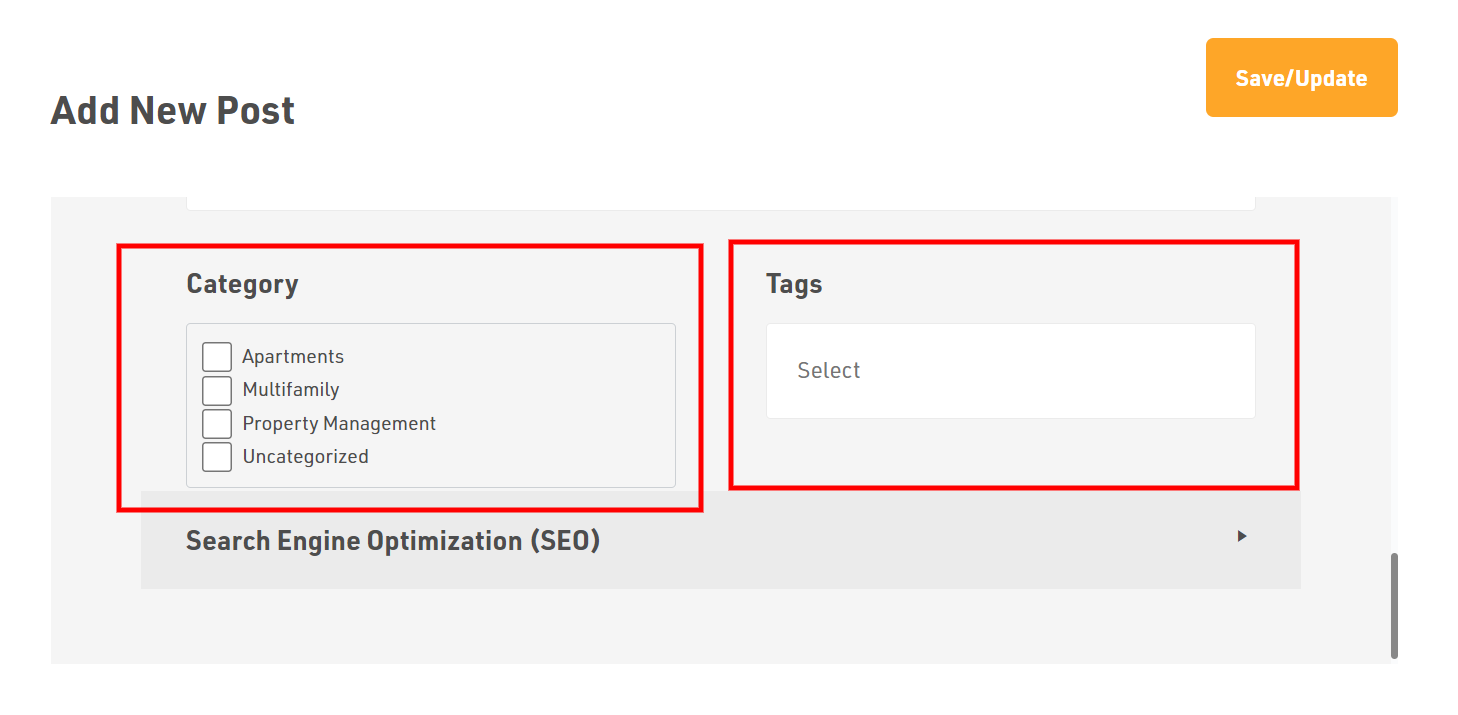
- After completing the publishing options, select the Category and Tags related to your blog post.
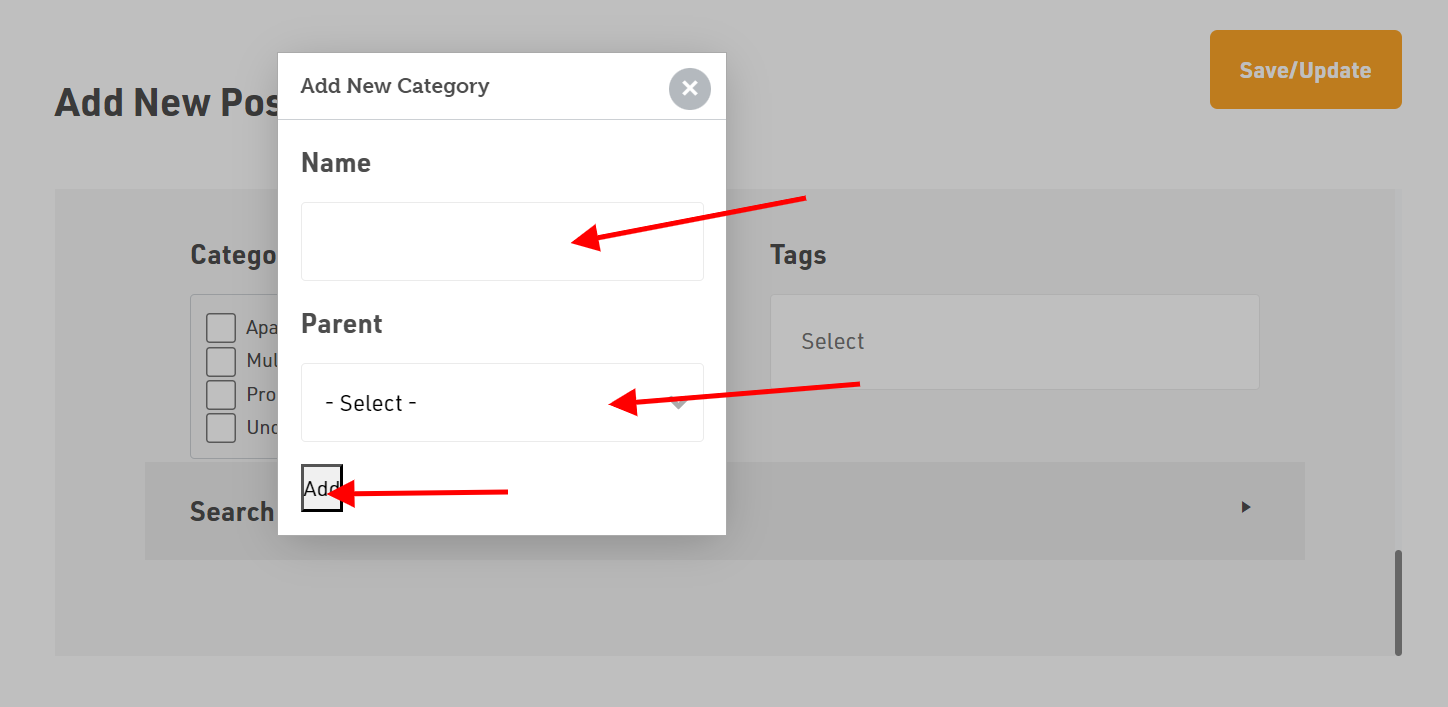
- To add a new Category, click on the (+) icon, then add the Name and Parent Category. After adding the name and parent category, click on Add to see the new category Refer to our article on How to Add a New Category
- To add a new Tag, click on (+) icon, input the Name and click on Add to see the new tags.
Refer to our article on How to Add New Tag?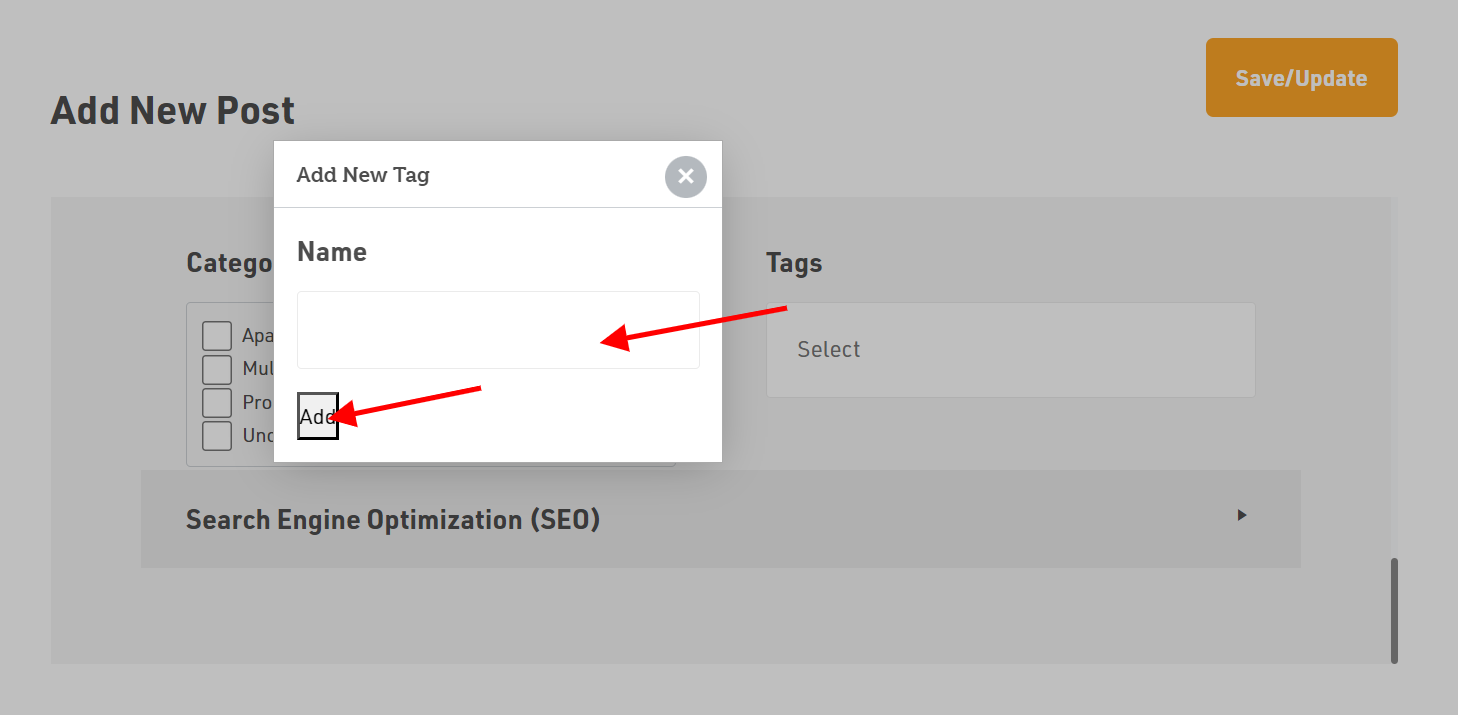
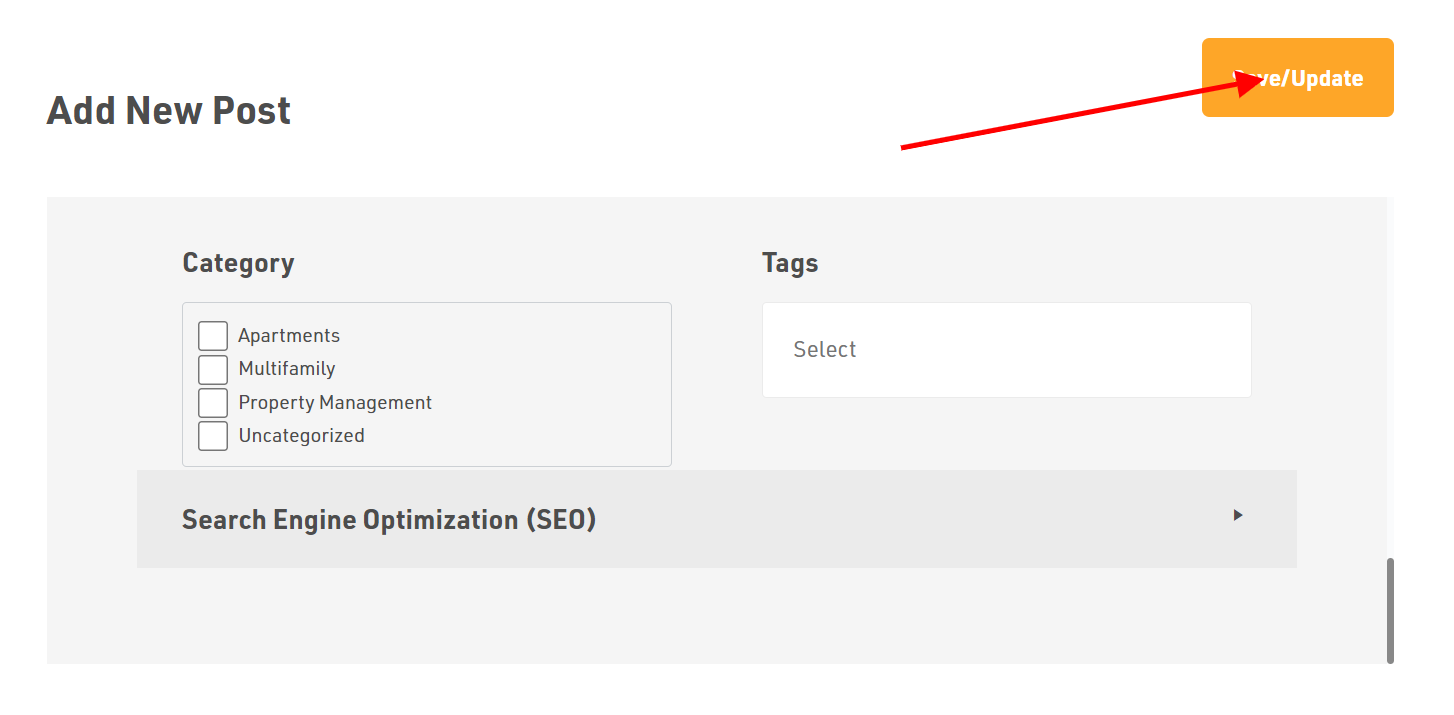
Dont forget to Save/Update
Once you finish everything, click the Save/Update button on top right corner.
Was this article helpful?
Thanks for the feedback.