
How to Set up Tracking Codes on your Swifty Site
How to Set Up Tracking Codes
- Login to the dashboard of your property website at manage.beswifty.com.
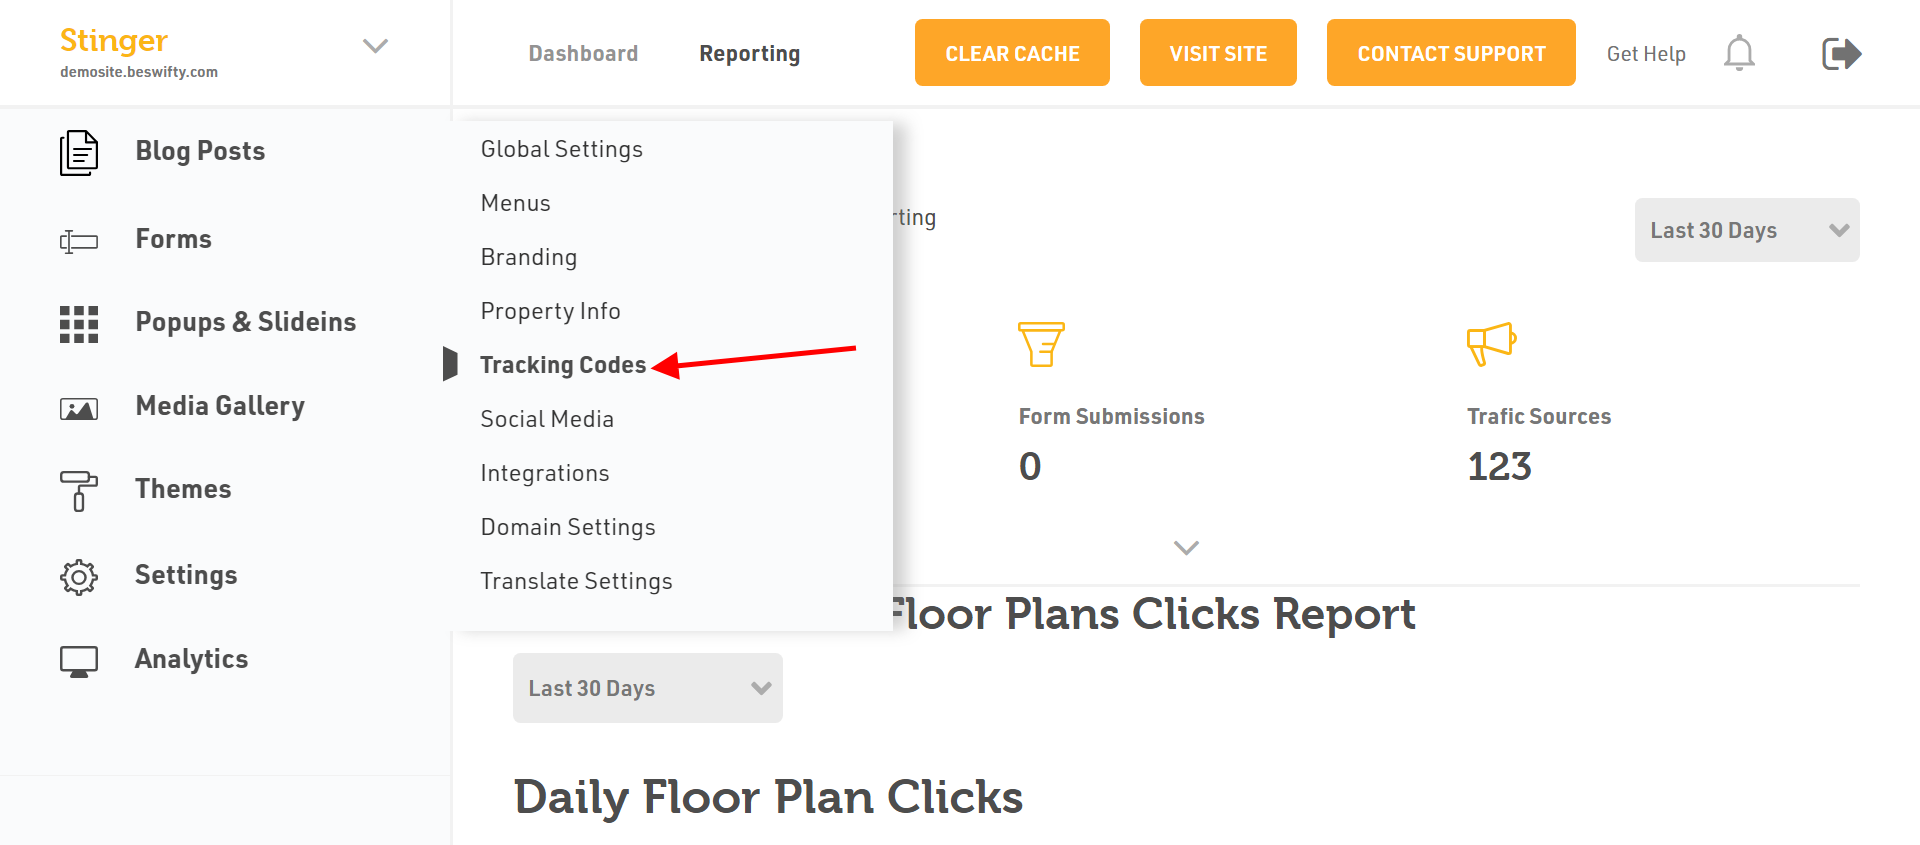
- In the left sidebar, navigate to Settings > Tracking Codes.
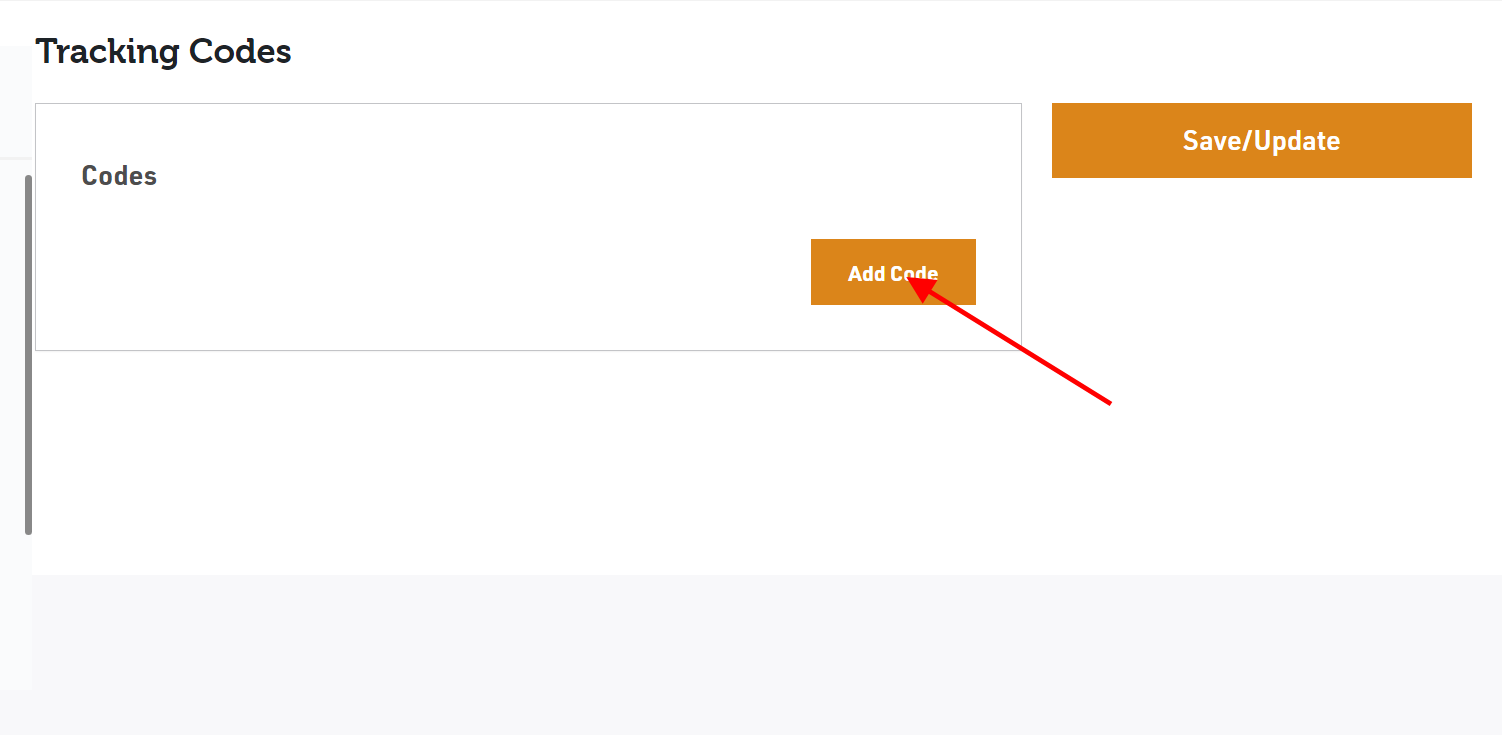
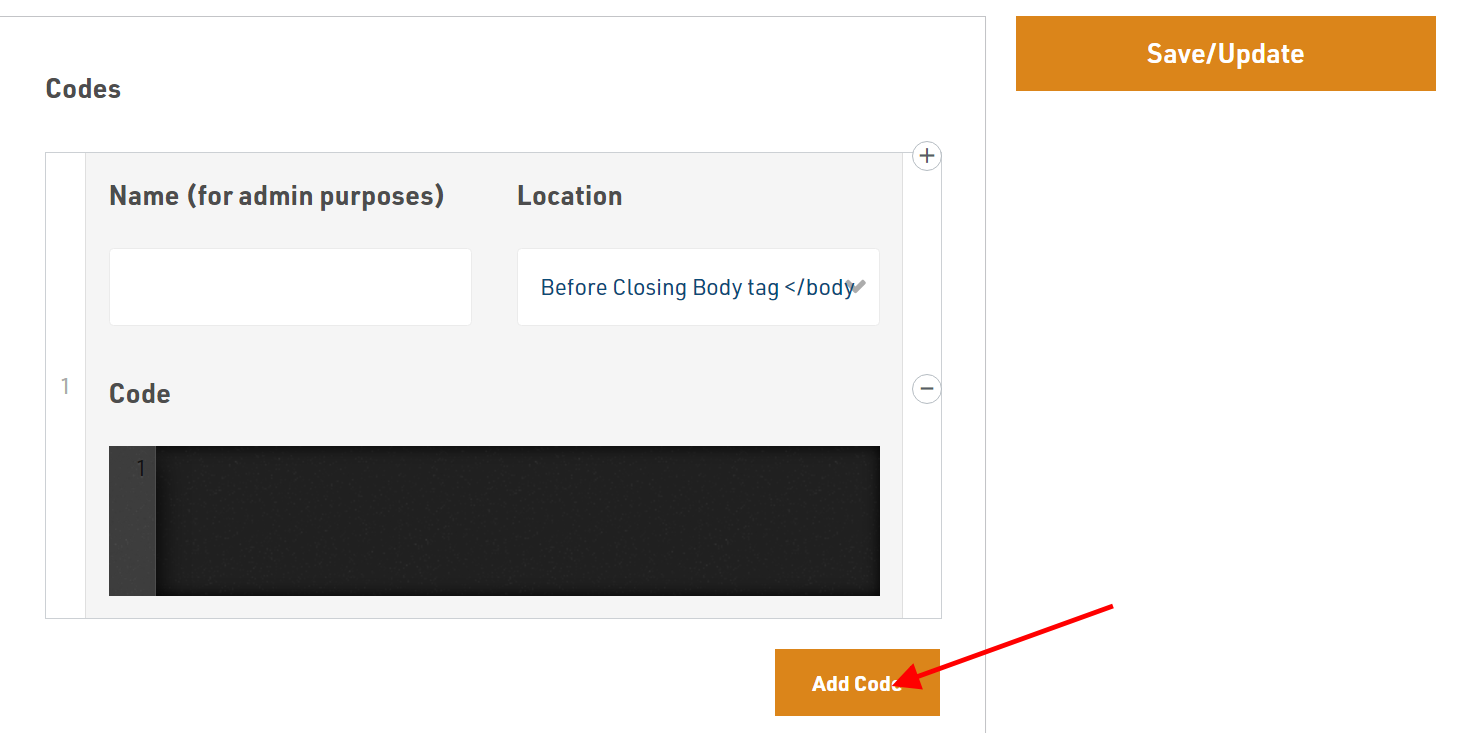
- Click on Add Code.
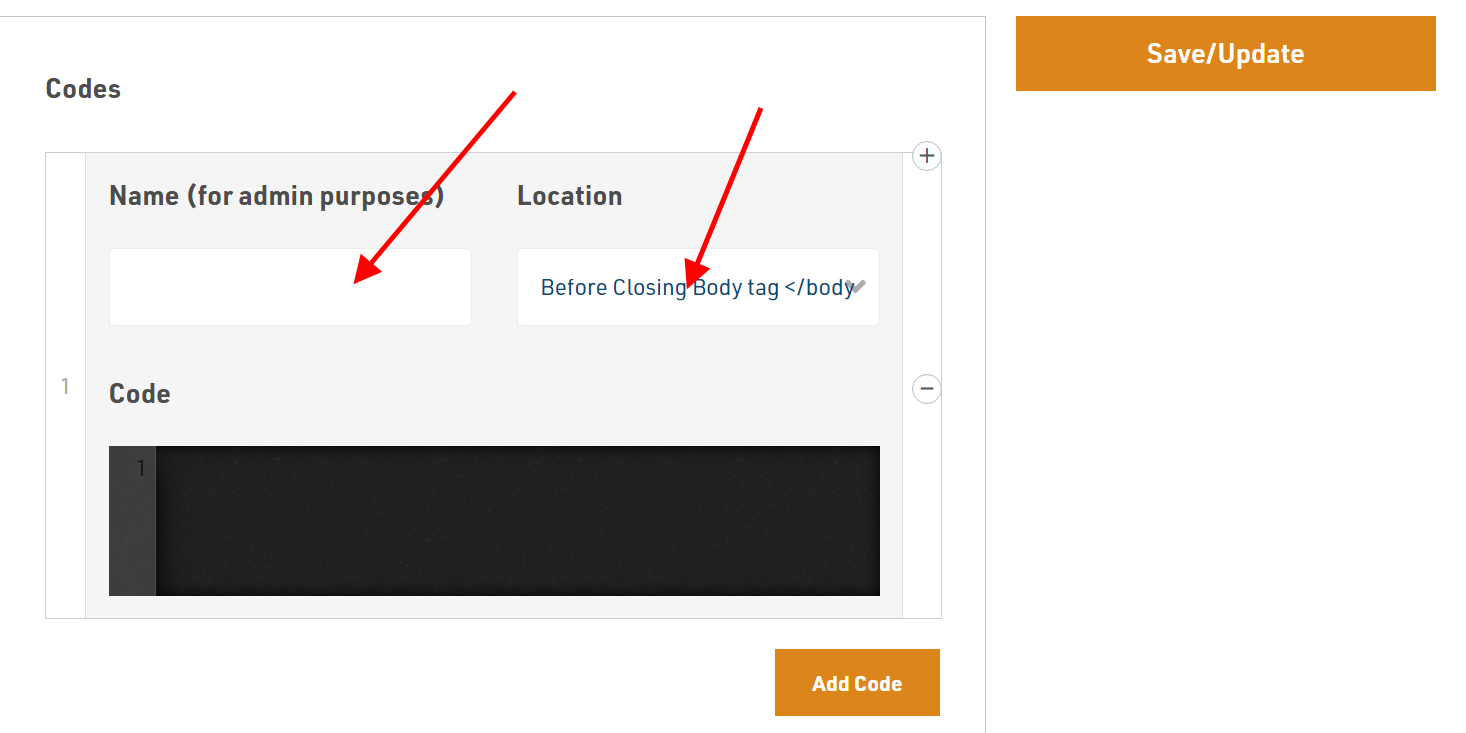
- Next, enter the Name. Note: The name is only for your reference and will not be visible on the front-end.
- In the drop down menu, choose the Location of the code for where you want the code to work.
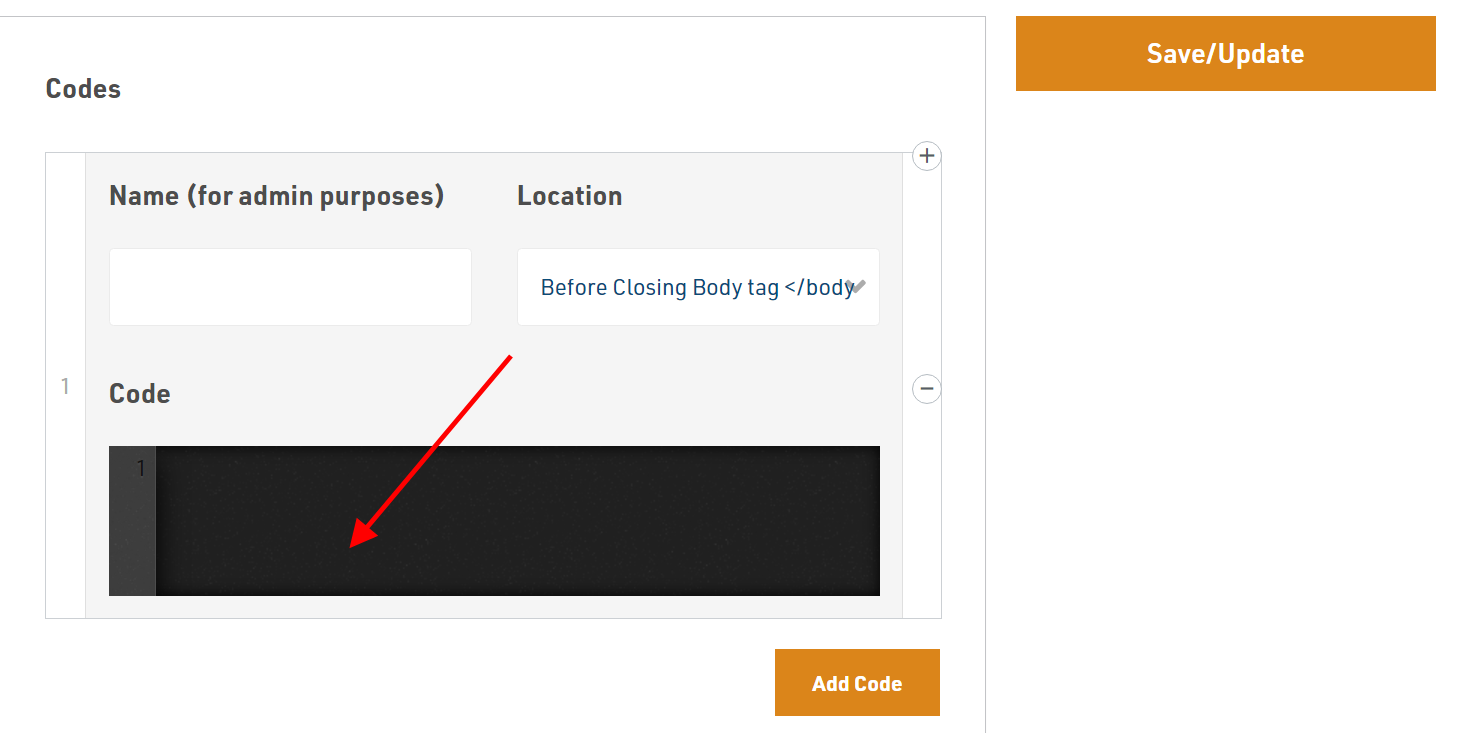
- Paste the Code in the black box available.
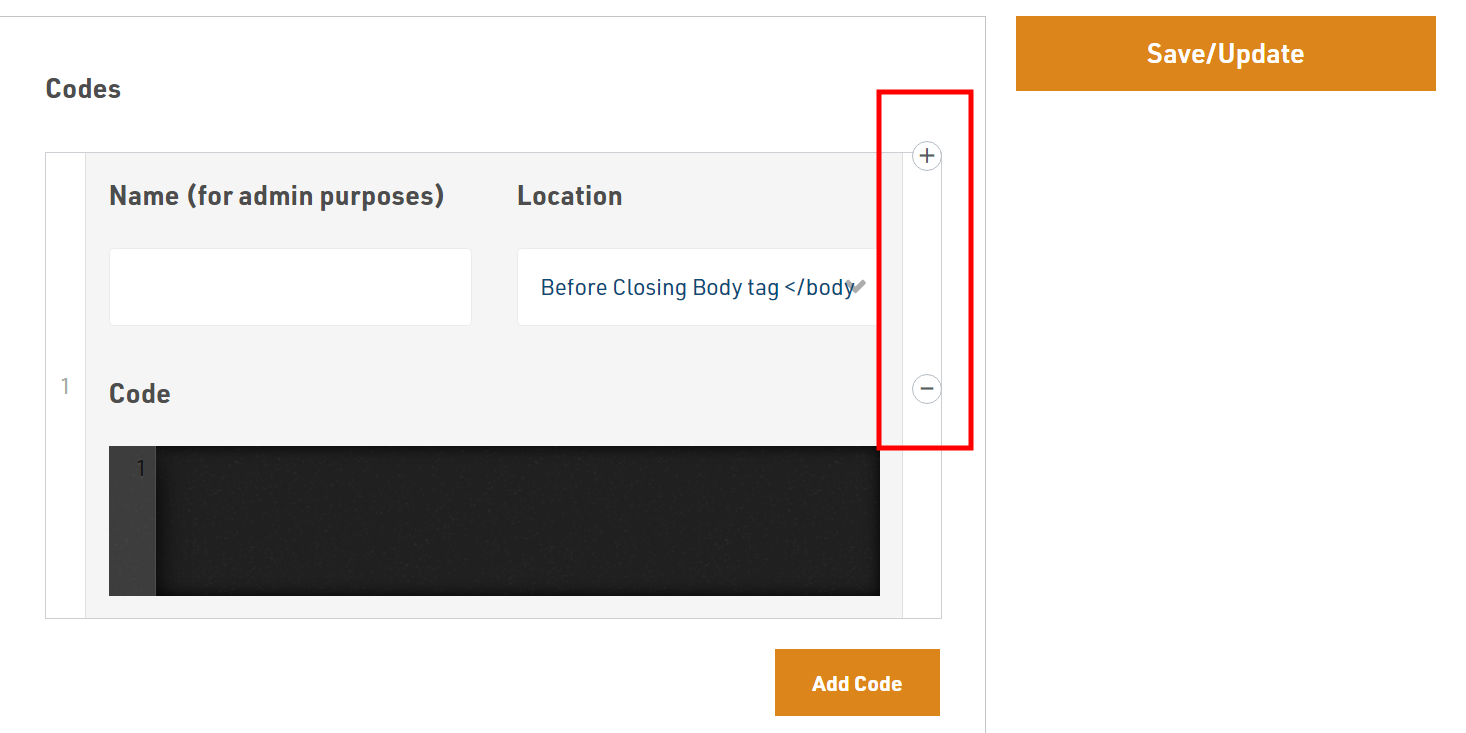
- If you want to add or remove any code, you can click on (+) or (-) sign on the right-hand side.
- If you want to add new code, simply click on Add Code.
How you can Add Third-Party Scripts on your swifty website
- On the Tracking Codes page, you will see several input fields, each dedicated to a different platform (i.e. Google Analytics, Facebook Pixel, etc.).
- Google Analytics: If you have a Google Analytics tracking ID, paste it into the Google Analytics ID field.
- Google Tag Manager: Paste your GTM container ID in the Google Tag Manager ID field.
- Facebook Pixel: Paste the pixel ID into the Facebook Pixel ID field.
Note: Each tracking platform has its own process for generating a tracking ID or pixel ID. Youll need to follow those processes to obtain the ID if you dont already have it.
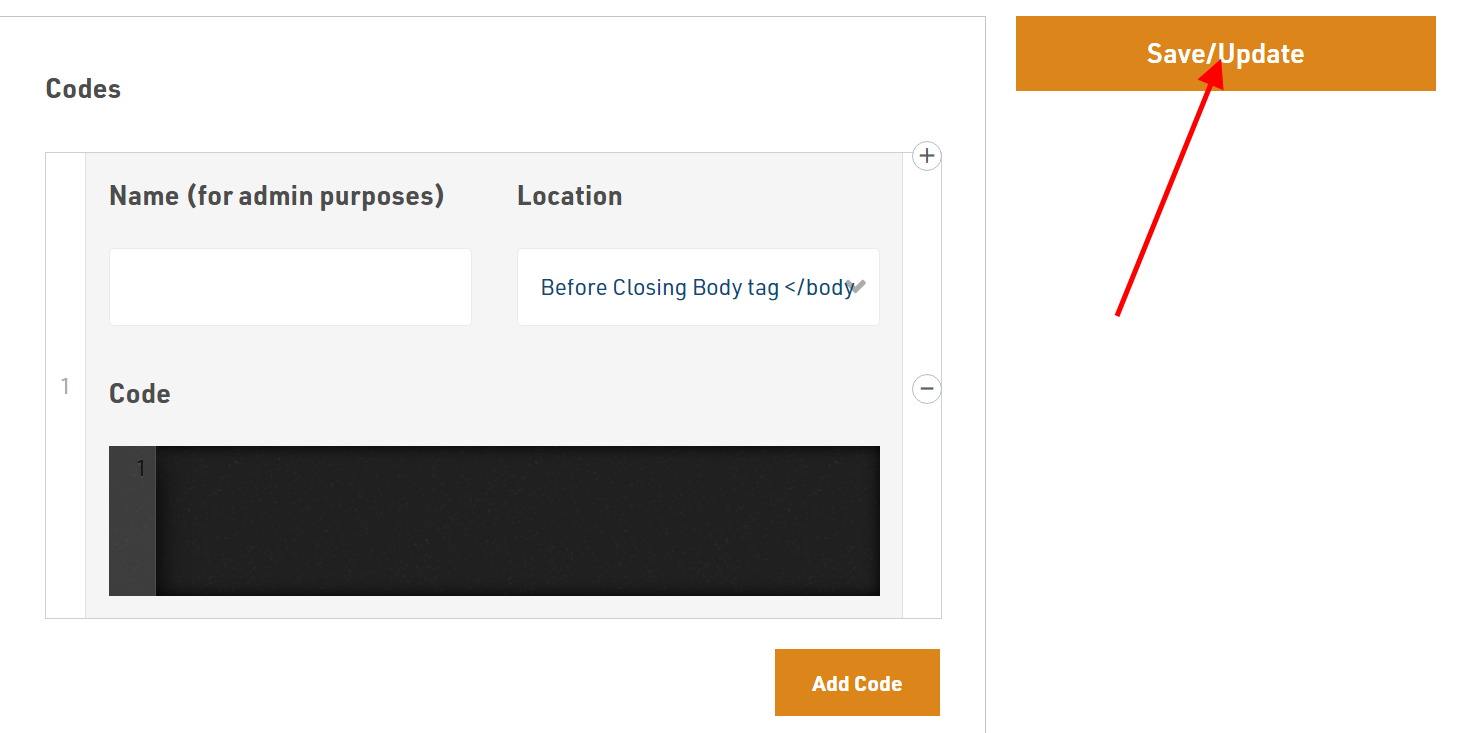
Dont forget to Save/Update
After you have input the correct tracking codes in the relevant fields, click Save/Update at the bottom of the page. This action will save your changes and ensure that the tracking codes are activated on your site.
Was this article helpful?
Thanks for the feedback.