
How to Add or Edit Slide-ins
How to add or edit Intro
- Login to the dashboard of your property website at manage.beswifty.com.
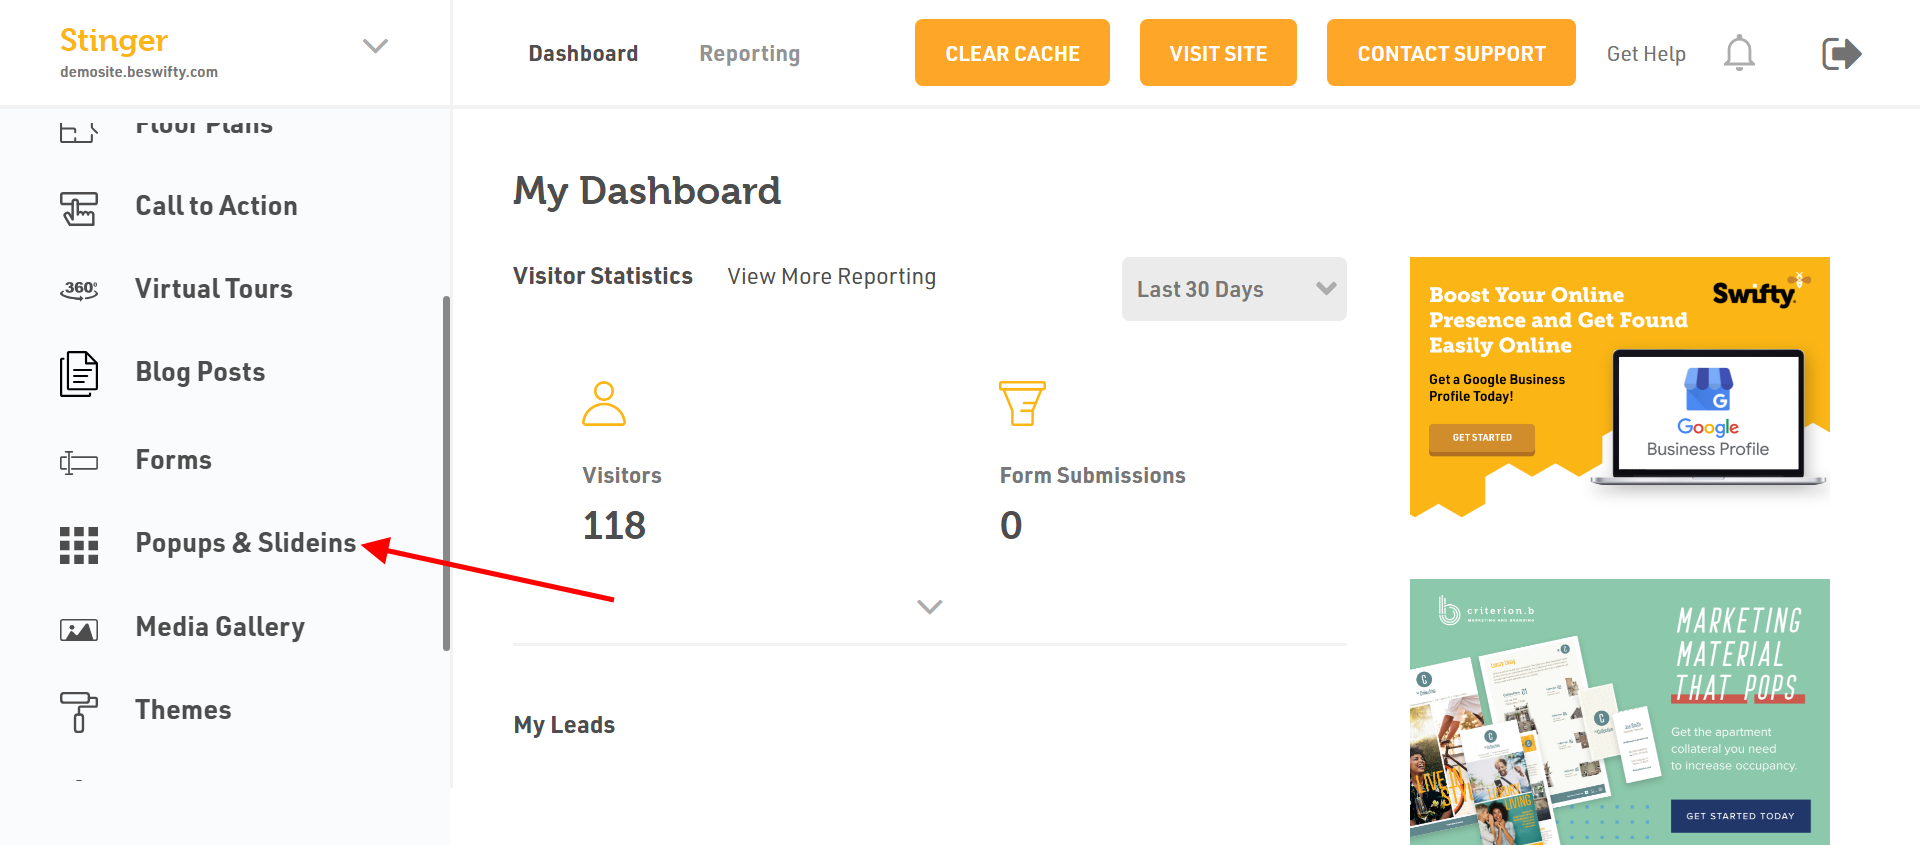
- In the Navigation bar on the left side of the page, find and click on Popups & Slide-ins.
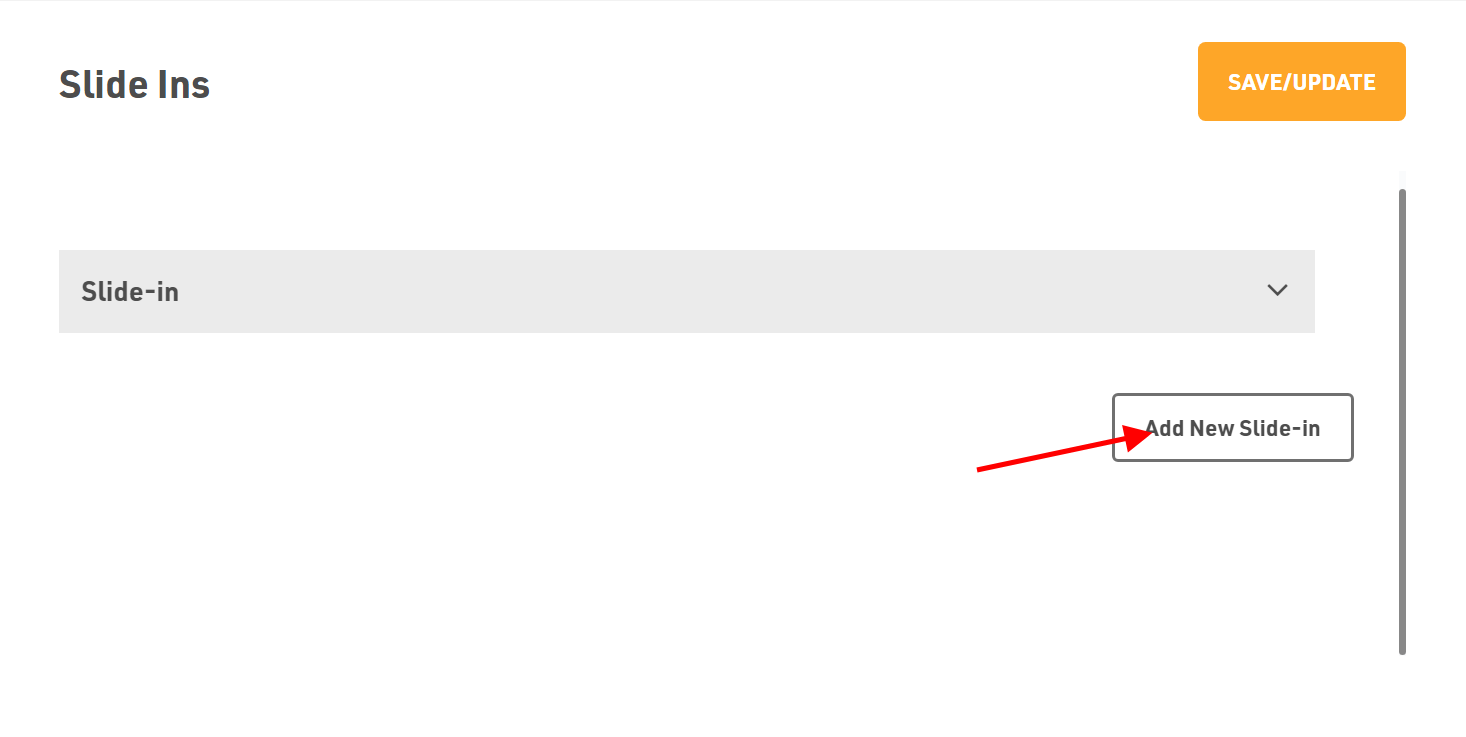
- To create a new slide-in, click on the button that says Add New Slide-in.
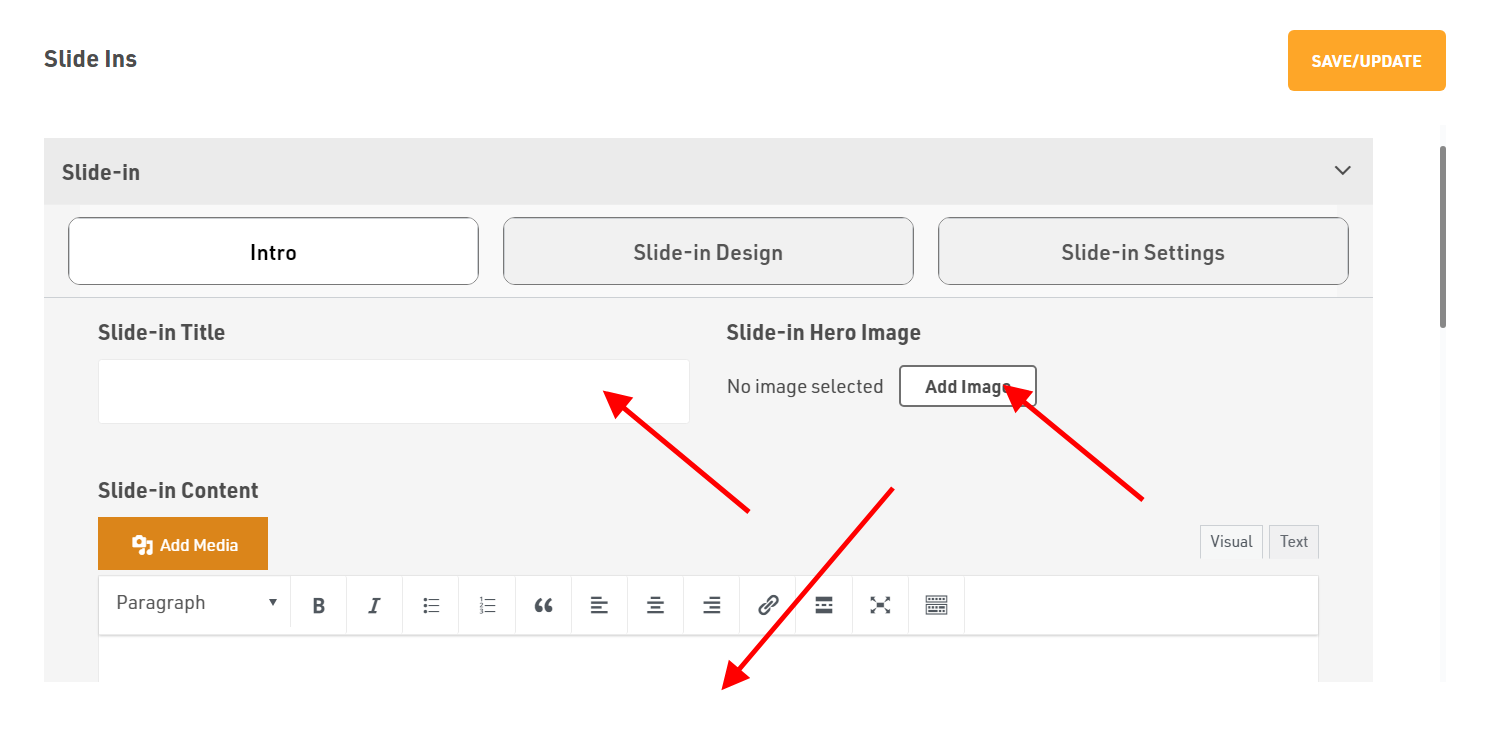
- Youll see three sections - Intro, Slide-in Design and Slide-in Settings.
- Firstly, in Intro section, input the text in Slide-in Title.
- Next upload the Slide-in Hero Image by clicking on Add Image.
- Next you will need to write the Slide-in Content.
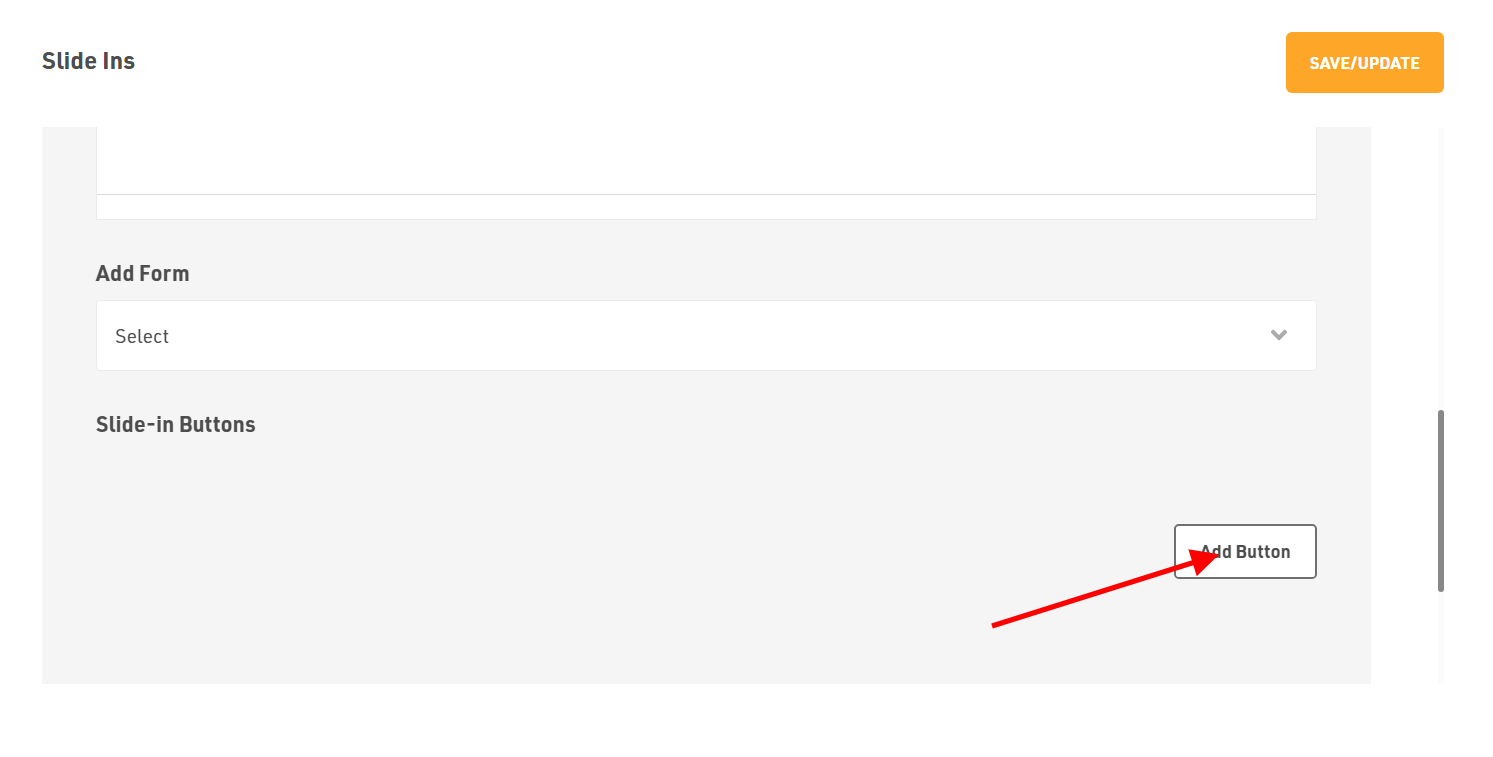
- In next step, if you wish to integrate a form within your slide-in, you can add it in by clicking on Add Form. You will need to select a form from the drop down menu.
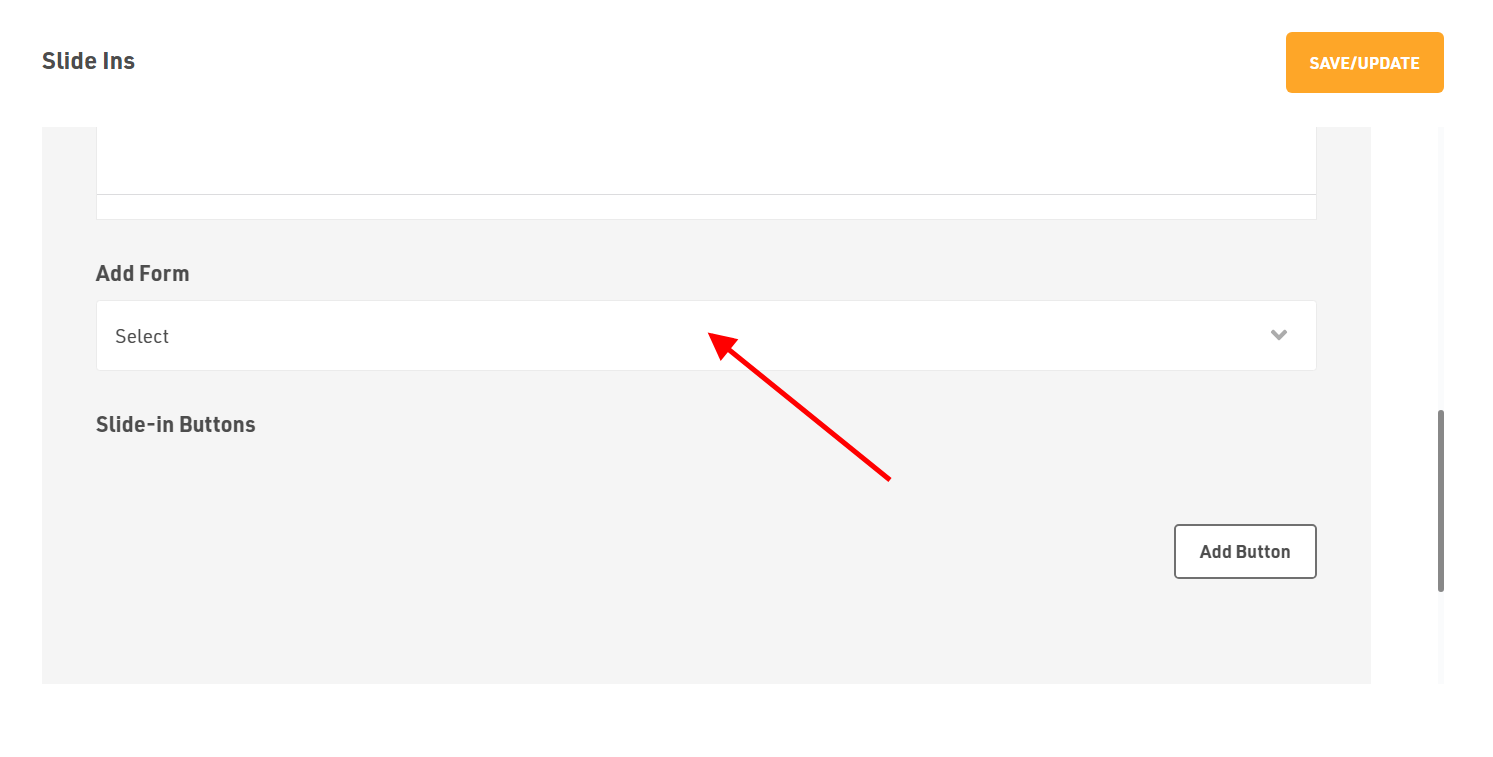
- Then if you would like to add a Slide-in Button, click on Add Button.
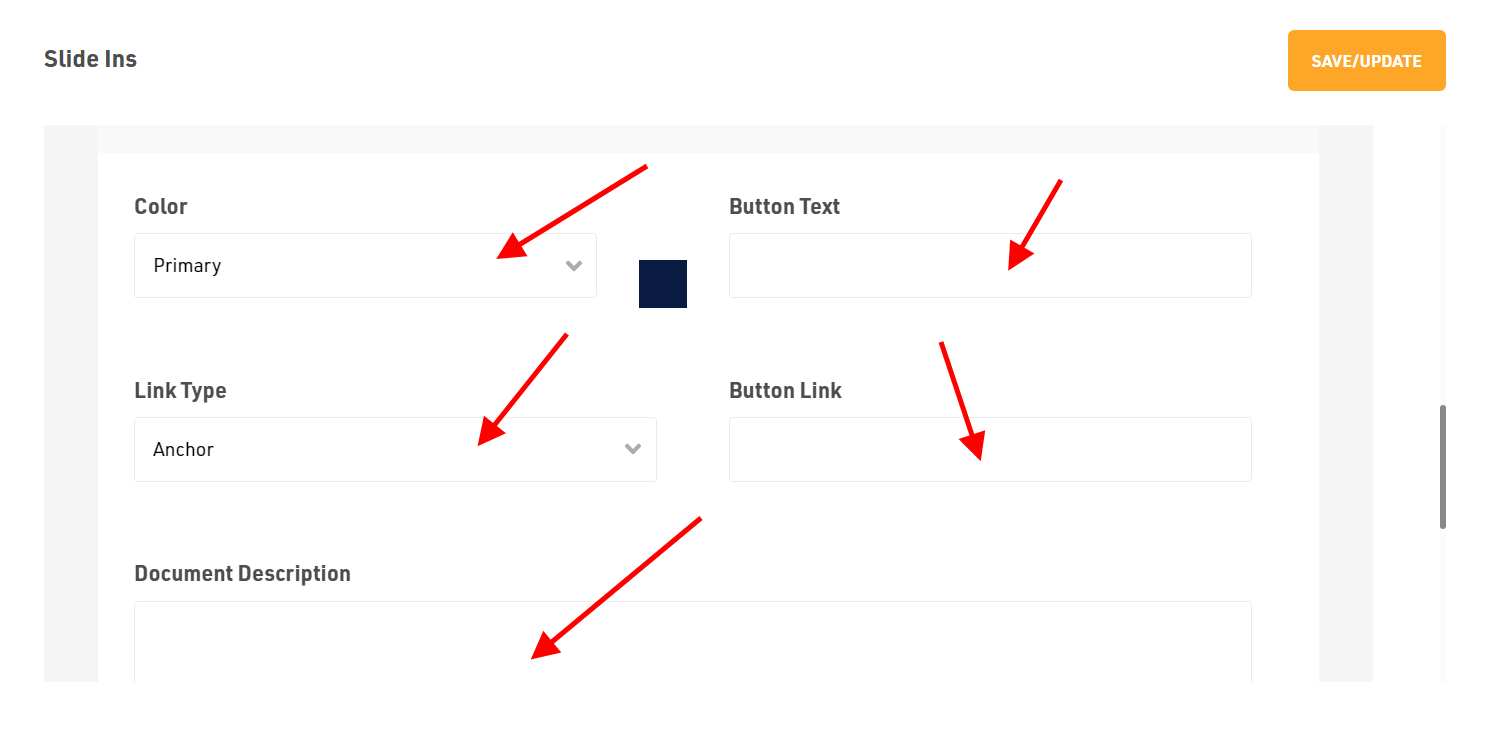
- You can even select the type of color, button text, link type and button link.
- Last option is Document Description in which you can write your own content.
How to add or edit Slide-in Design
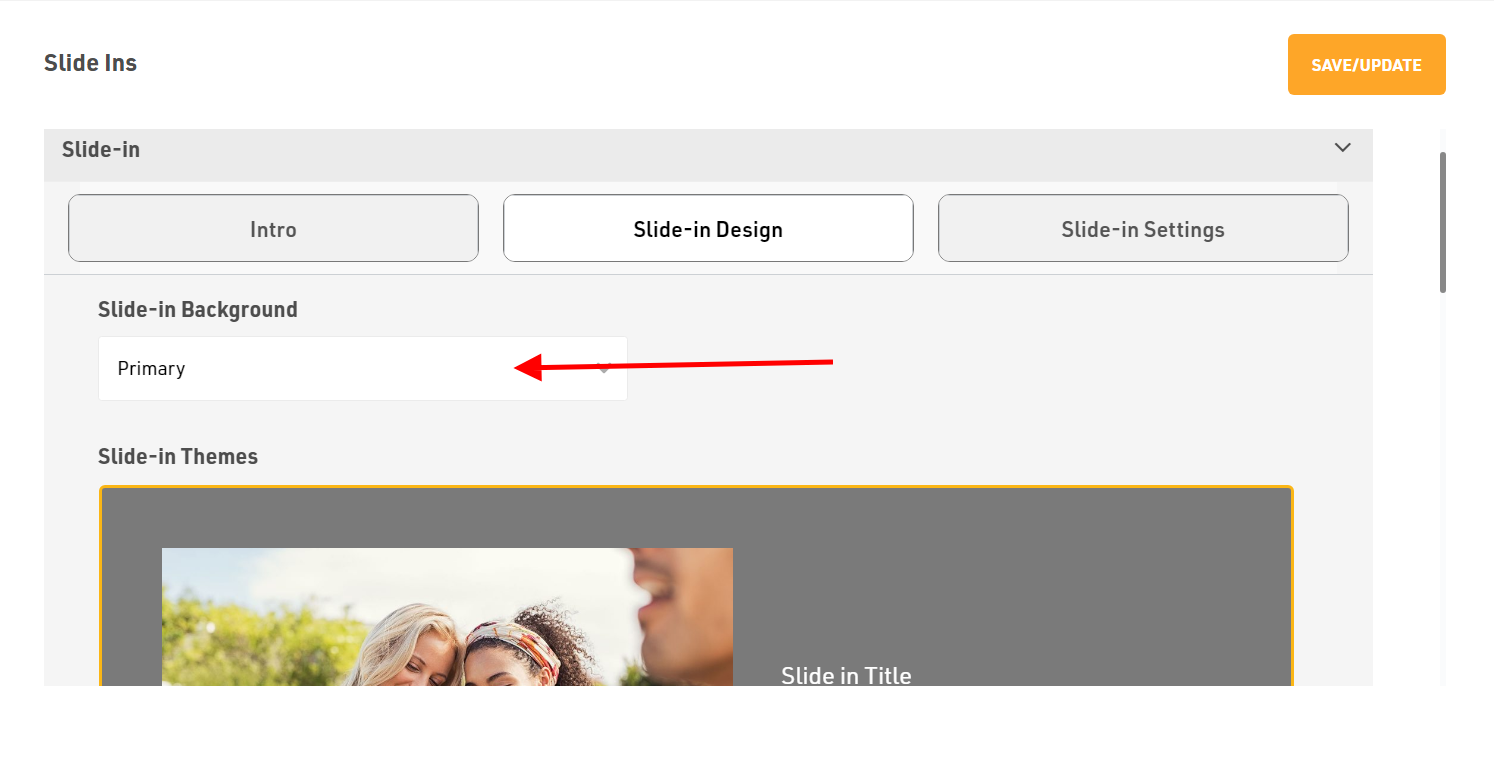
- To add a Slide-in Background, select the color type from the drop down menu.
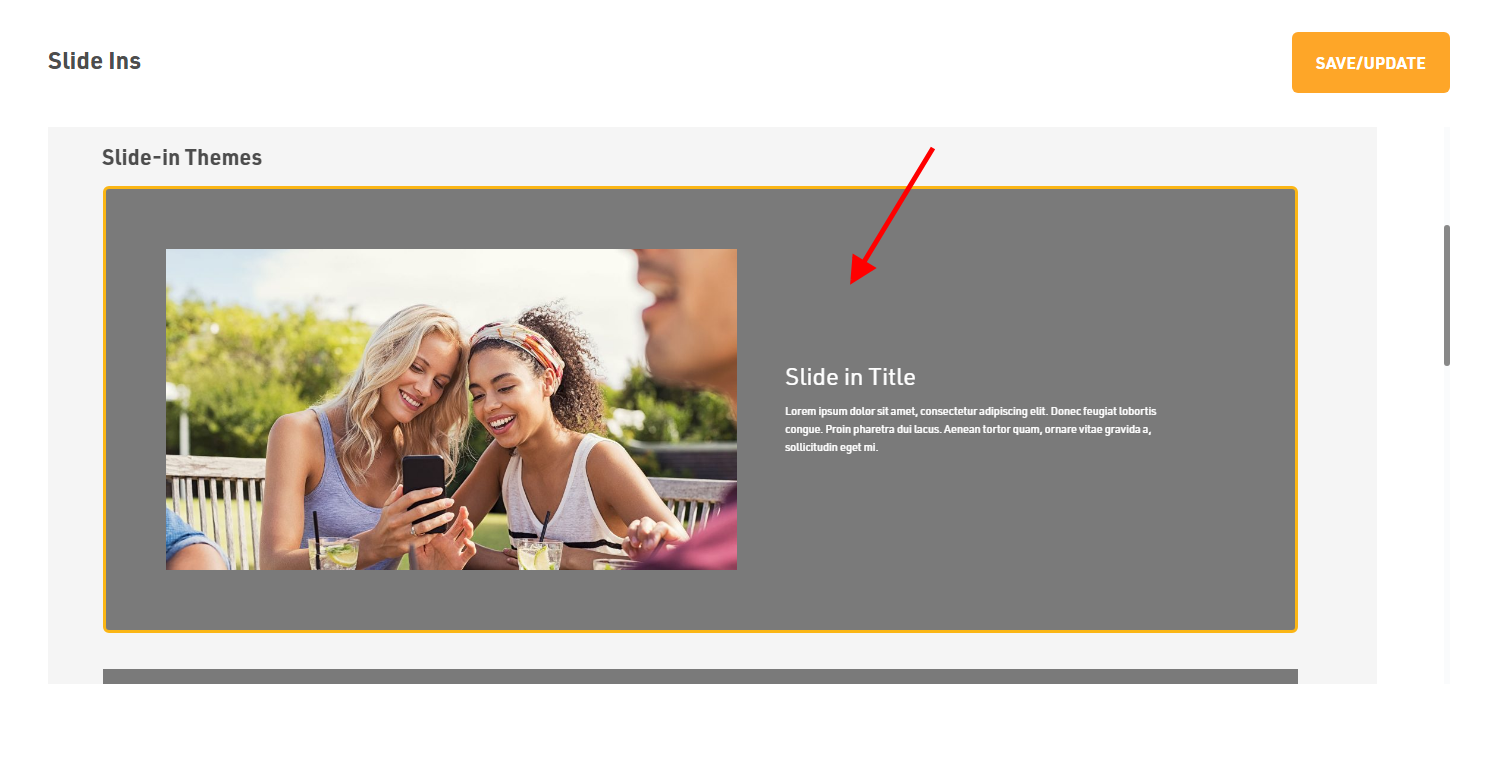
- Next, select the type of Slide-in Theme you would like to see for your slide-in.
How to add or edit Slide-in Settings
- For slide-in settings, you need to first select the Width of your slide-in by choosing an option from the drop down menu.
- Then, choose from two types of Slide-in Animation from the drop-down menu.
- Slide - It is an off-screen element that slides in and out of view when users want it.
- Push - It pushes the page content across as it opens.
- Next comes the Delay Slide-in. This will show the slide-in after the provided seconds on page load.
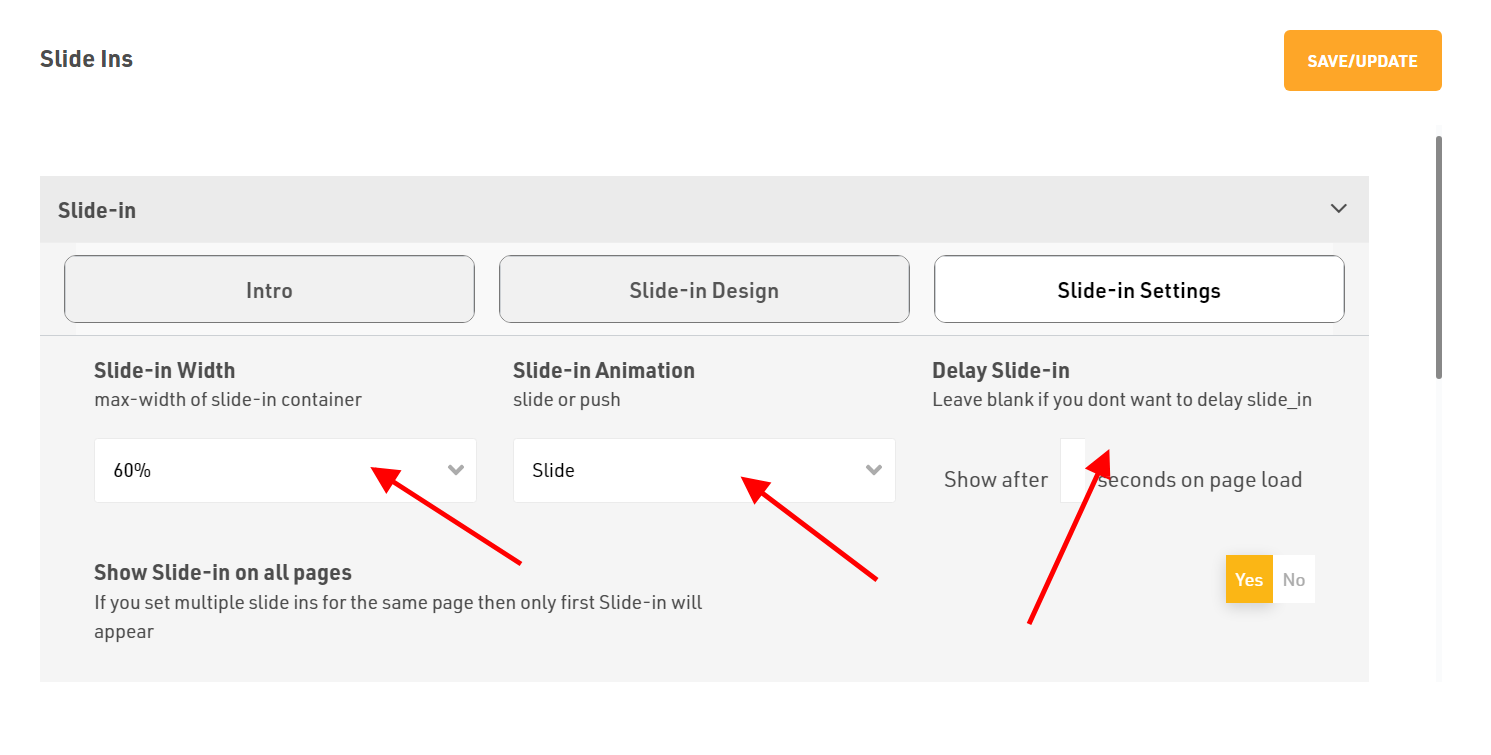
- Next option is Show Slide-in on all pages. You can choose whether Yes/No. If you select No, then you will need to Choose the pages in which you want the slide-in.
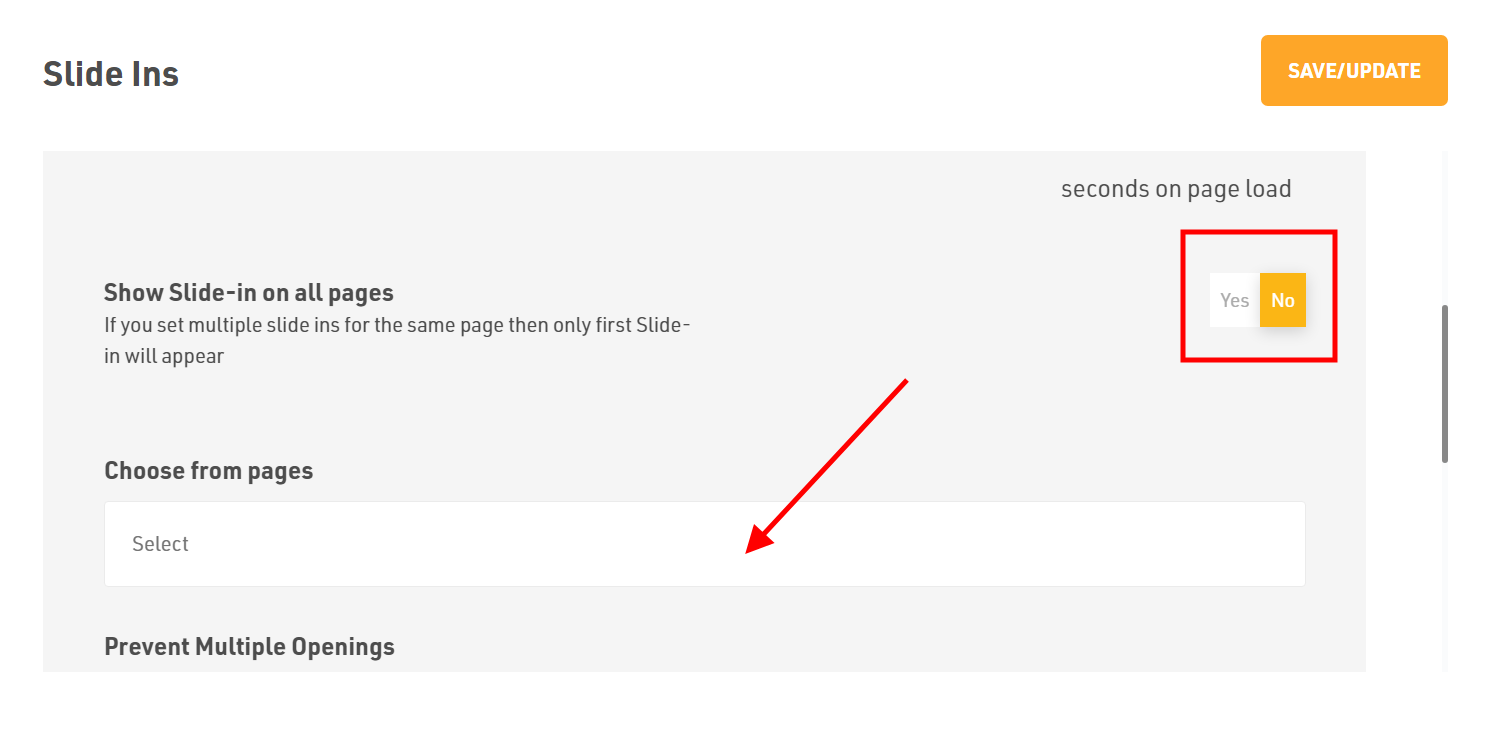
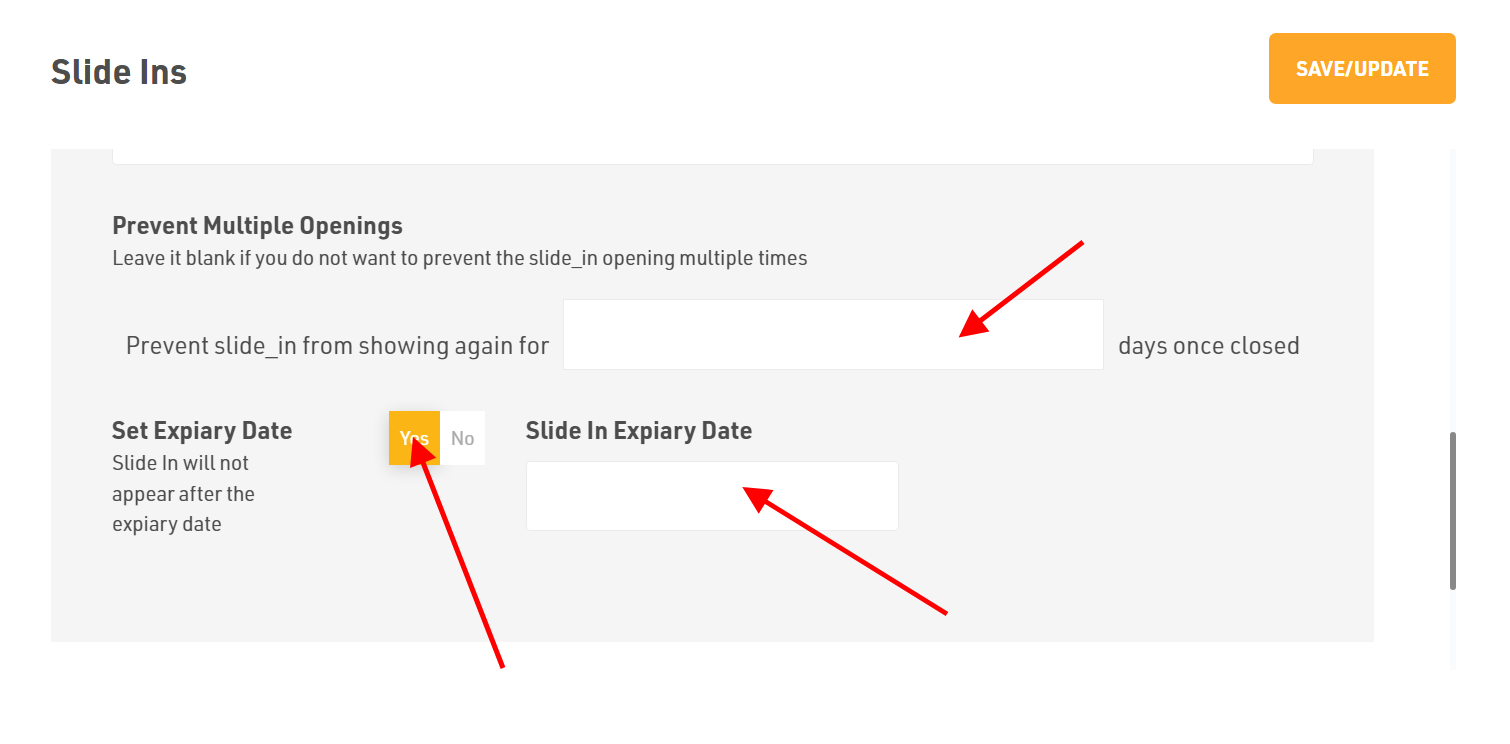
- Next is Prevent Multiple Openings option. In that you will need to write a date and then it will stop showing the particular slide-in after that particular date.
- Similarly you can set the Expiry Date for the slide-in. If you do not want a slide-in to appear after a particular date then select Yes, then select an Expiration Date.
- If you want to add another slide-in, click on Add New Slide-in and follow the above steps again.
Dont forget to Save/Update
Make sure to click the Save/Update button in the top-right corner of the page once you finish everything to ensure all your changes and slide-in details are saved correctly.
Was this article helpful?
Thanks for the feedback.